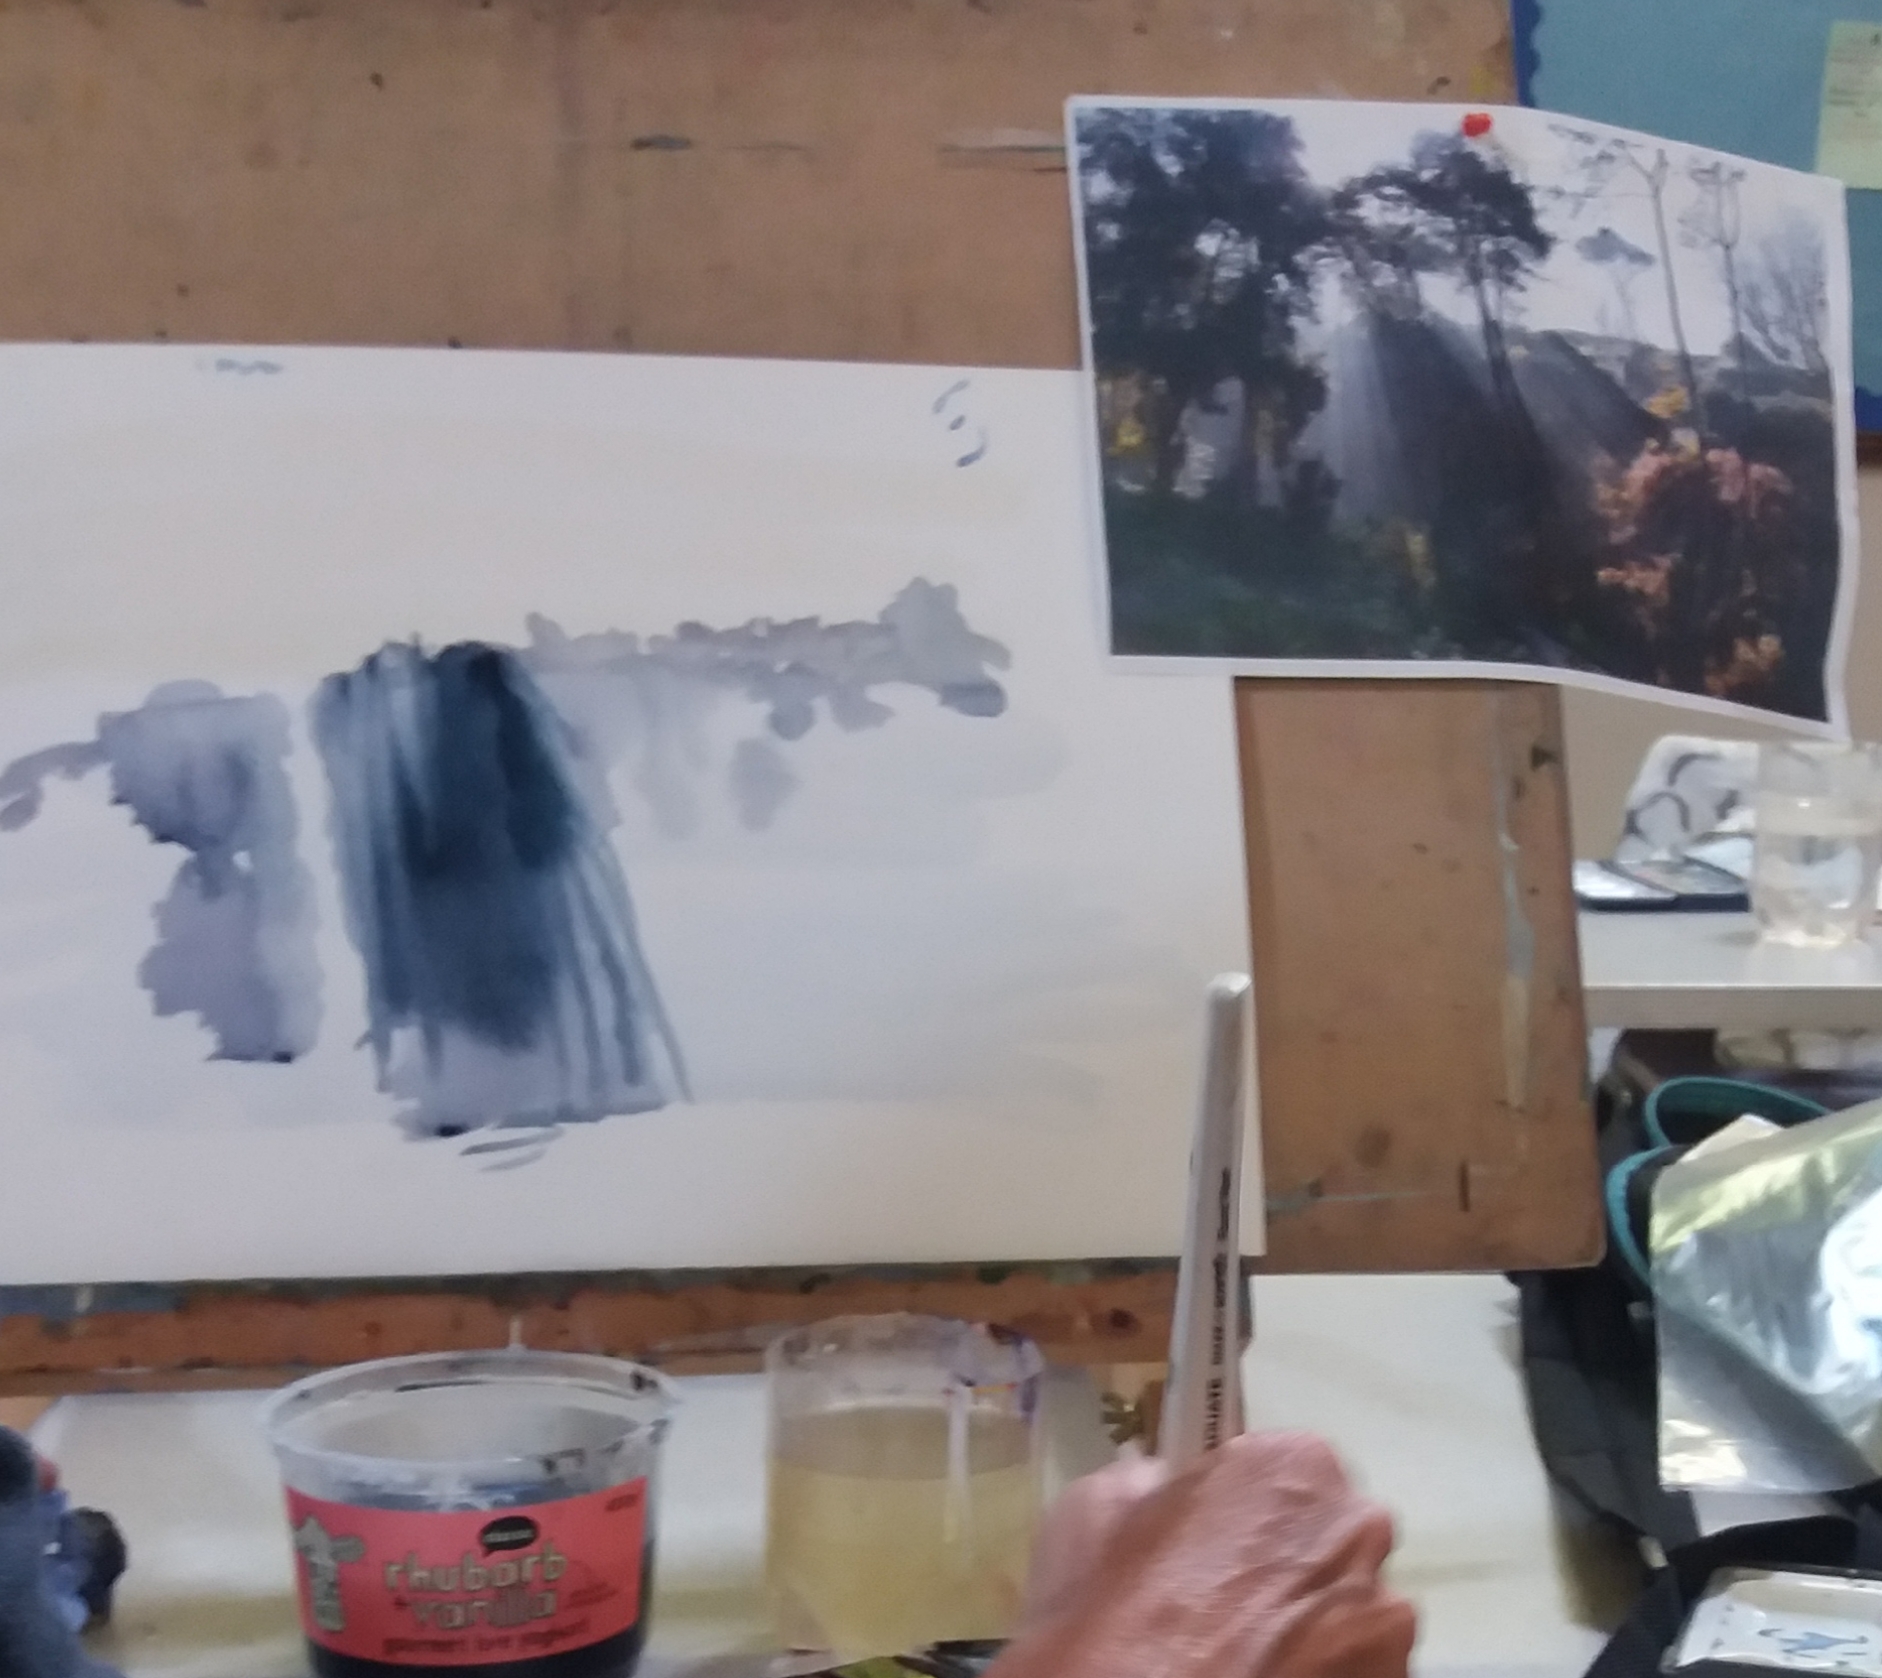
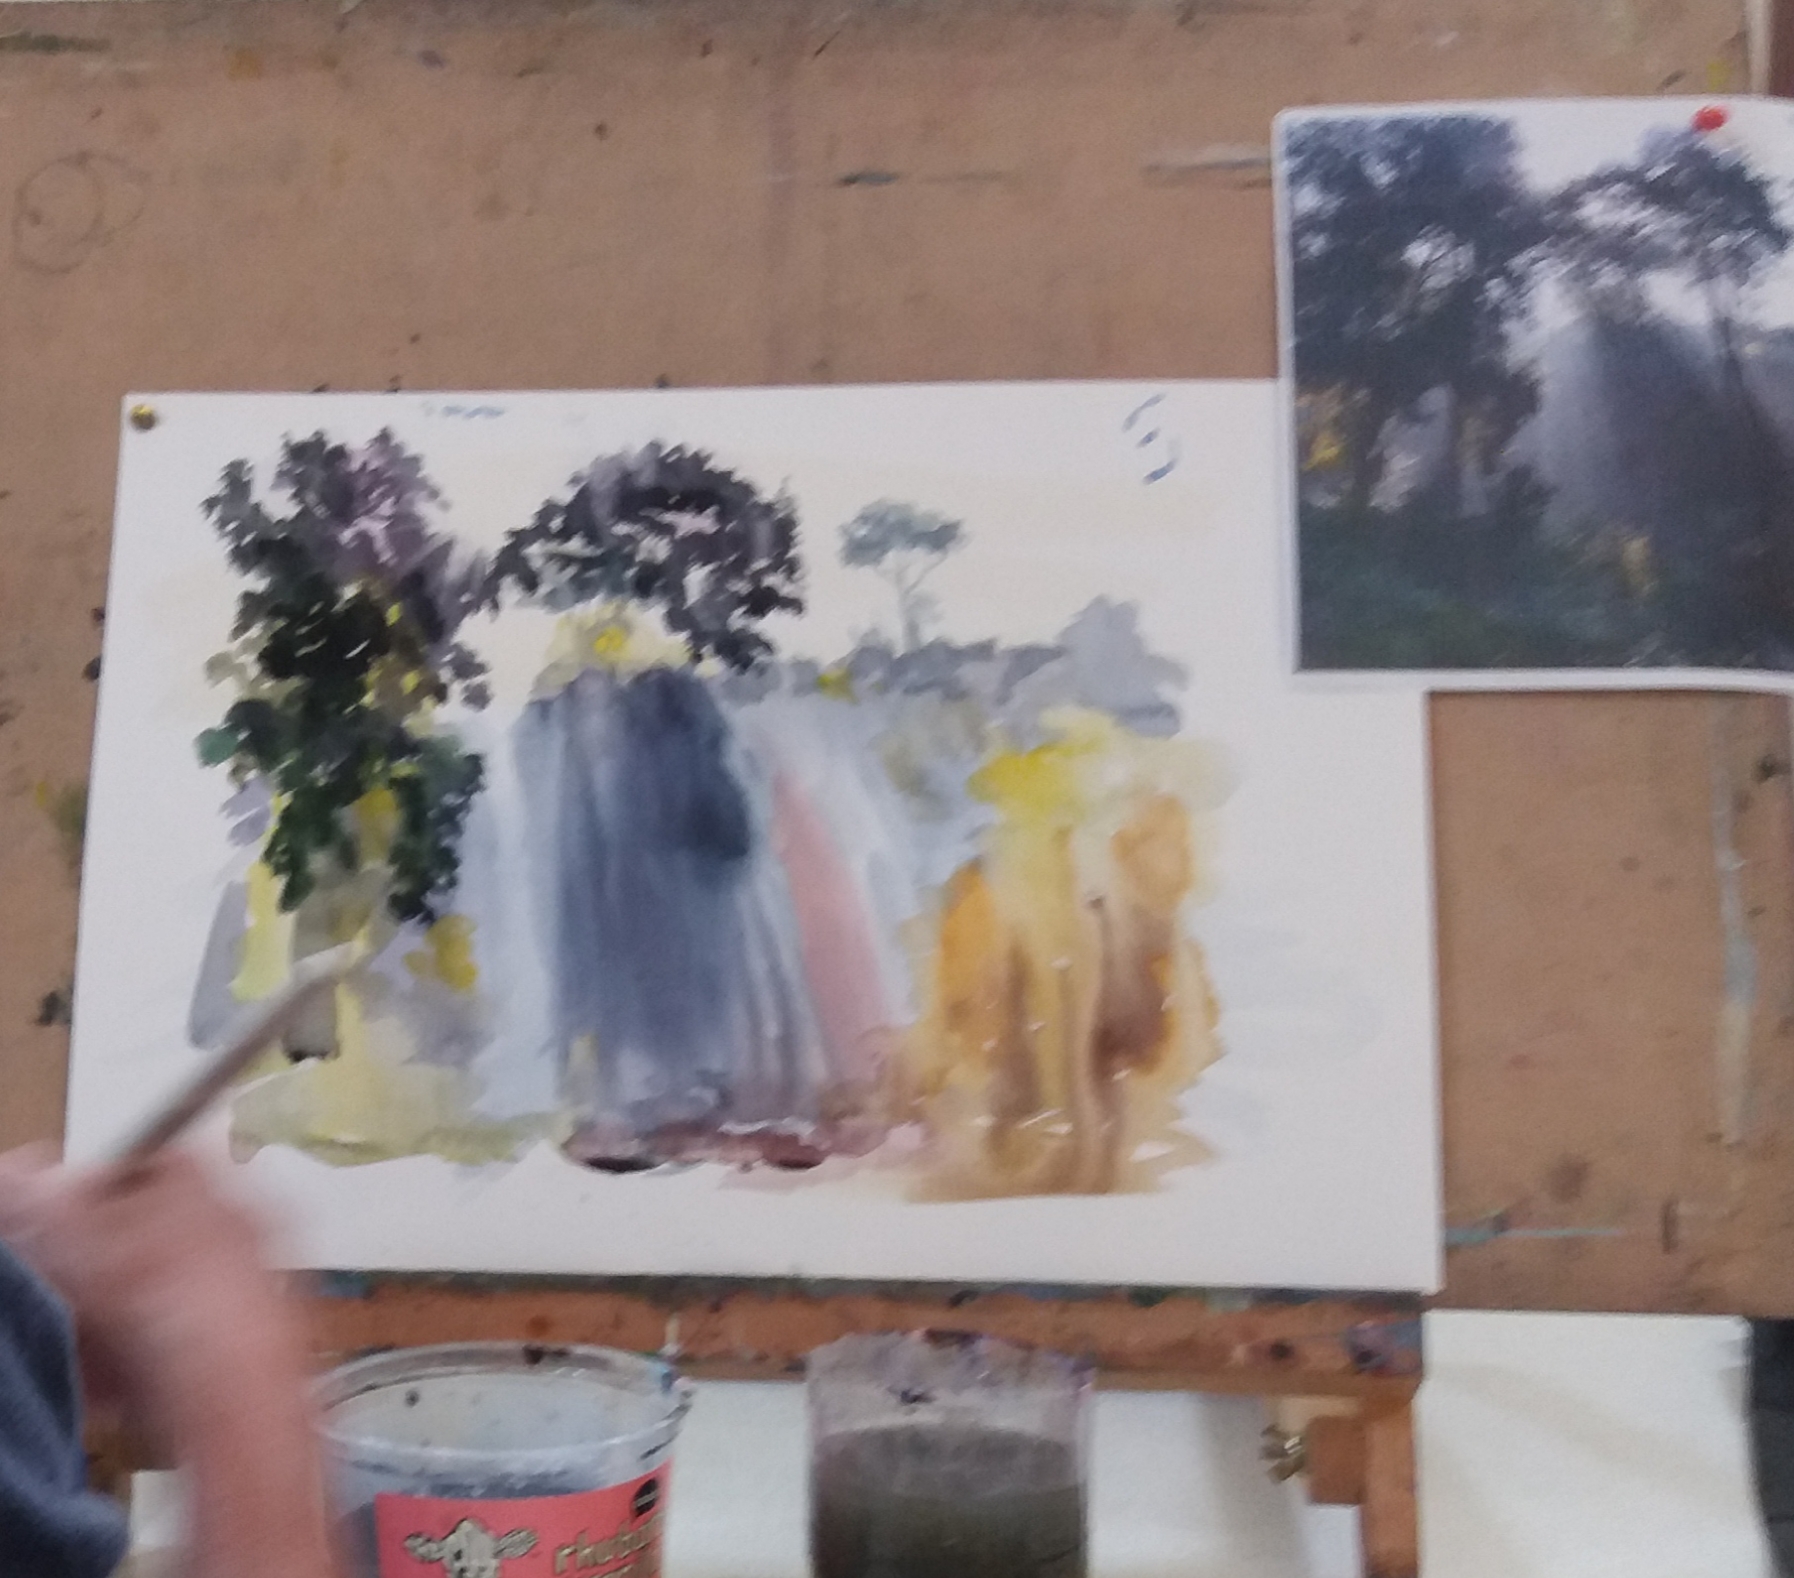
Using watercolour, this week Caroline presented a demonstration of a treescape. Firstly, putting a sky wash on she advised using a big brush, to avoid “picky” marks, she looked at the composition, noting the shafts of light and some nice dots of yellow.
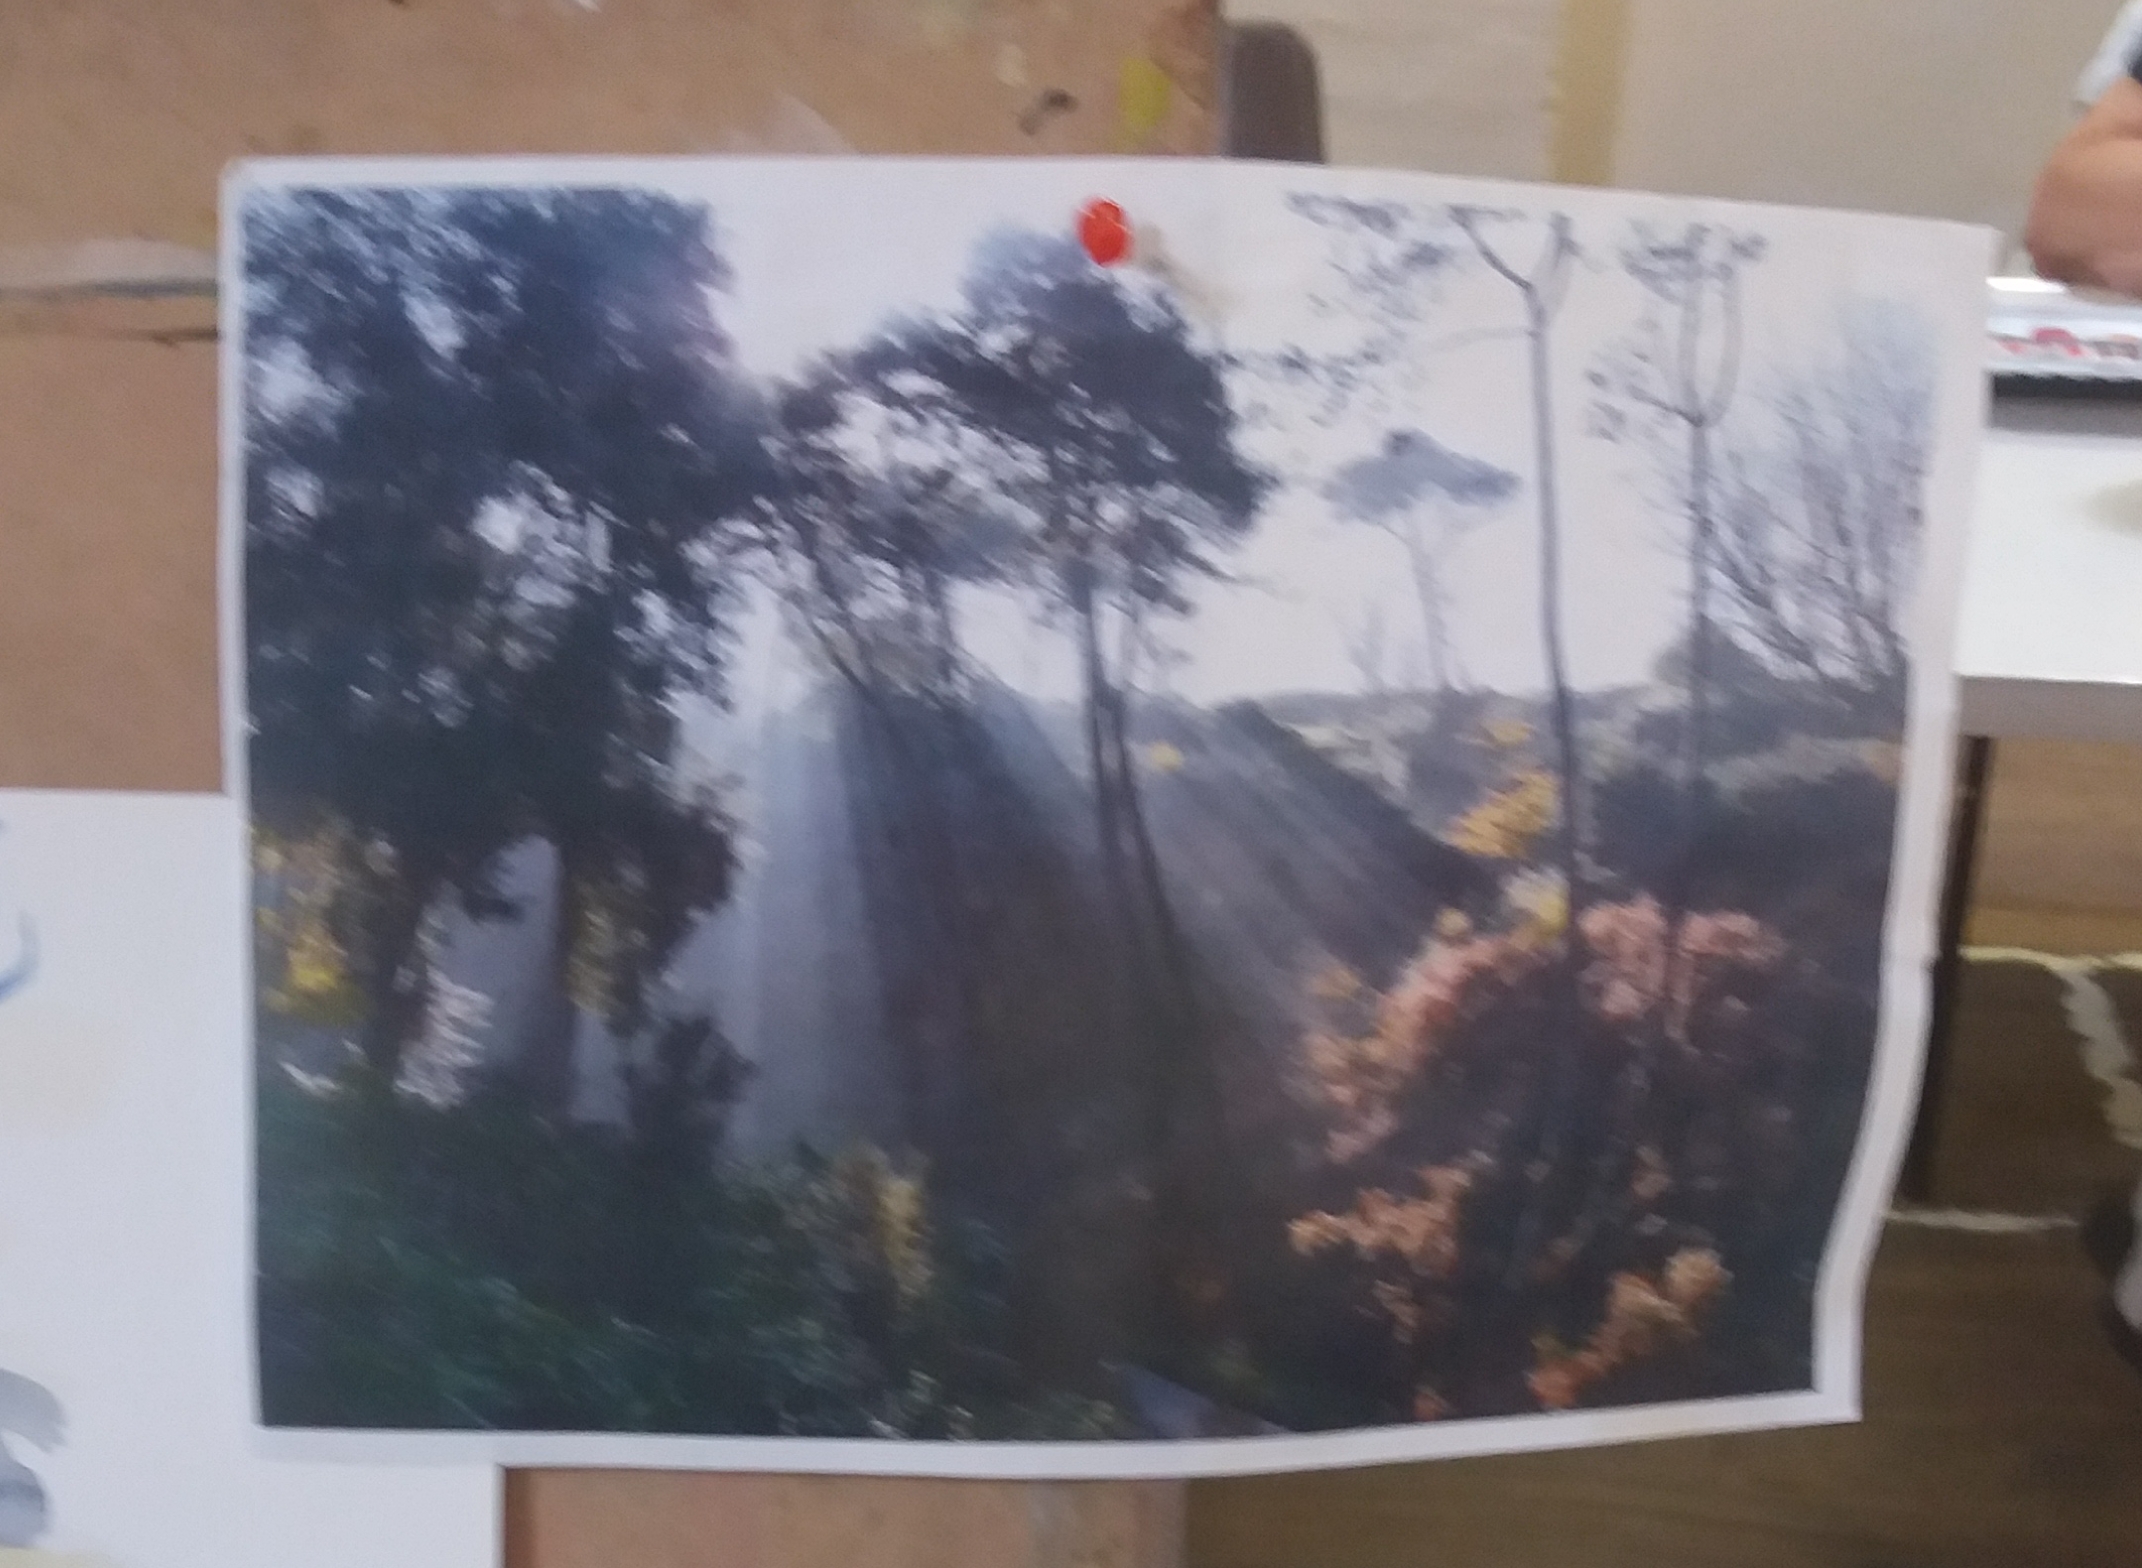
When looking at a watercolour landscape, look at the layers: sky, faded trees, land and foreground tree and take note of the lines in the picture.
The pale wash for the sky can be enhanced with faint yellow and a spot of red.
Using a blue/grey wash for the land and leaving gaps for the shafts of light, Caroline mixed Cobalt with a spot of red .
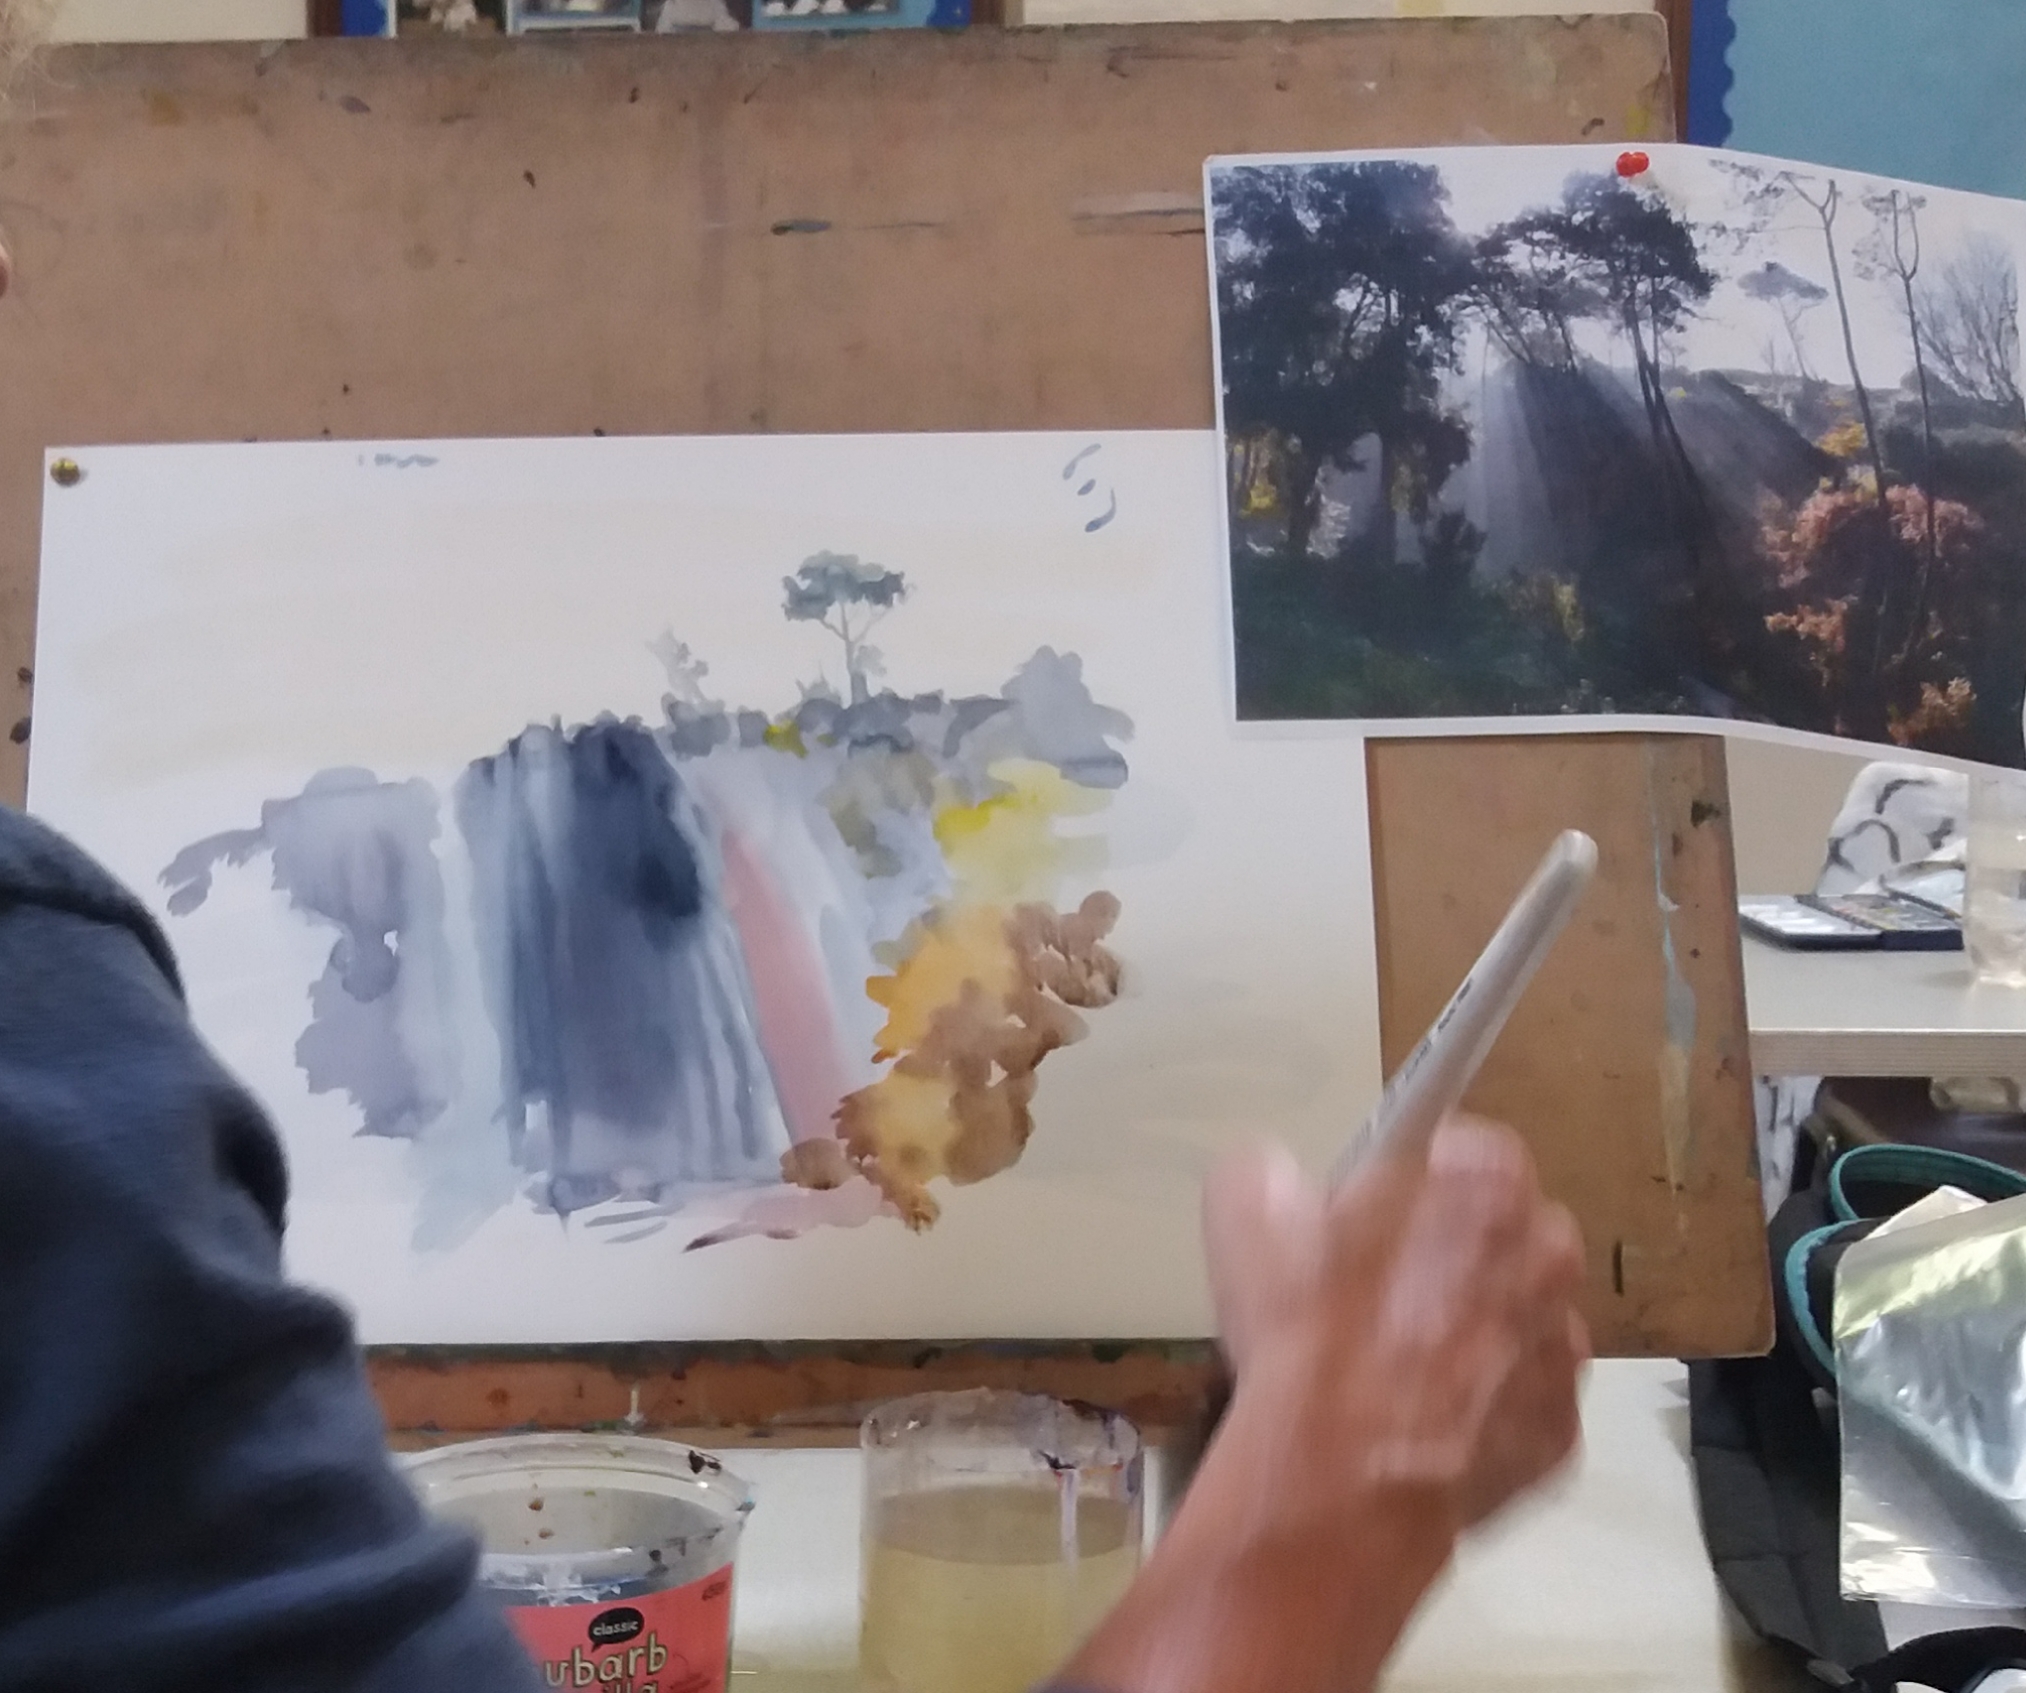
While the main washes dried, Caroline mixed the blue with a pinch of yellow and started working on the base shape of the distant trees, putting a little shadow at the bottom and used a rigger for the stem and branches.
Starting with a pinch of yellow and a stronger orange, she put in foliage. Going back to the rigger the general shape of the foreground trees went in, leaving a little bit of light.
First a purple wash for behind the trees then for darker trees mix blue + red +green.
Tip: to fade out the edges of the foliage, dab with a tissue as you go.
Using a rigger to bring up the foreground tree trunks, Caroline held the brush far back and dragged it down. She then softened the rigger lines with a bigger brush.
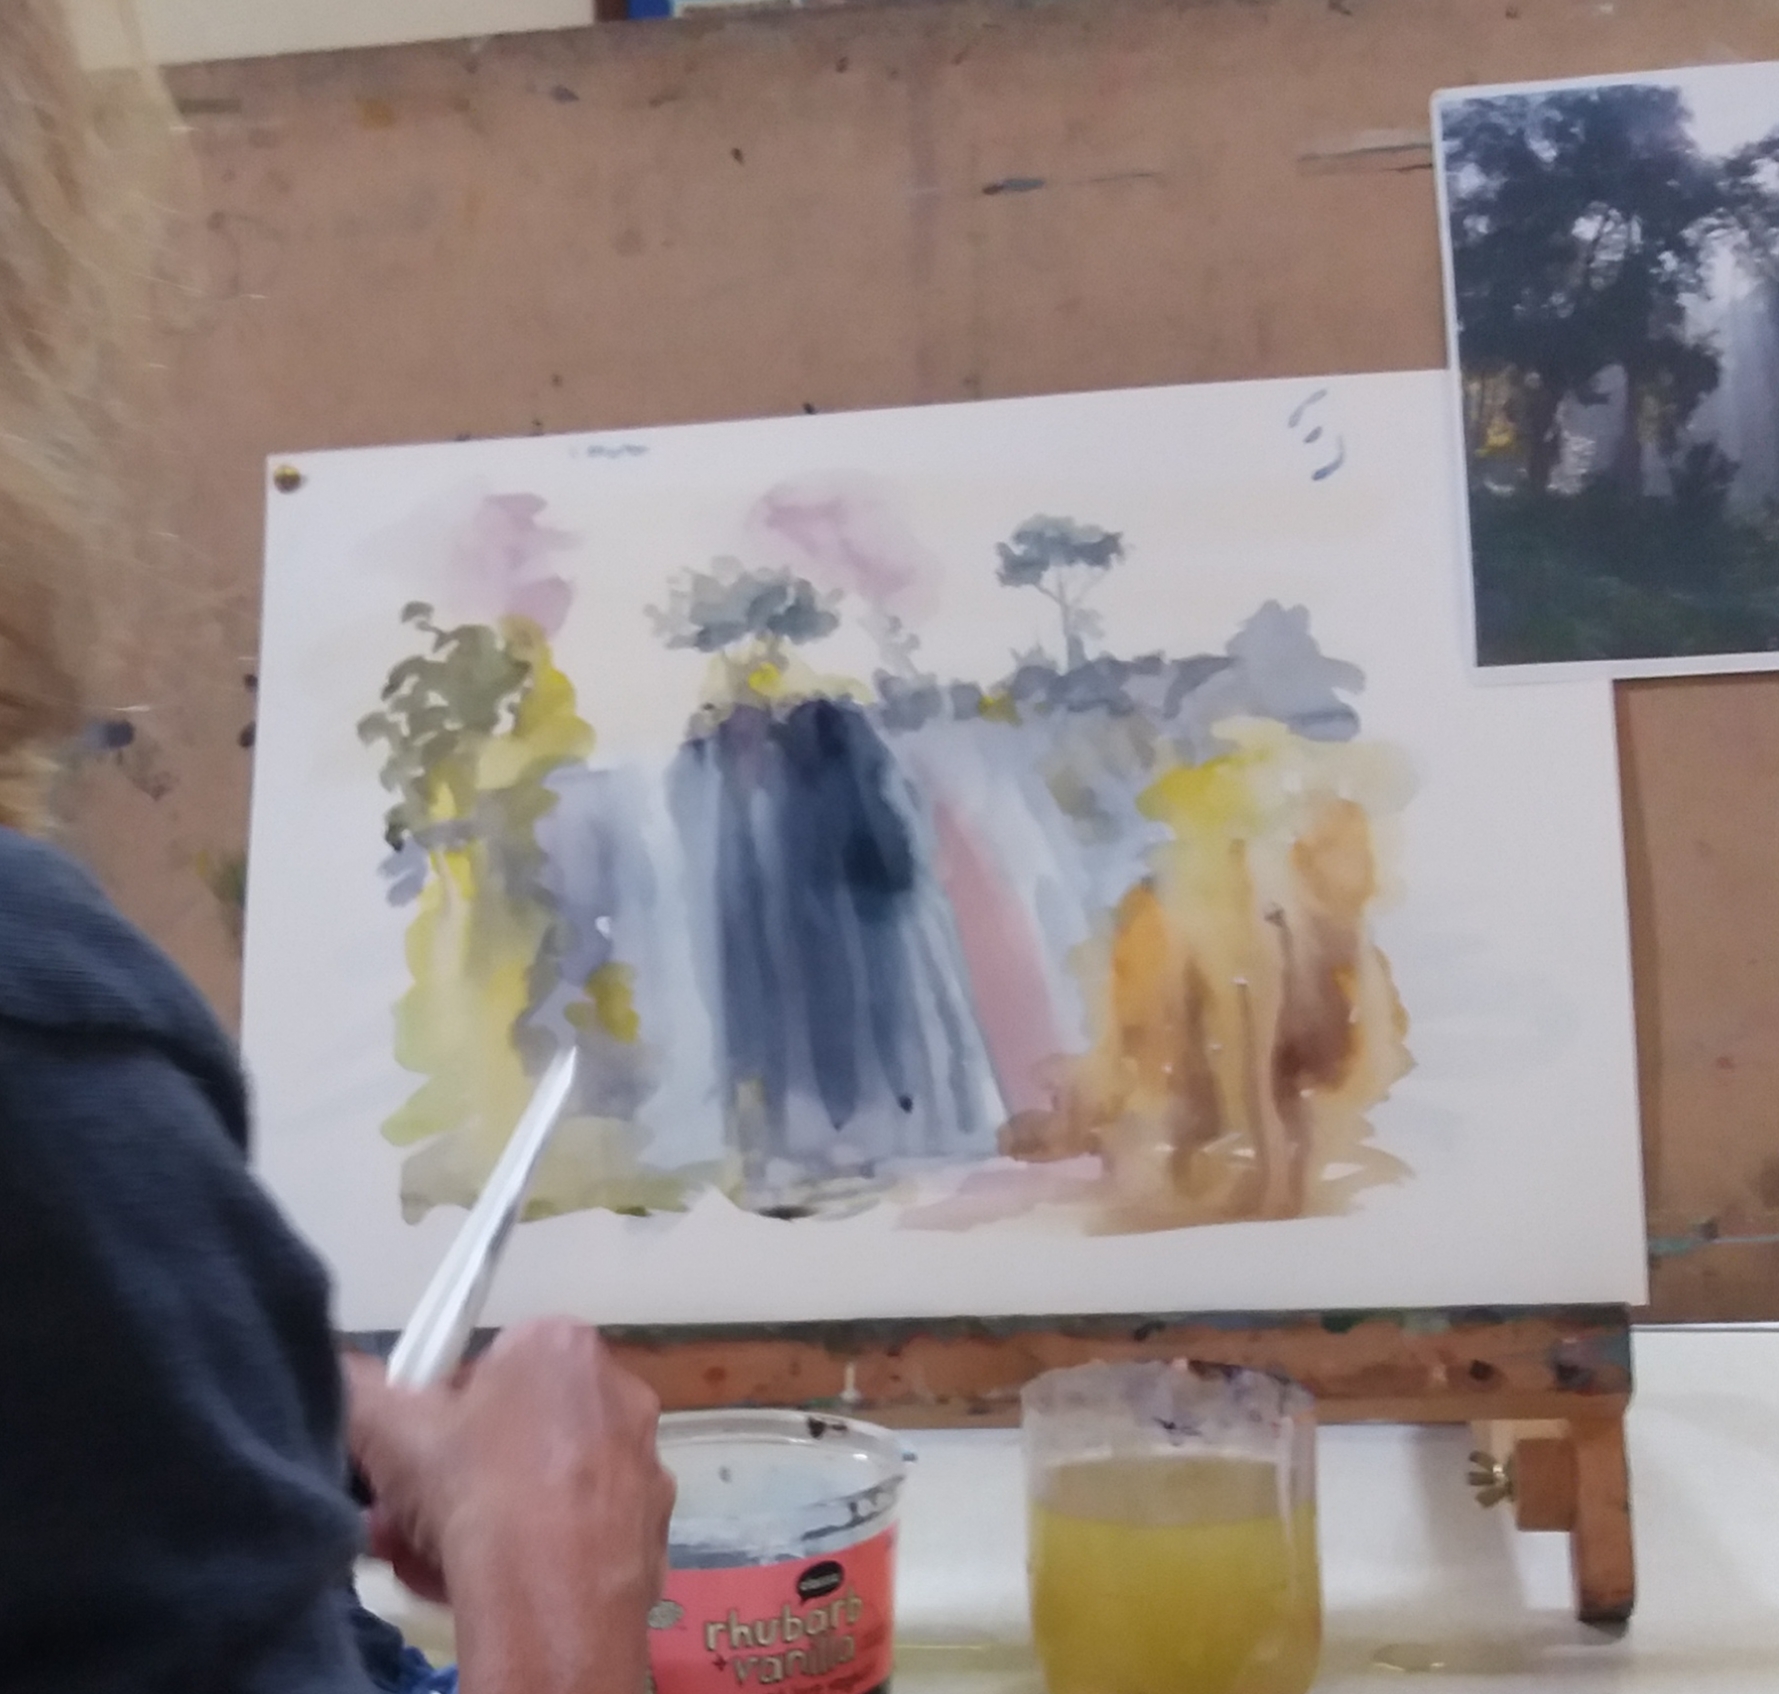
For the greenery, first there was a pale green wash, then for the dark green a mix of viridian and red.
Caroline then redefined the tree trunks that had faded with drying, and the final draft appeared.
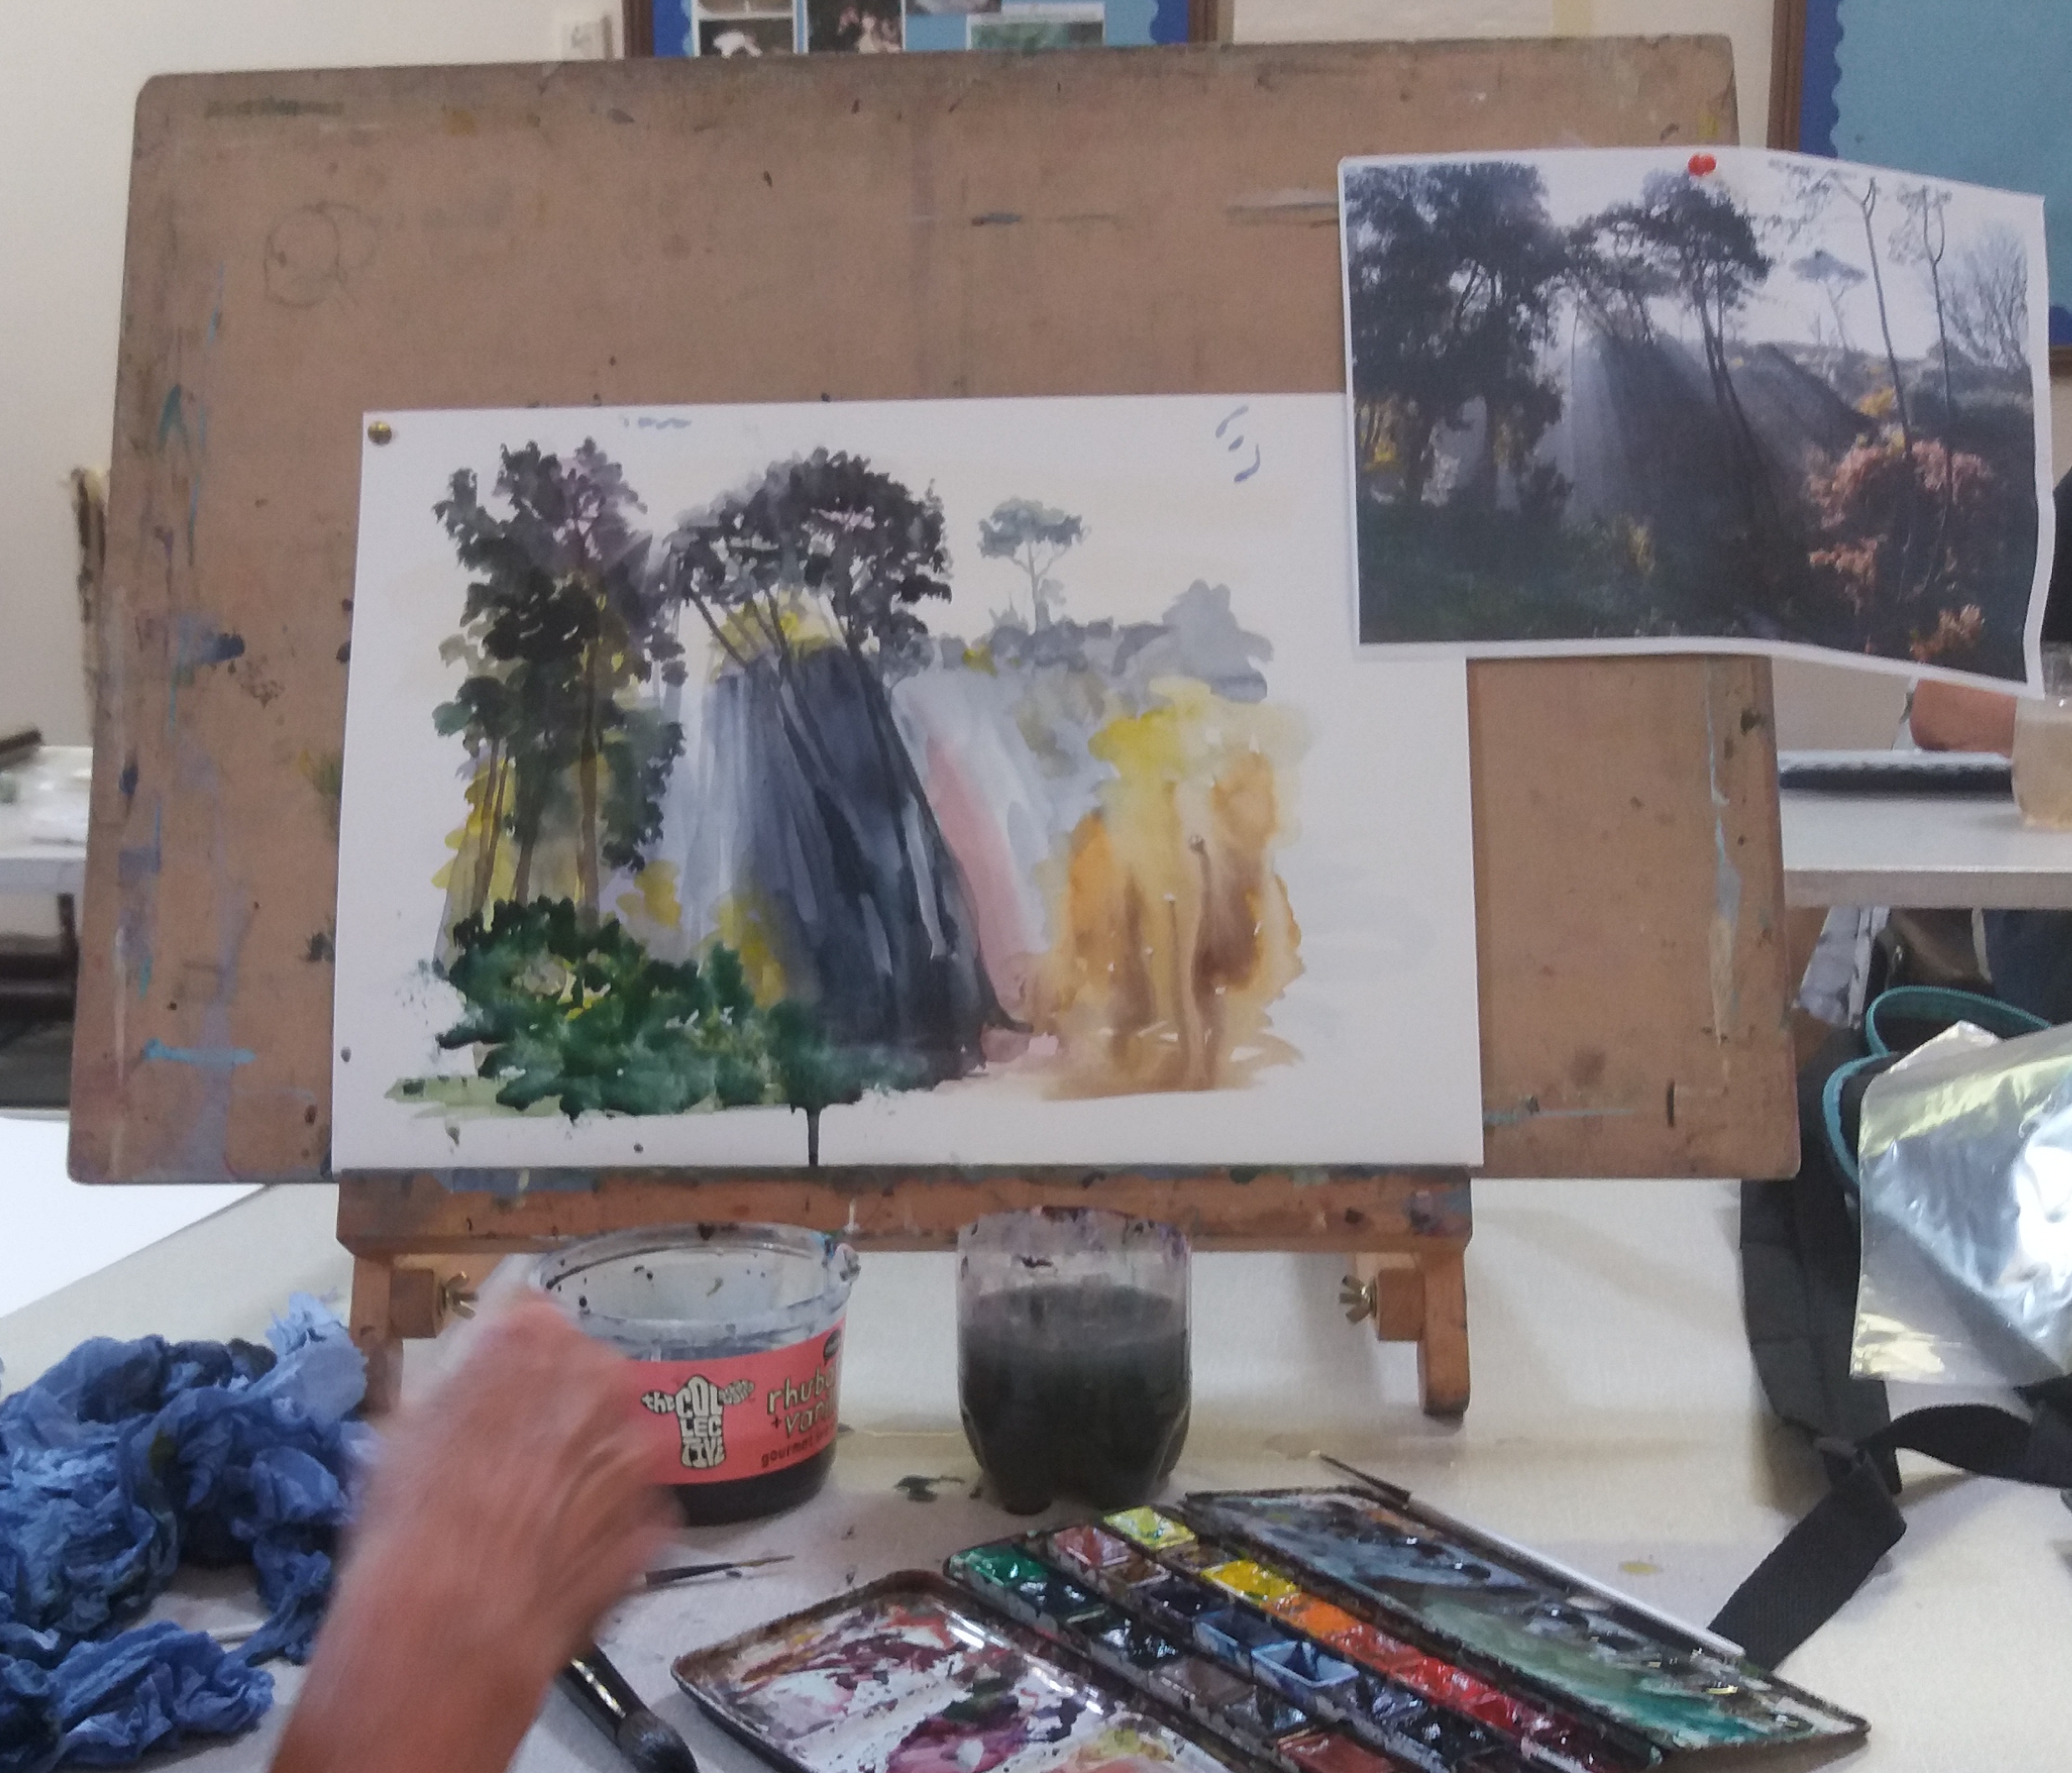
As a final note: the usual rule of working from light to dark with watercolours can be reversed, depending of the composition.