Caroline began her demonstration with some points to consider before starting an open air painting session.
- Reconnoitre before choosing a site. Are there a lot of possibly intrusive people around?
- Consider the weight of your equipment. A half-size easel will ease the load, as you may have to climb for a better vantage point
- Do some thumbnails to help decide on your composition
- If using acrylic paints, remember that they will dry more quickly outside. Use a stay-wet palate
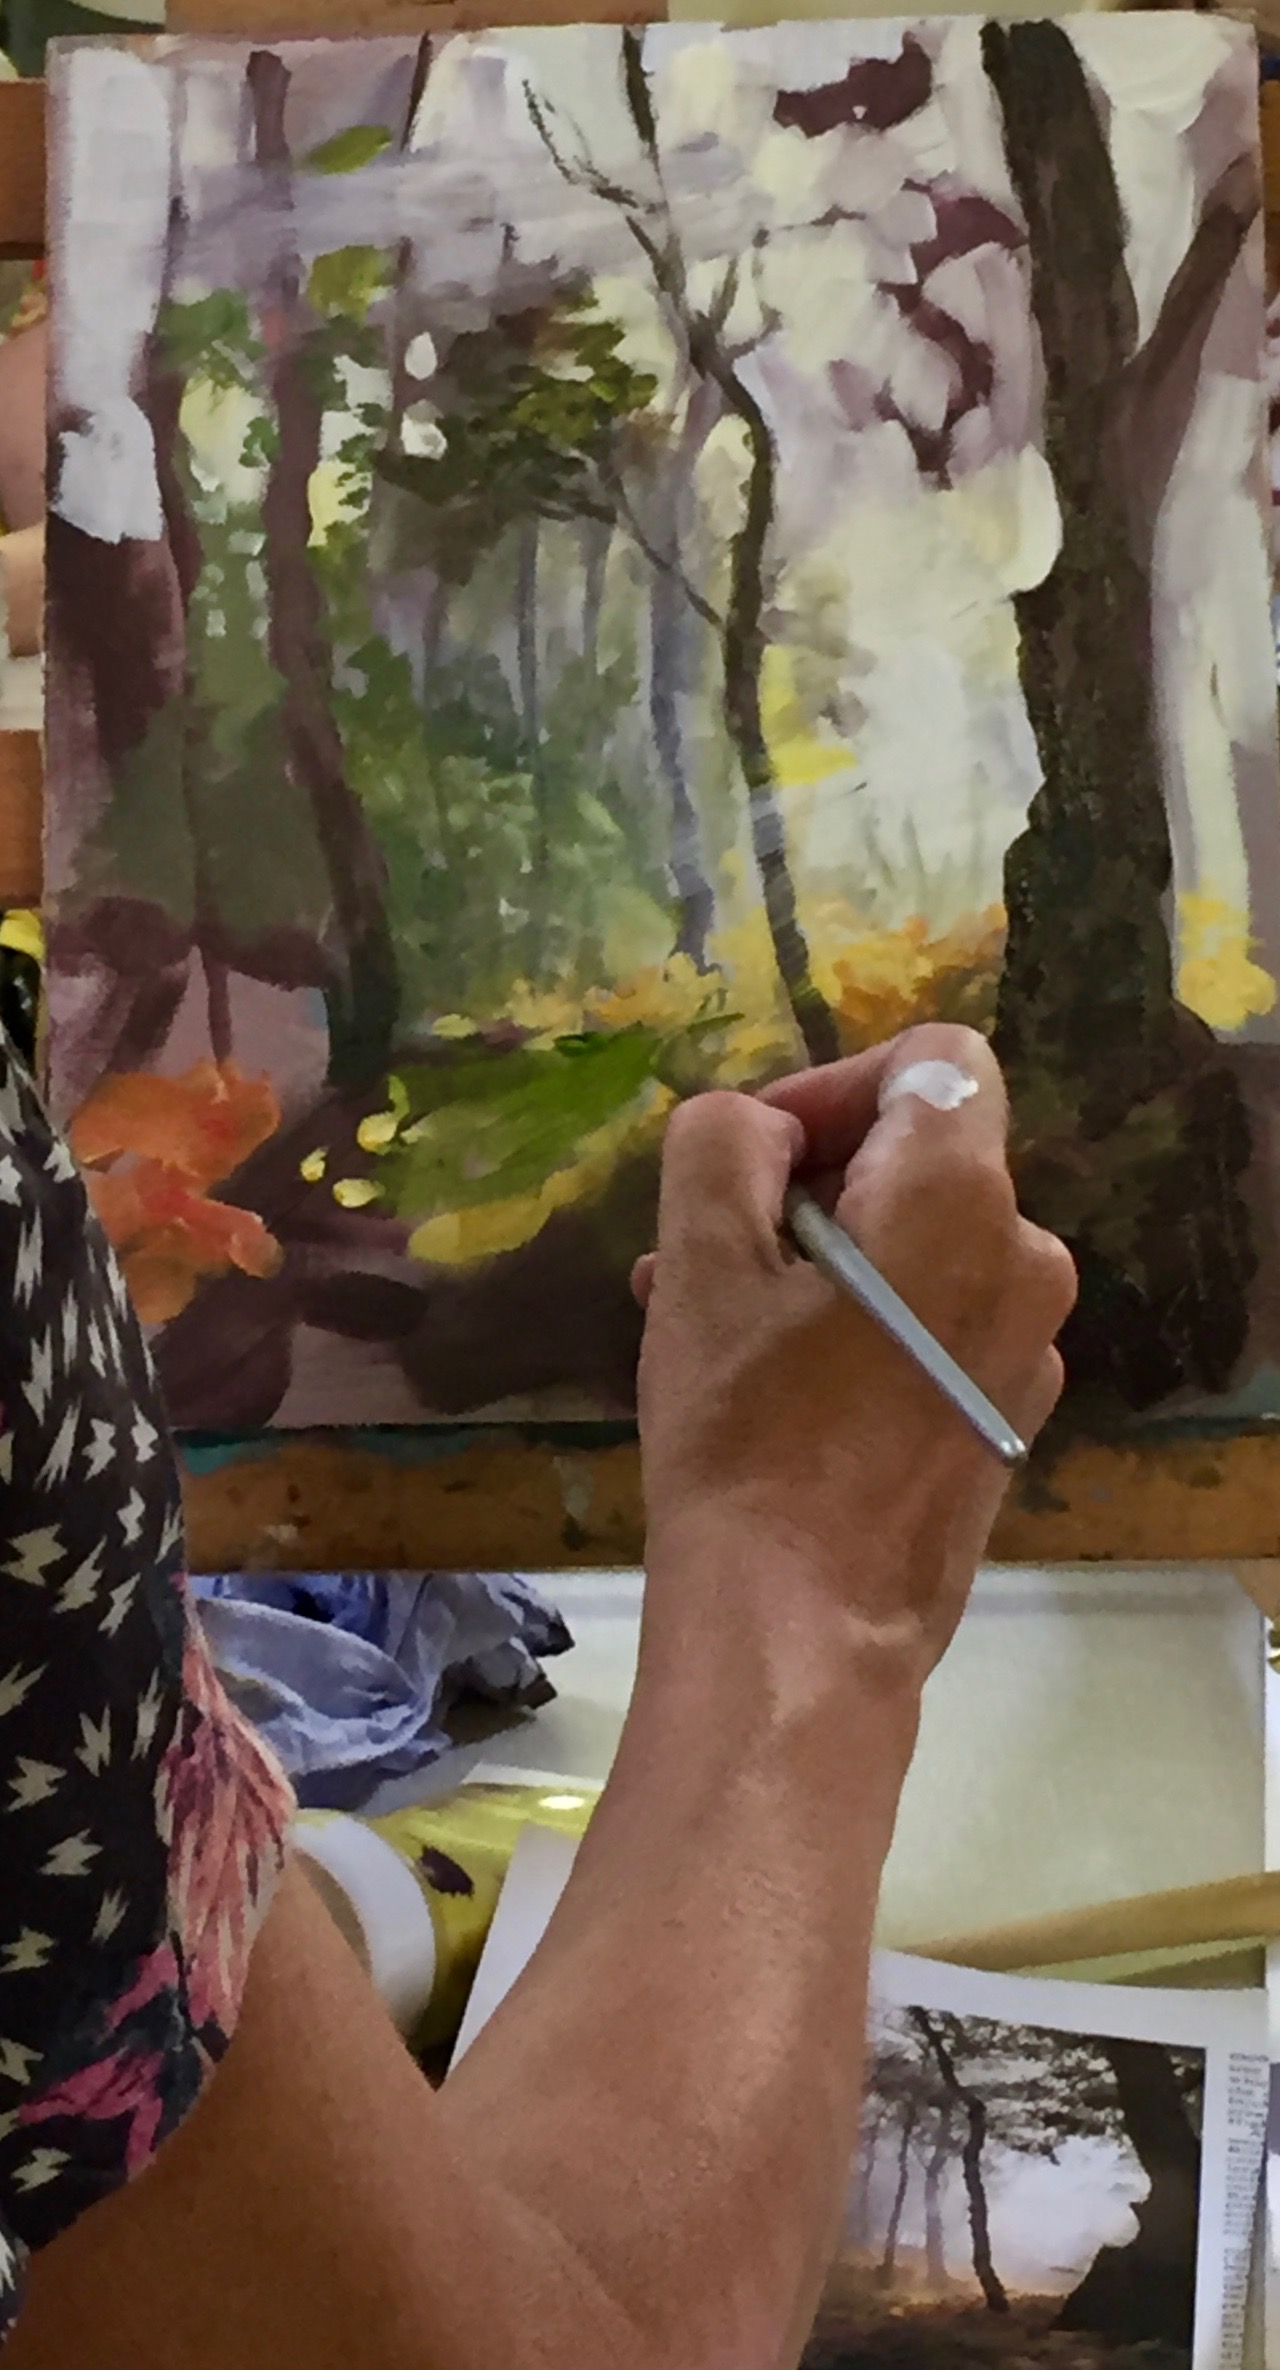
Once you are settled and starting to paint, lay down light tones and darks at the outset, bearing in mind the changing light as time passes. Get your tonal values down at the beginning. She suggested working with big brushes to do this, to avoid “fiddling”.
Outdoor painting needs you to make light colours lighter and darks darker, which will compensate for indoor light levels.
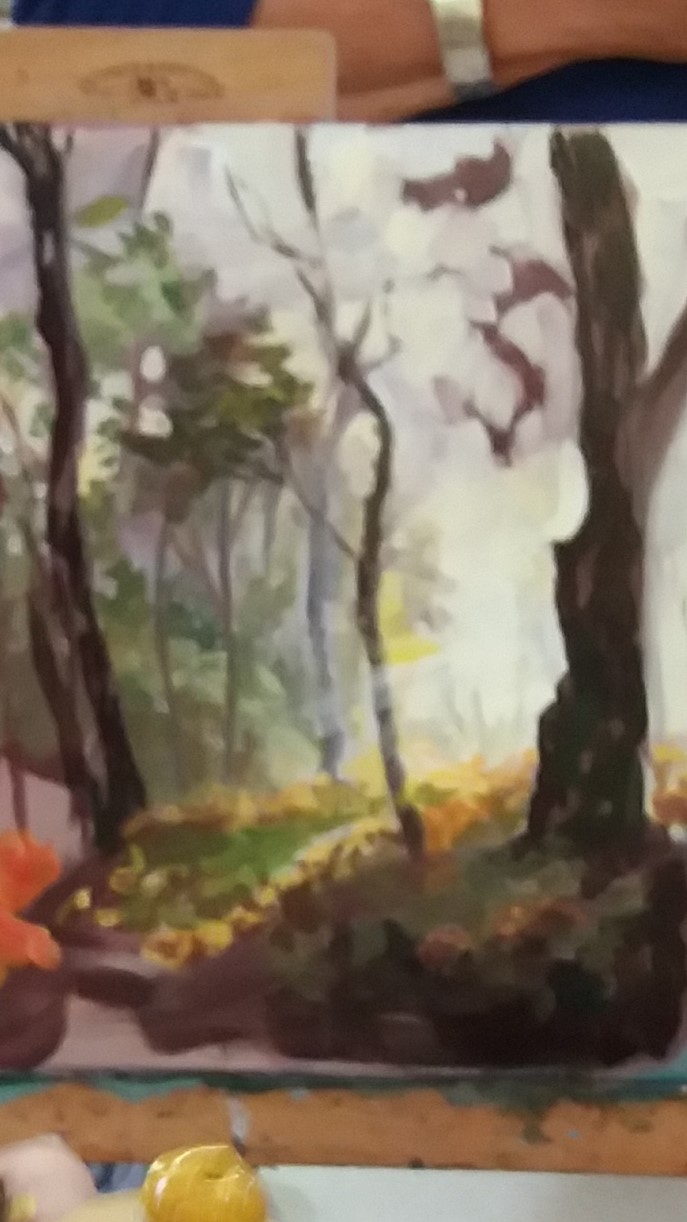
Method: Working from the back to the front of the scene in light tones…look-paint, look-paint. To achieve shafts of light, use a glaze at the end of the work.
Focus on lights and darks is most important. As an example, your composition should be 70% cold and 30% warm colours or vice versa.
Keep a varied selection of greens and add a few browns to your palate for woodland scenes. Use a rigger for the small upper branches, which can be added later, along with foliage.
Lastly – Be rougher and have fun with it!!