Instructor Caroline Marsland took a different take on using pen and ink in our art. She used the water soluble quink ink which comes in a few colors.
She started with talking about the nibs. Dip nibs come in a number of shapes for different uses. The drawing ones are quite sharp and can tear watercolor paper. Smooth paper fairs better. She prefers writing nibs and ones with a rounded tip. They also can have a reservoir added but one has to be careful that ink doesn’t drip out. She does not recommend biros or other felt pens as you can’t get them to widen or become thin with pressure which helps to show emotion in the drawing.
Before starting, one must decide if you want to do the wash first or the pen drawing. These both give different results.
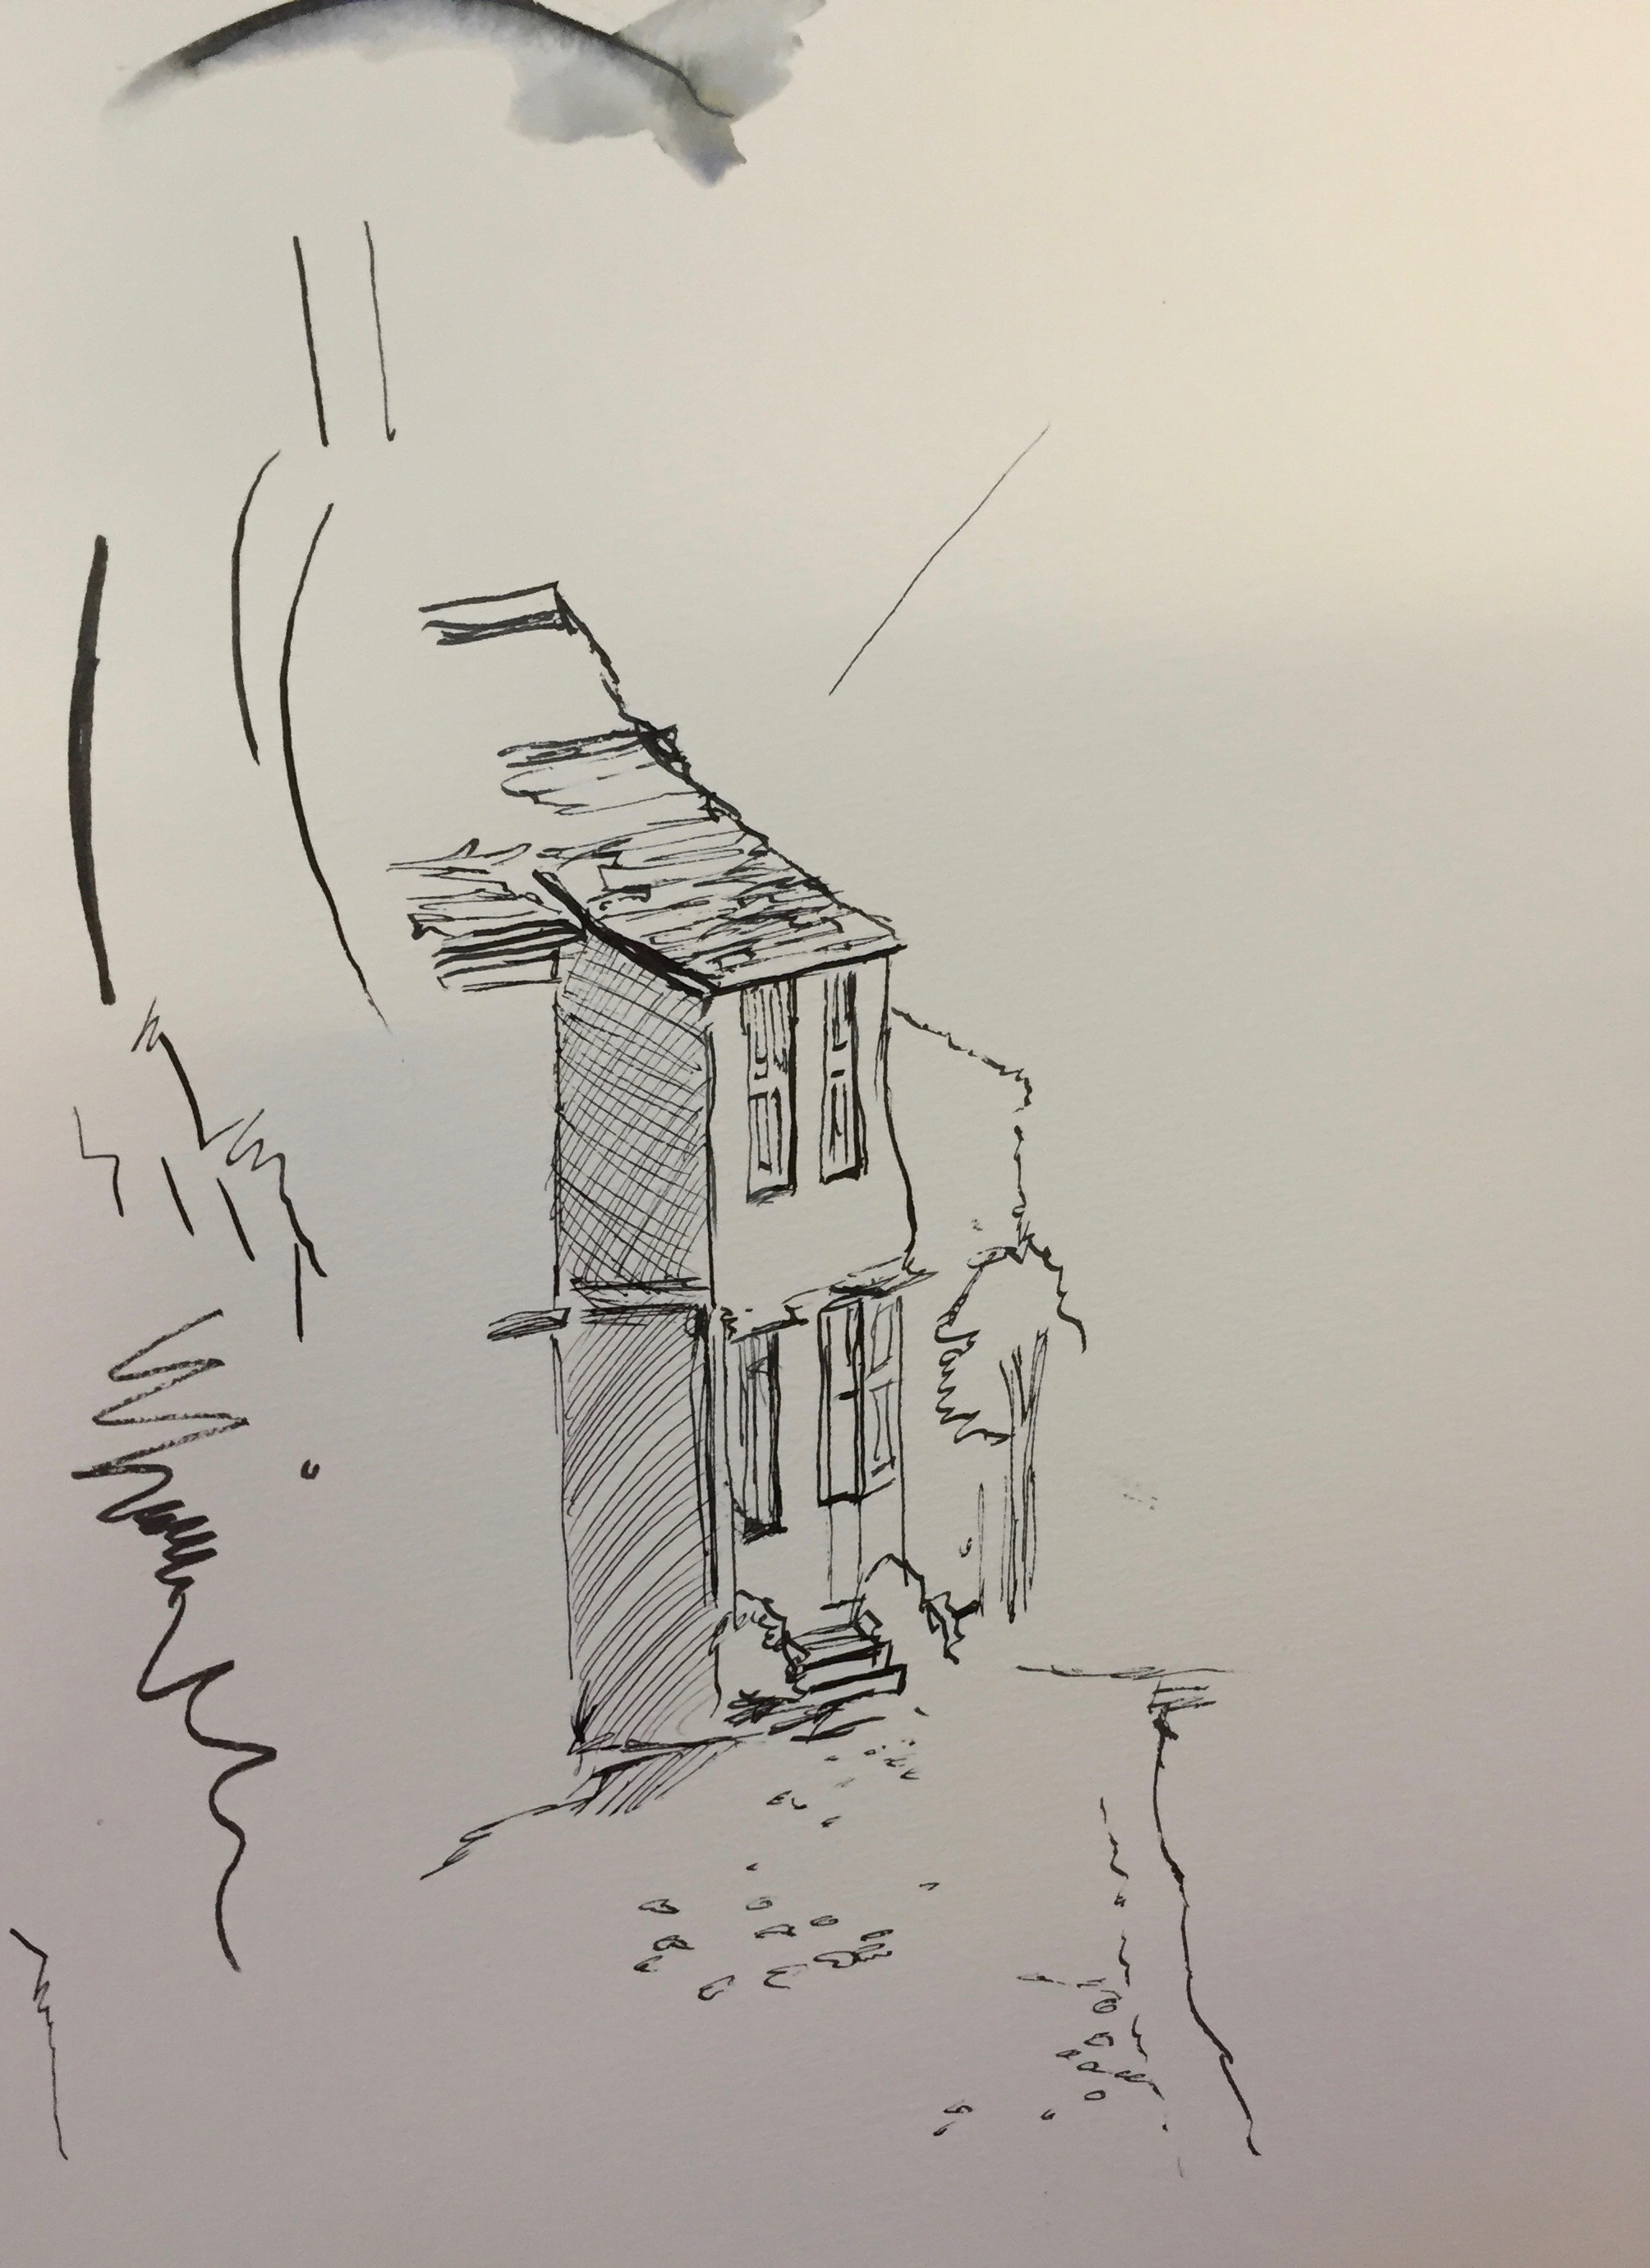
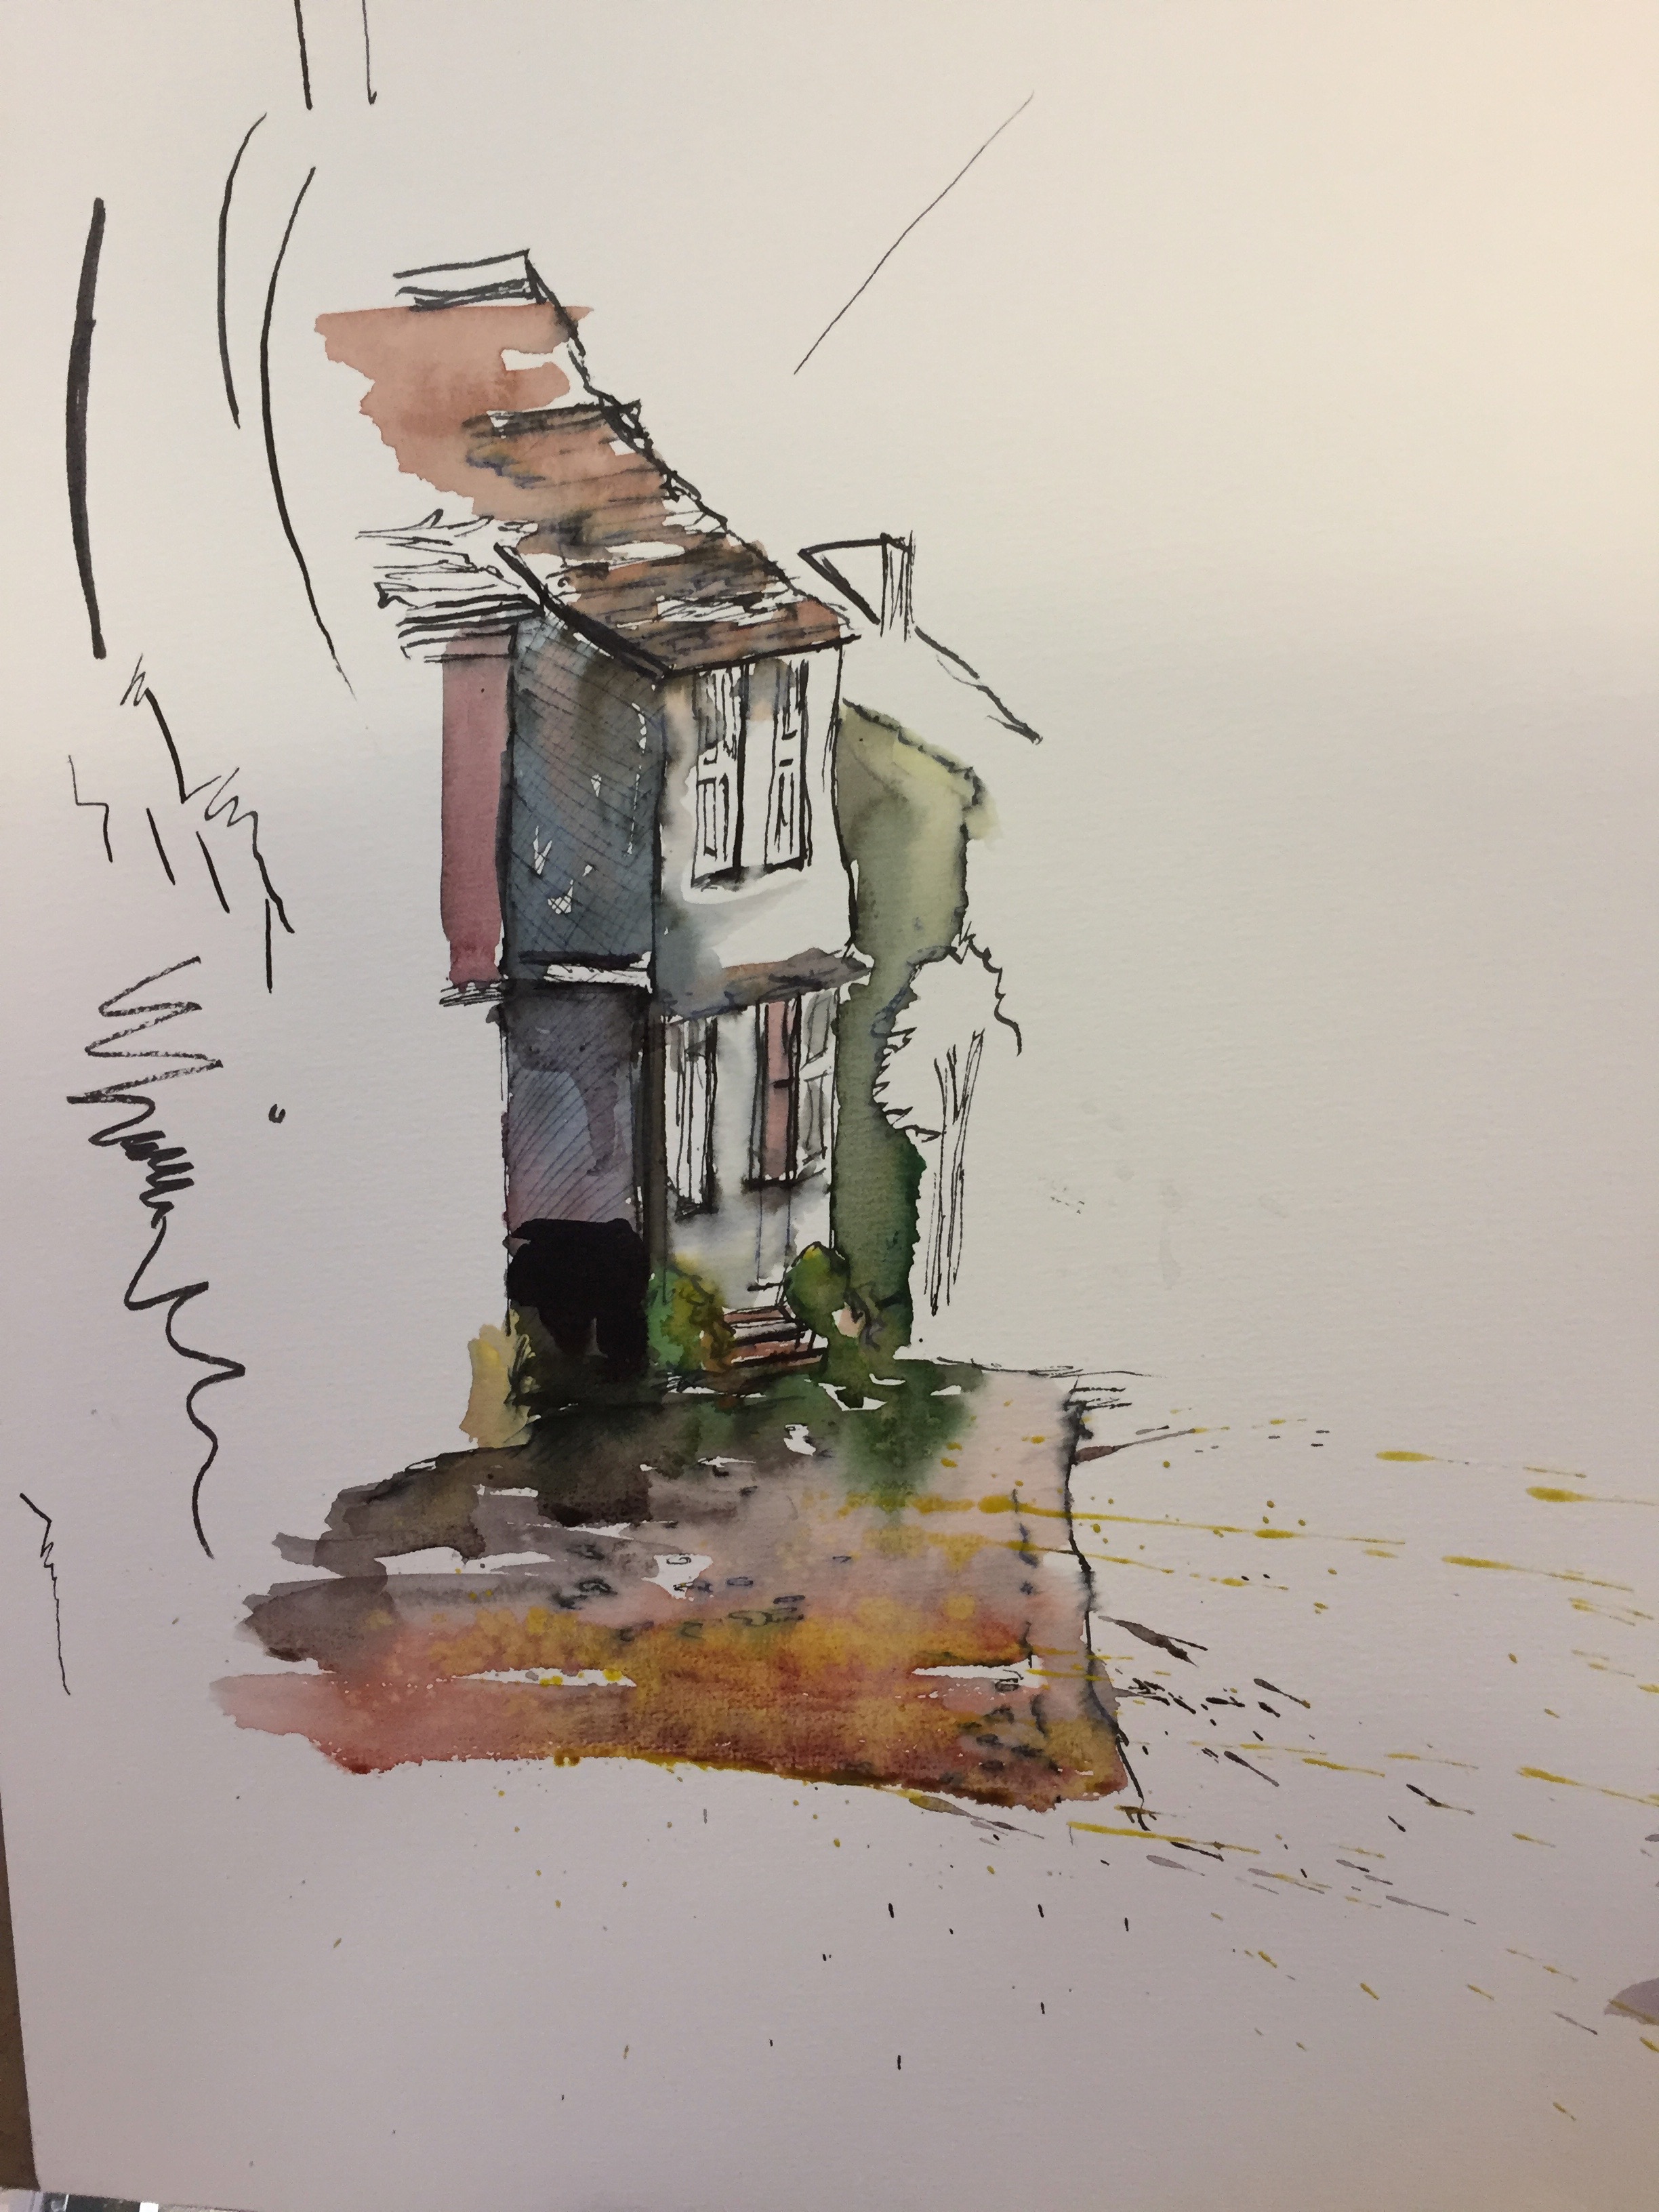
The demo started with using the pen first to outline the chosen art. She used some cross hatching and varied the width of the lines. She said to ask yourself, ‘how much pen do I want to put on or what kind of strokes or dots to make? Once the drawing is completed, you must carefully add the watercolor wash knowing that some of the ink will dissolve into the colors. This effect can also be achieved using charcoal pencil. You can go back over the dried piece to enhance any lines or colors.
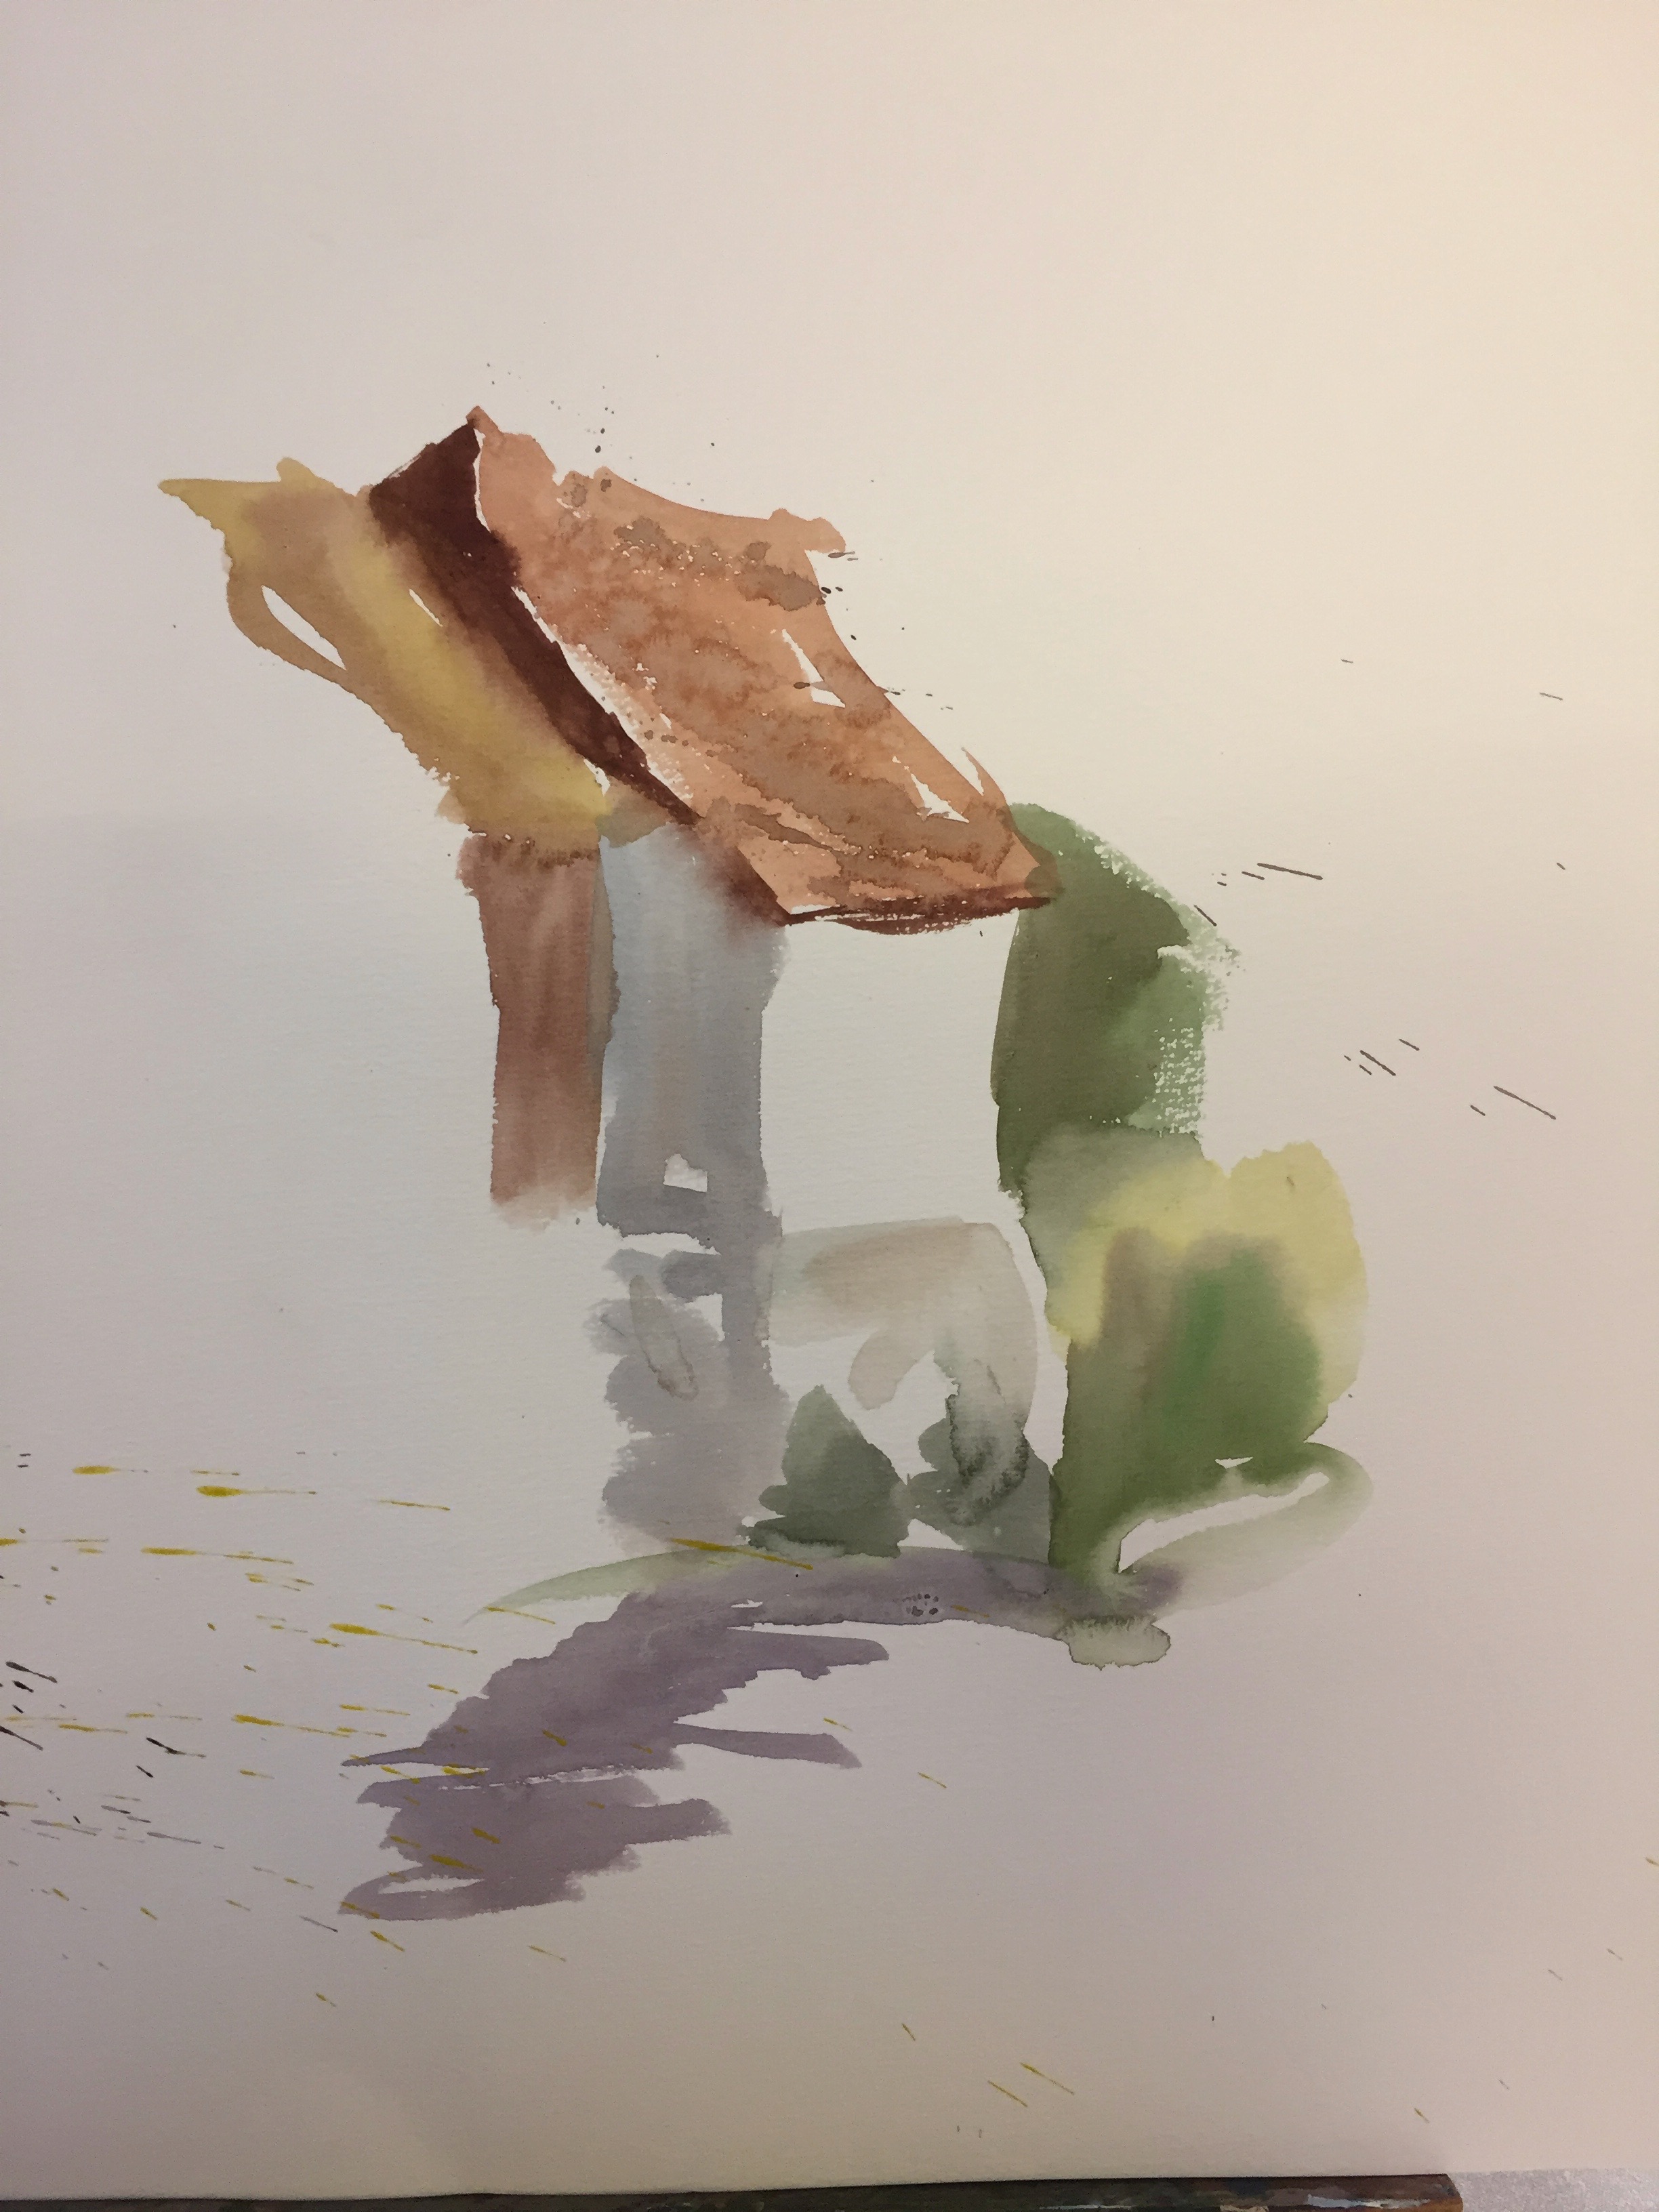
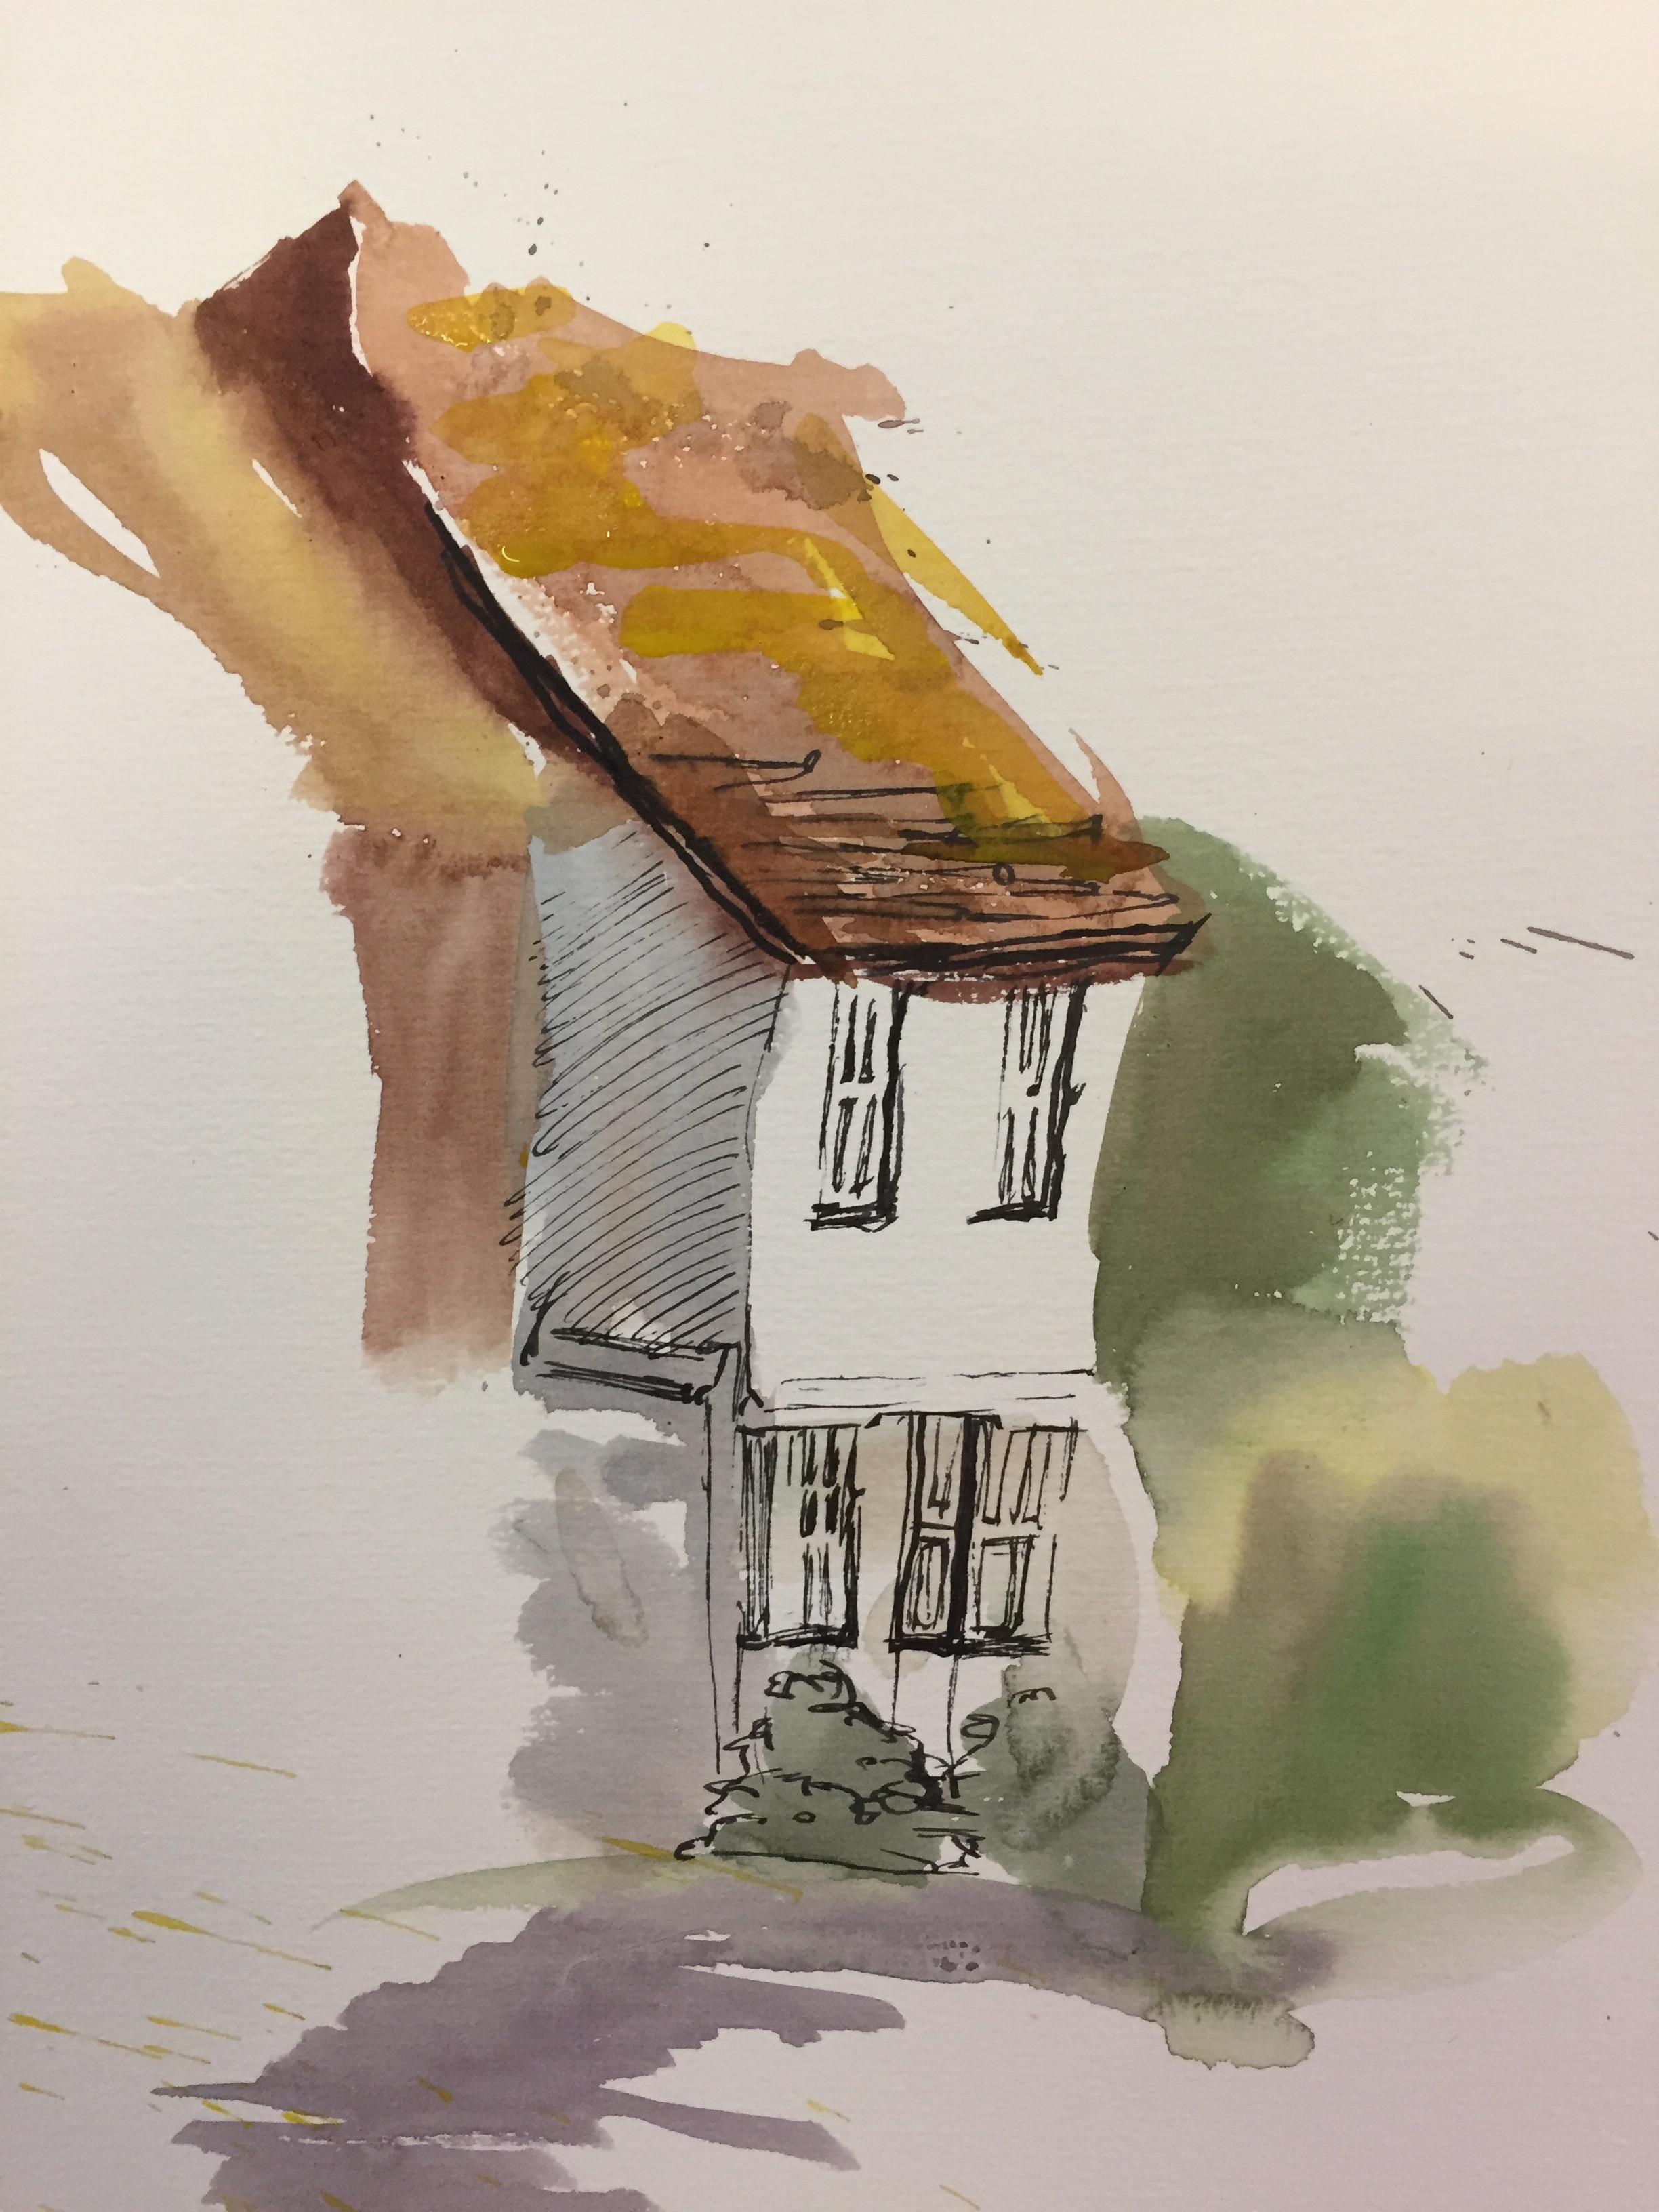
Putting the wash on first is done with drawing the image with watercolor and a brush, letting it dry (unless you want it to bleed) and adding the quink ink lines and dots after. See below to note the difference in results.
These are just two ways to use these lovely mediums. Play with them and see!