Acrylics and oil sticks, along with materials easily assembled at home, monoprinting was the focus of today’s demonstration.
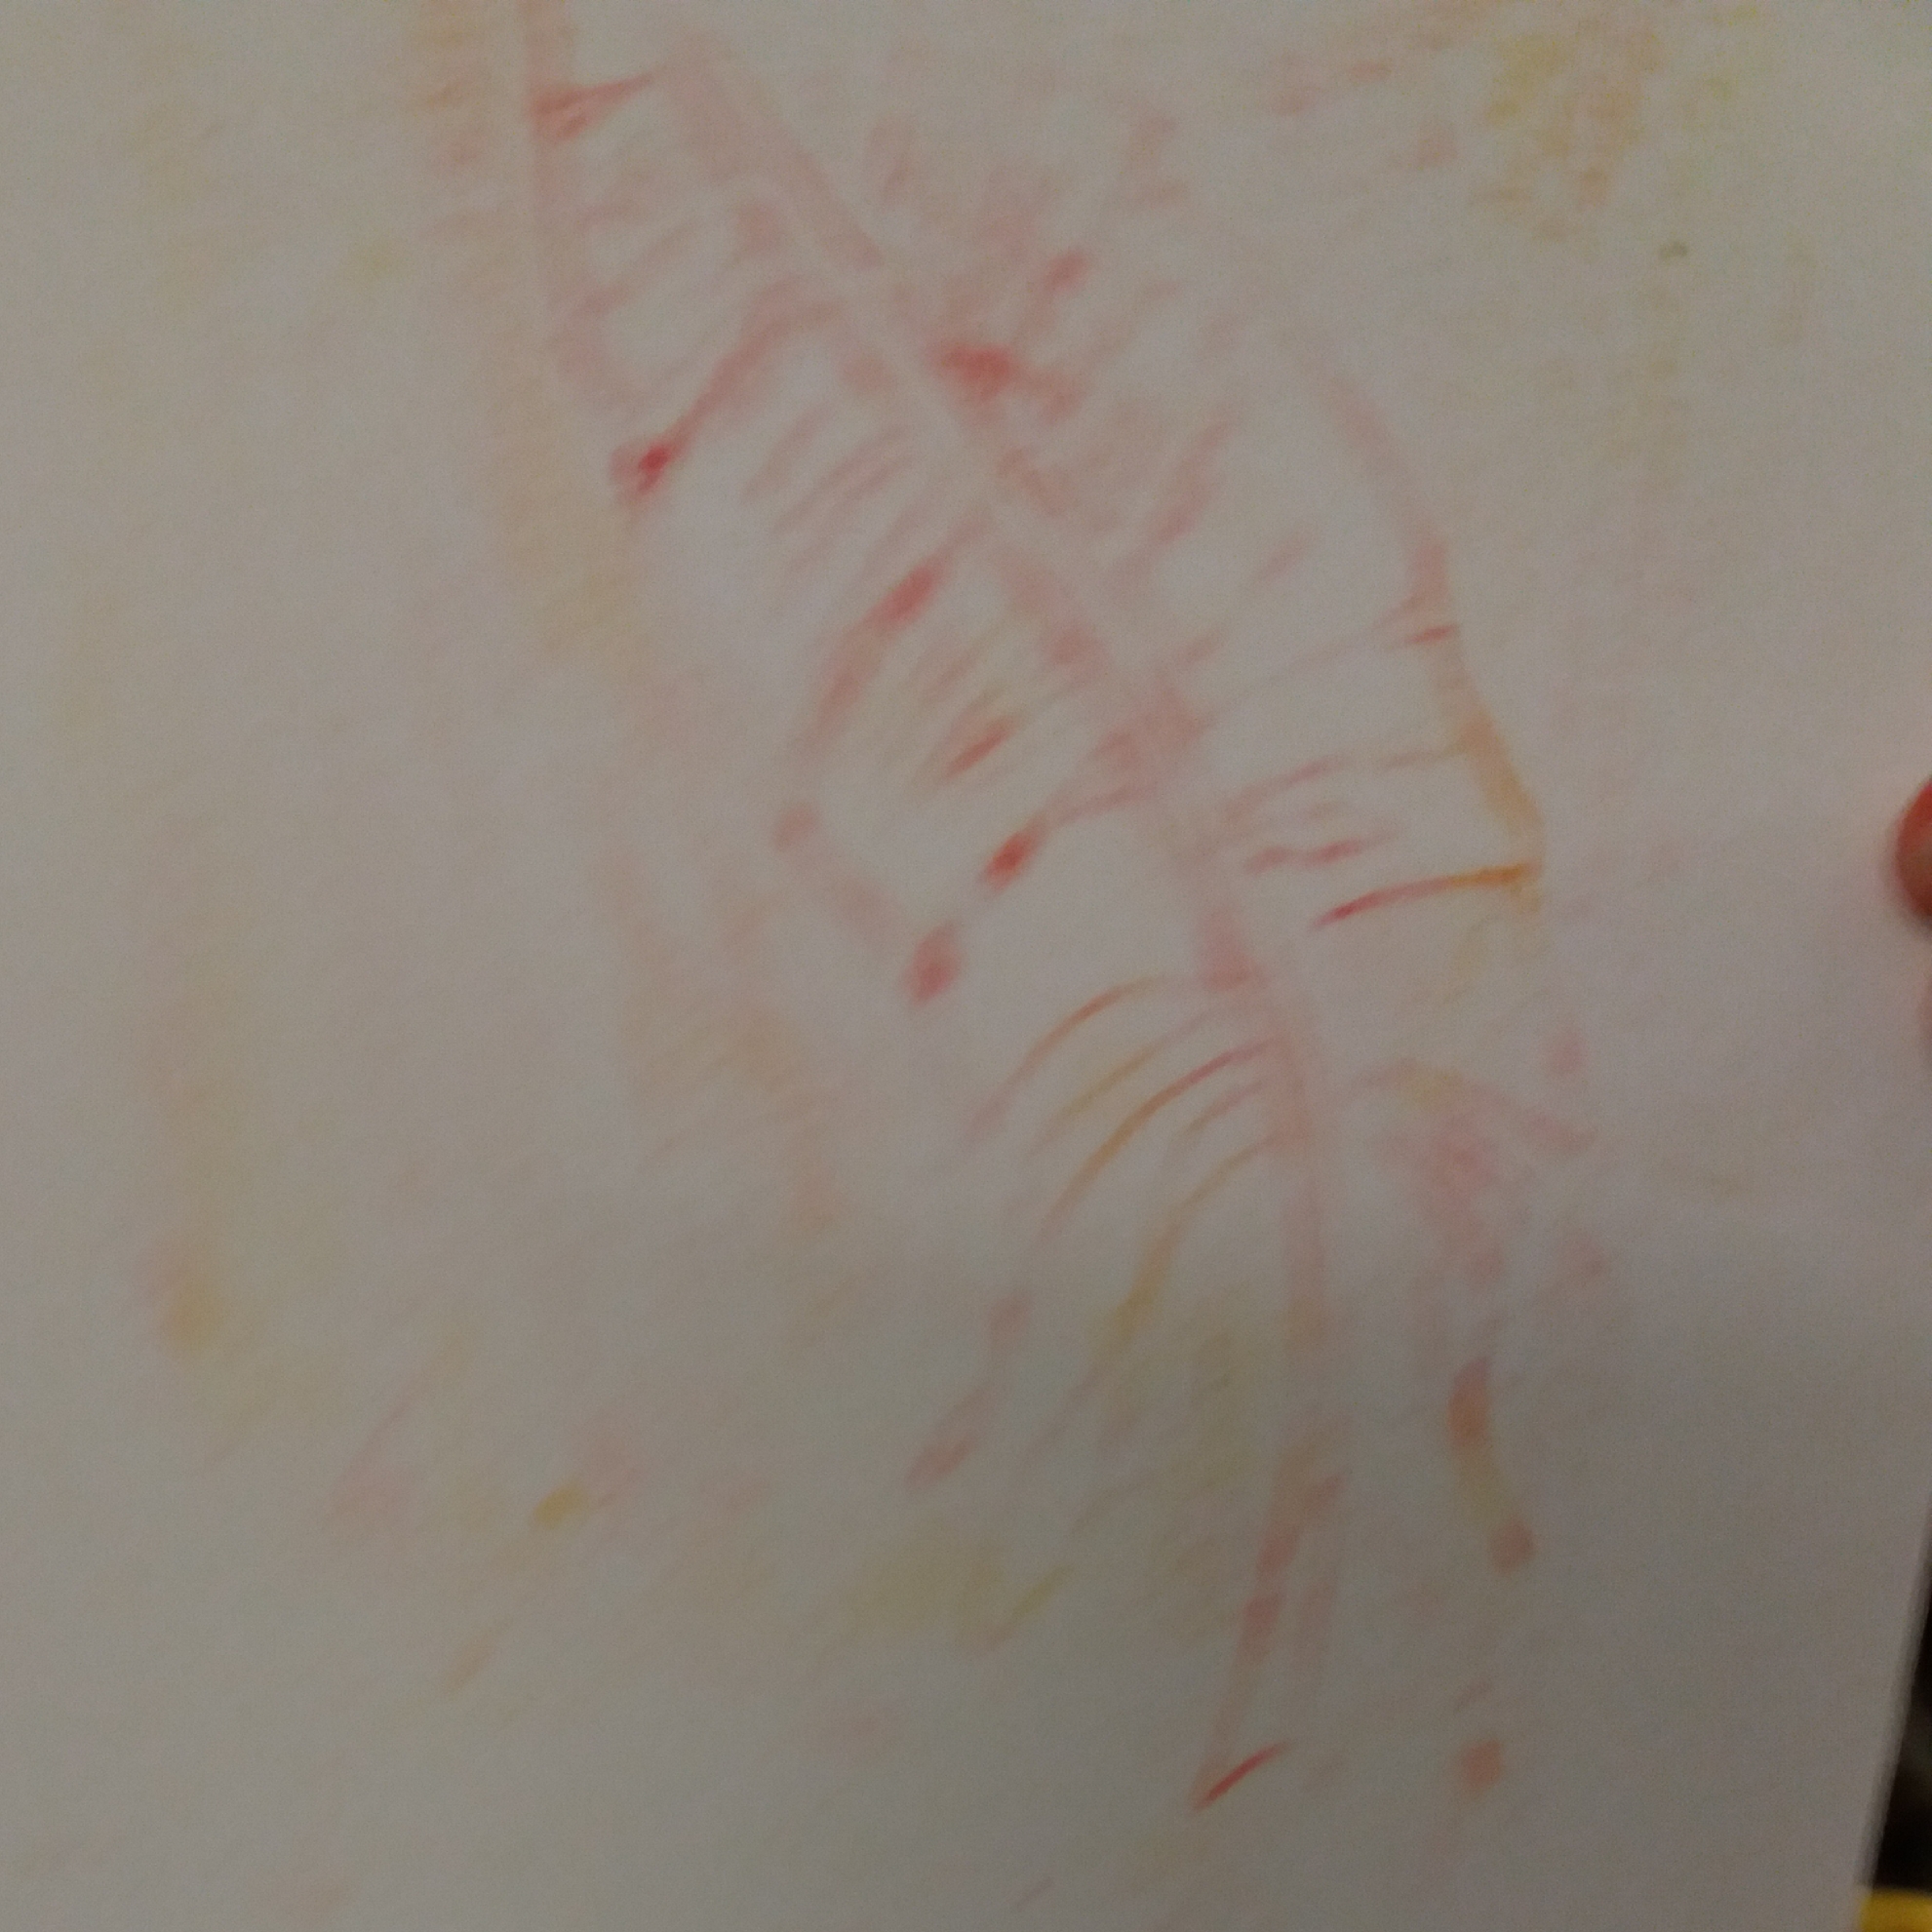
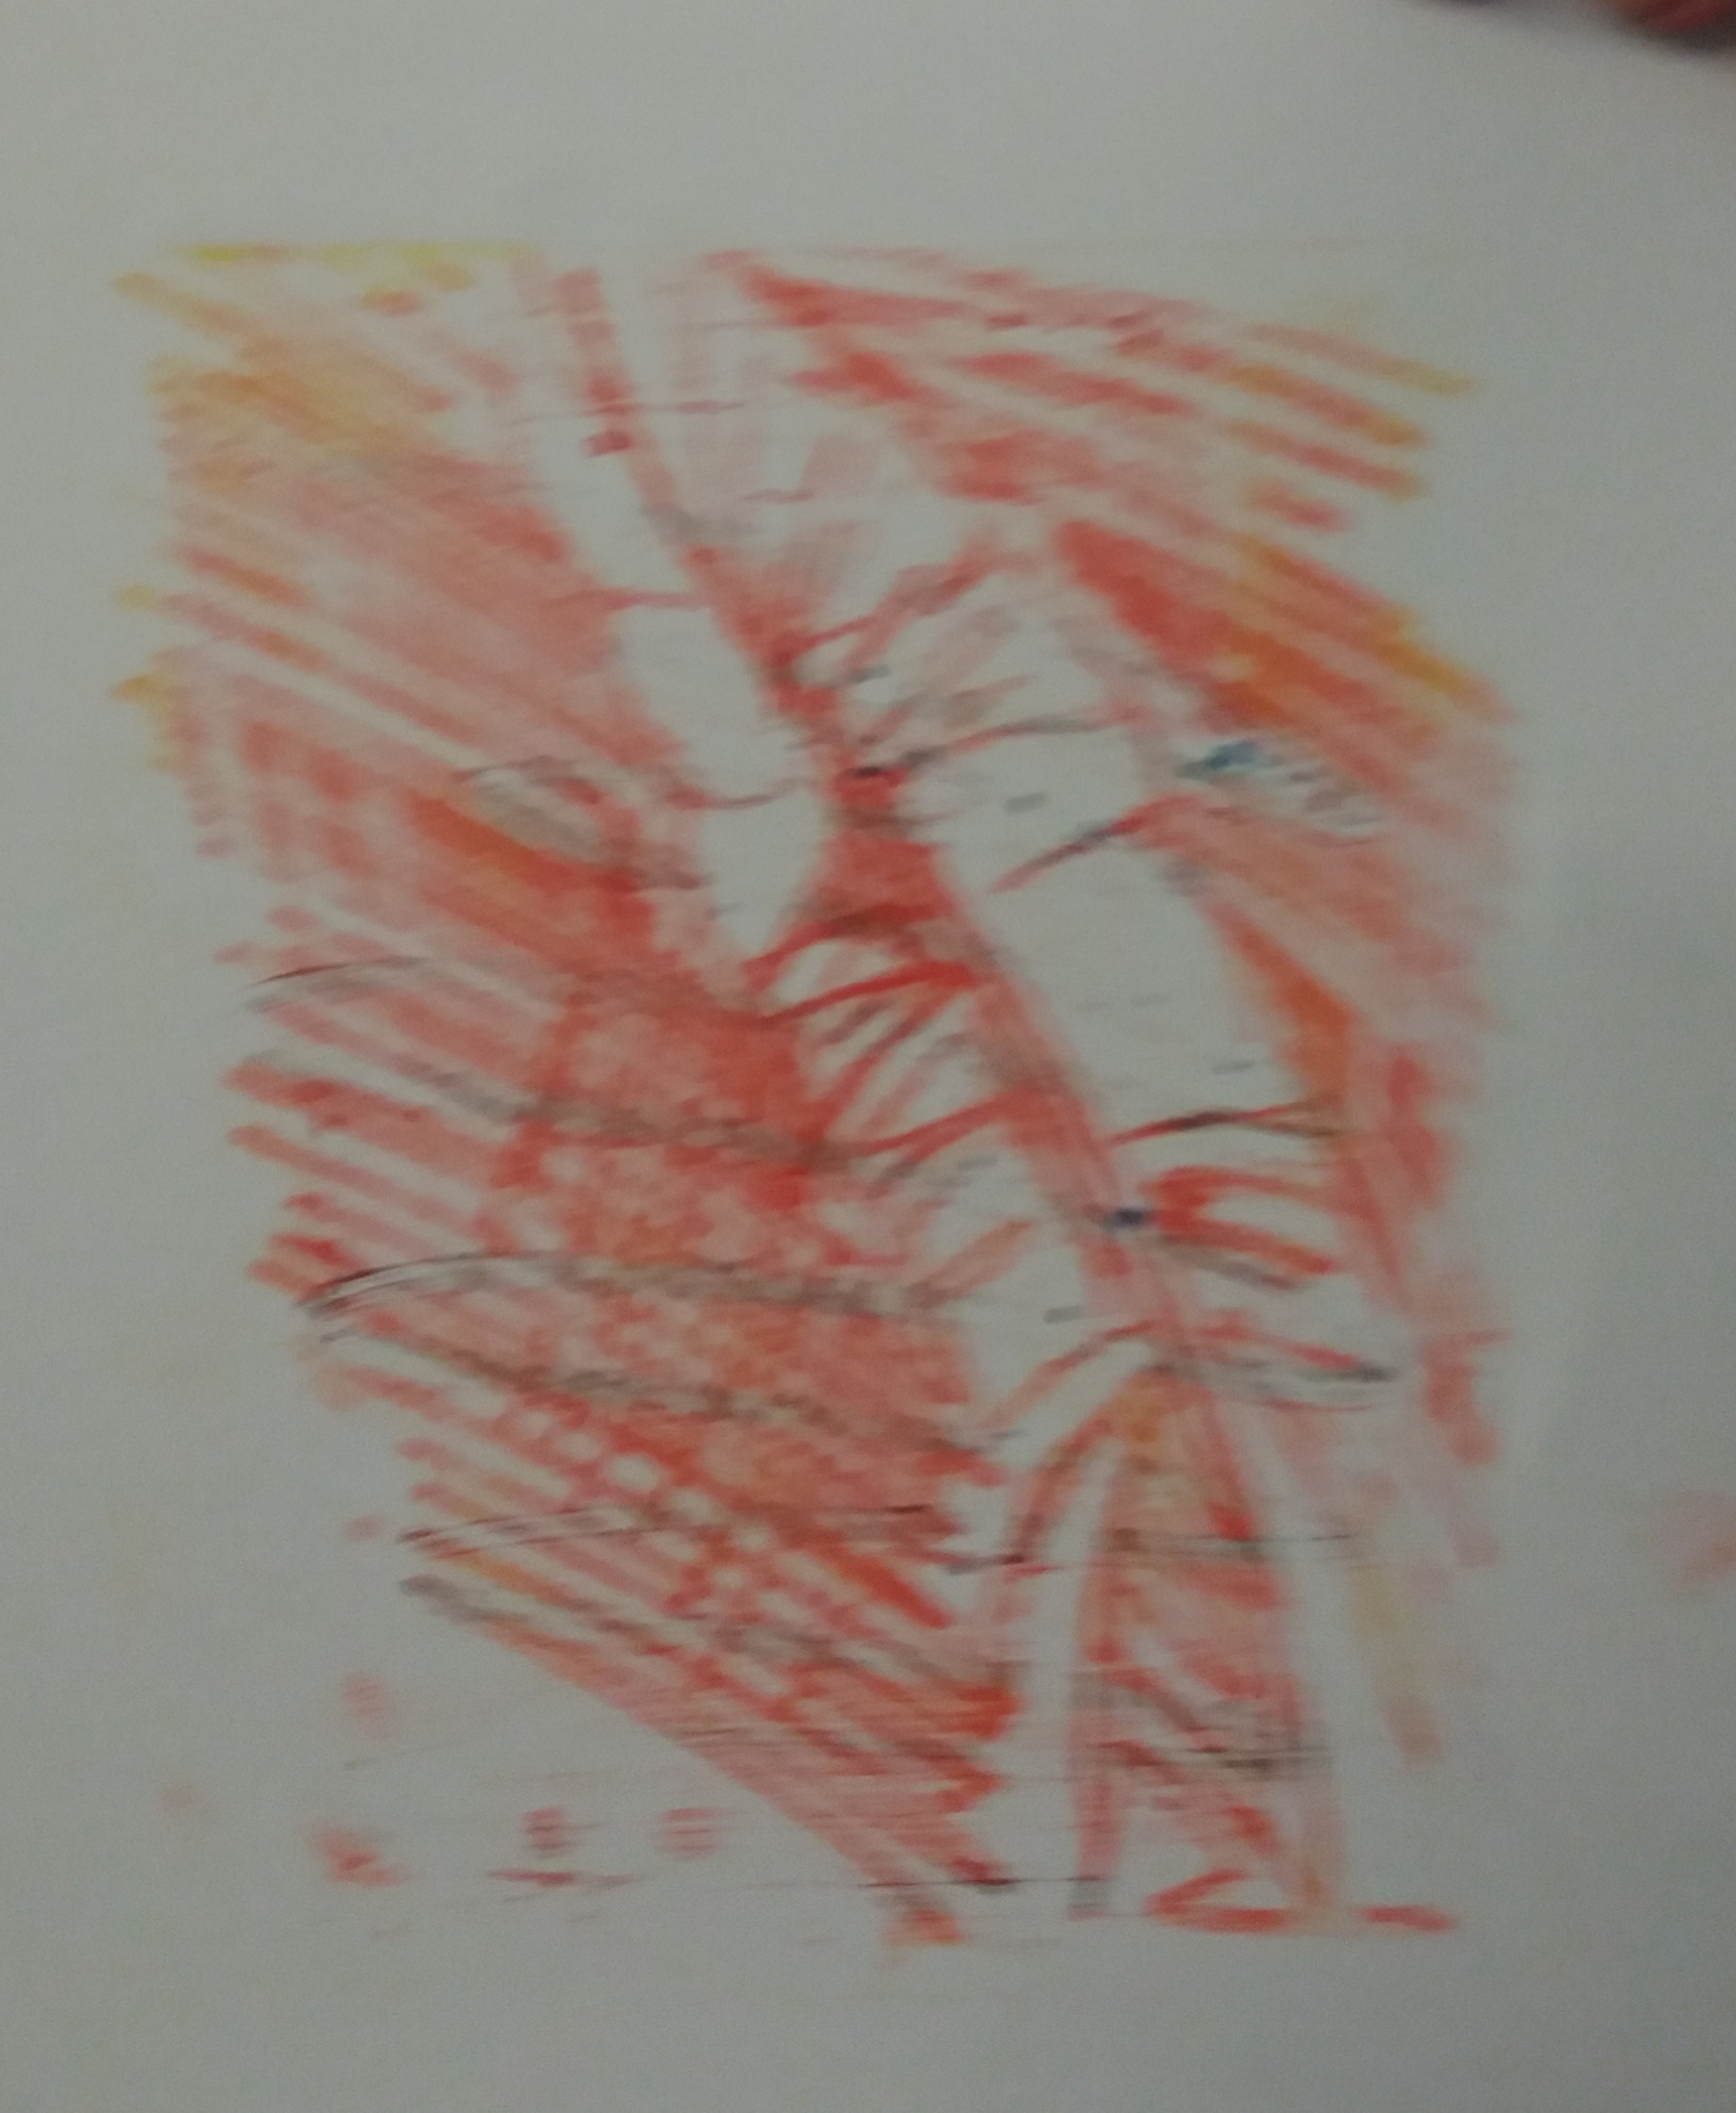
Using an oil stick and a glass sheet (ex-refrigerator), Caroline covered the glass with a layer of oil colour, then laid the paper on top, and used a pencil to draw the desired image, The first impression was quite faint, but further pressing with various implements brought out a stronger image.
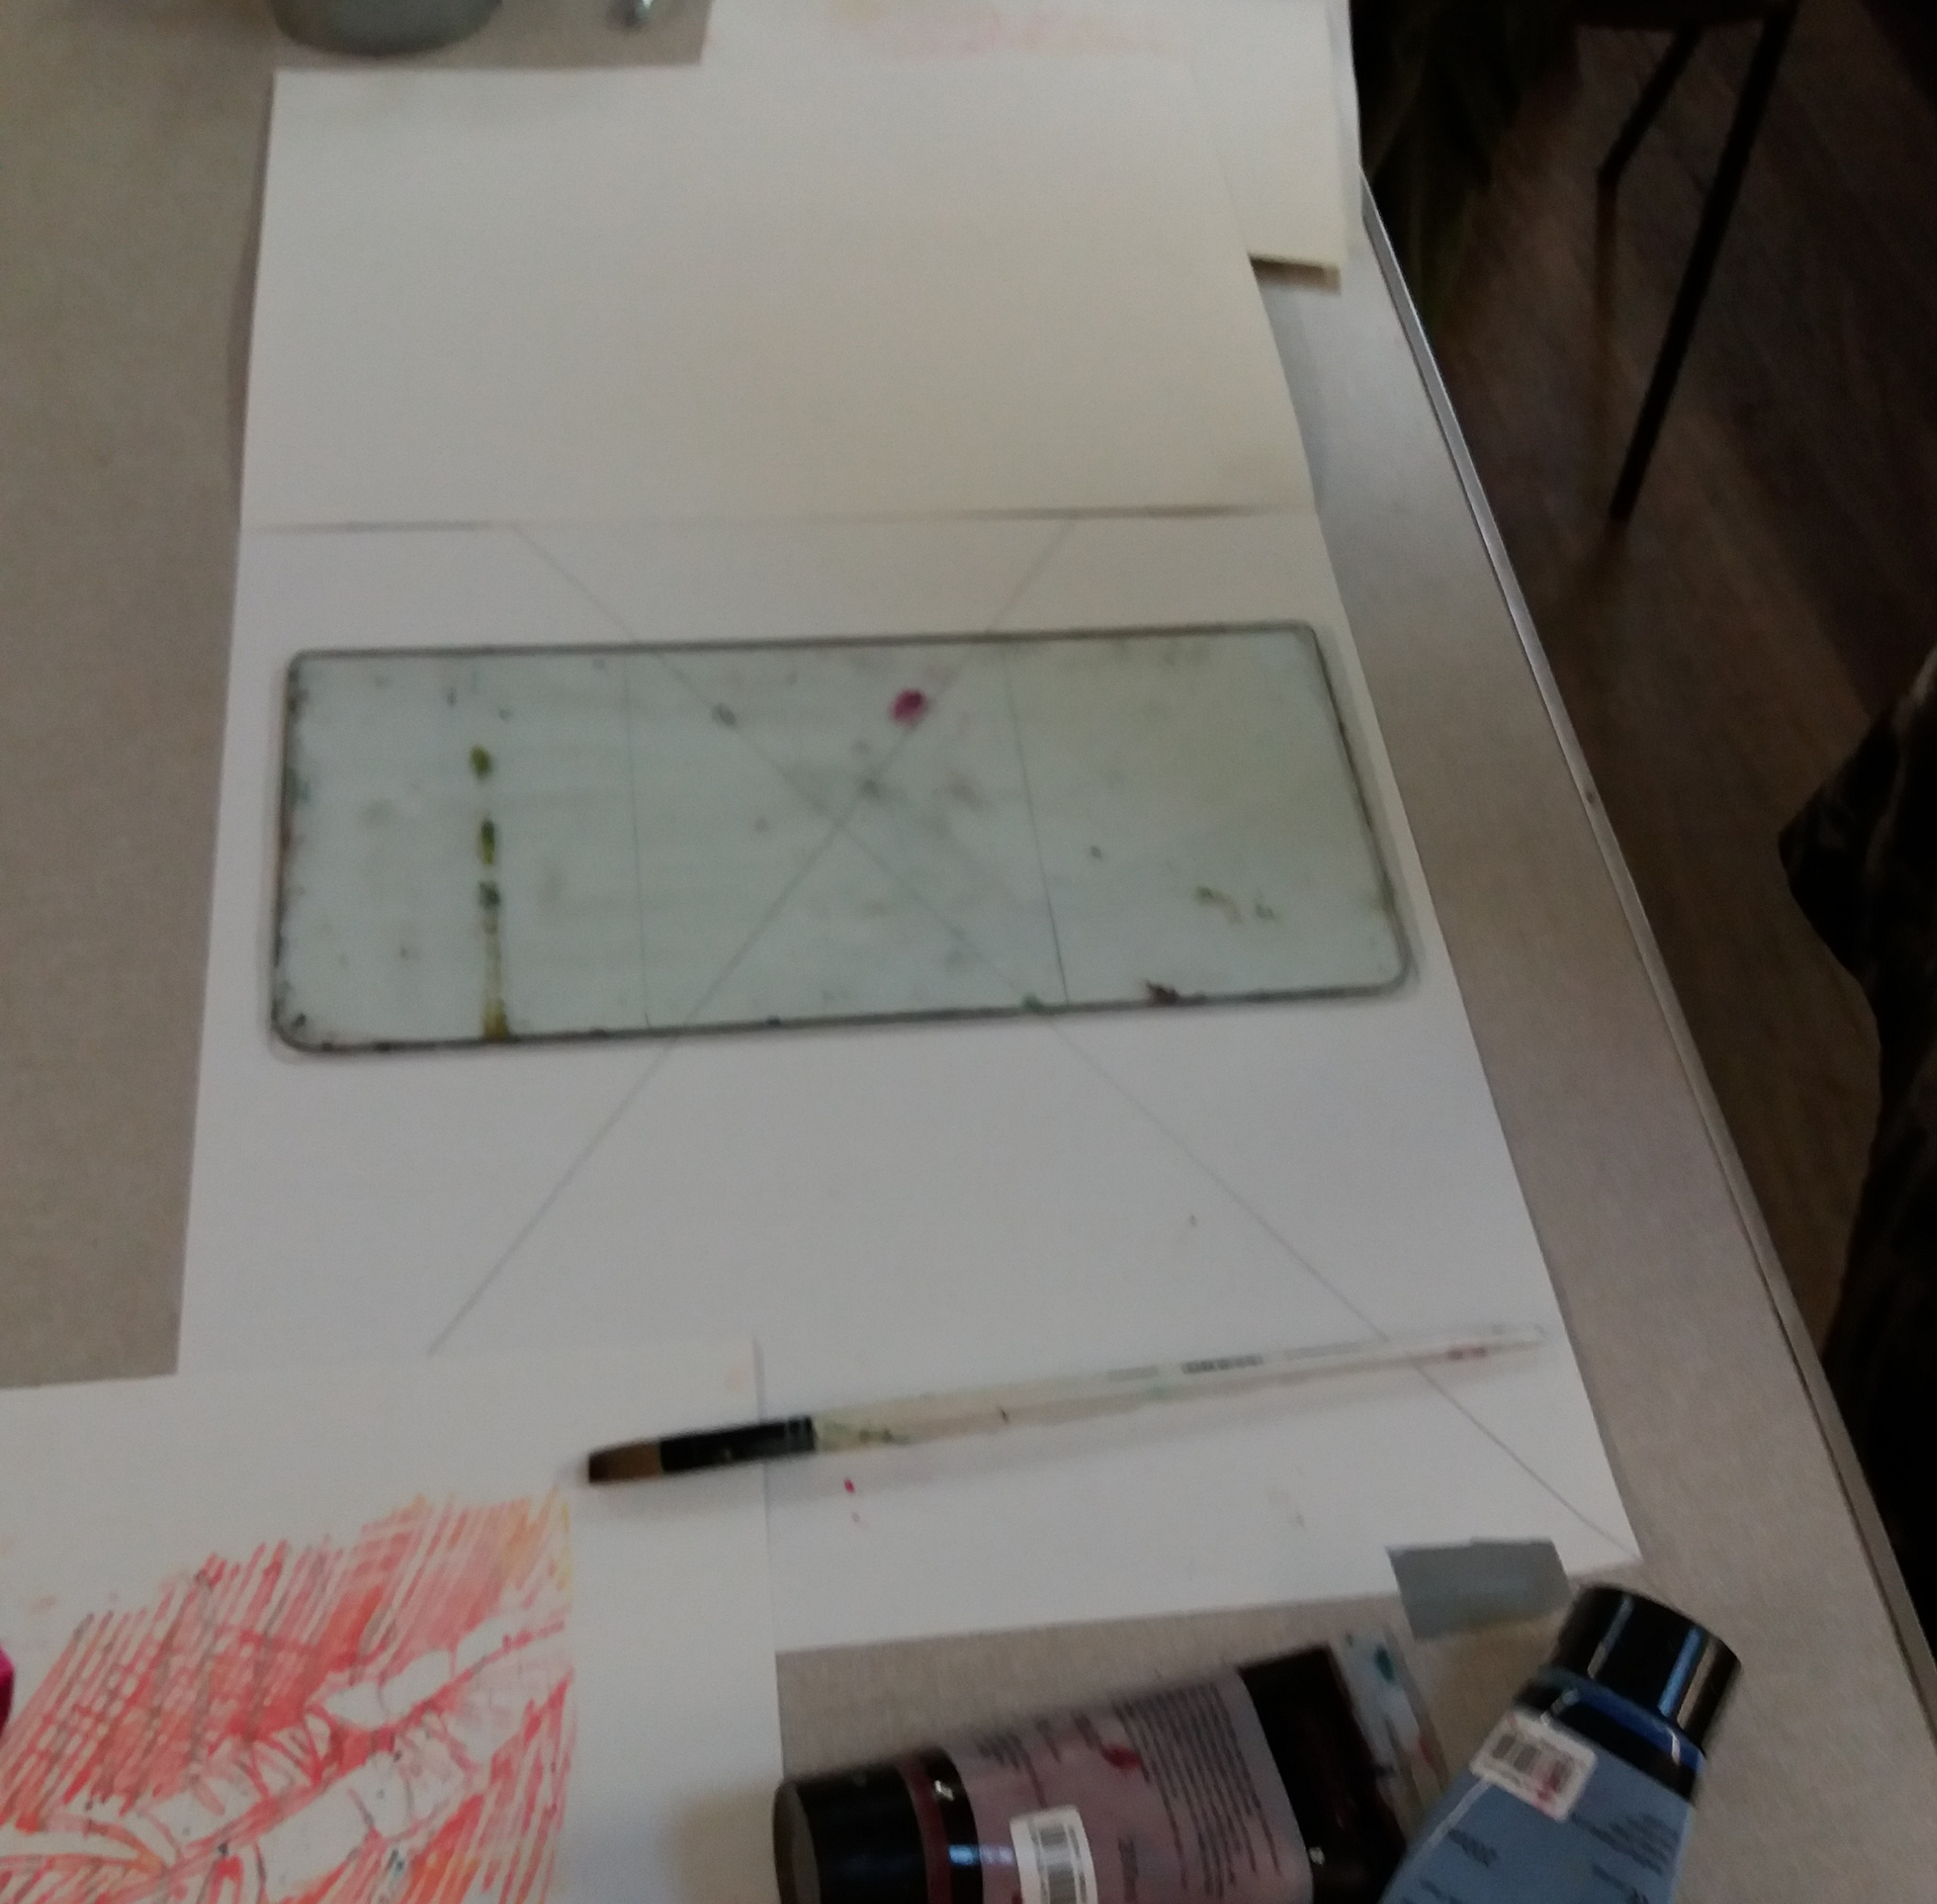
Judy then produced her gel pad (must be placed on a plastic sheet to avoid absorption on surfaces).
Here acrylic paints were used and slathered onto the pad using a brayer roller to get an even spread. Paper was applied, and a dotted roller to give texture to the print. Judy noted that any image can be cut out and used as a mask at any point in the process.

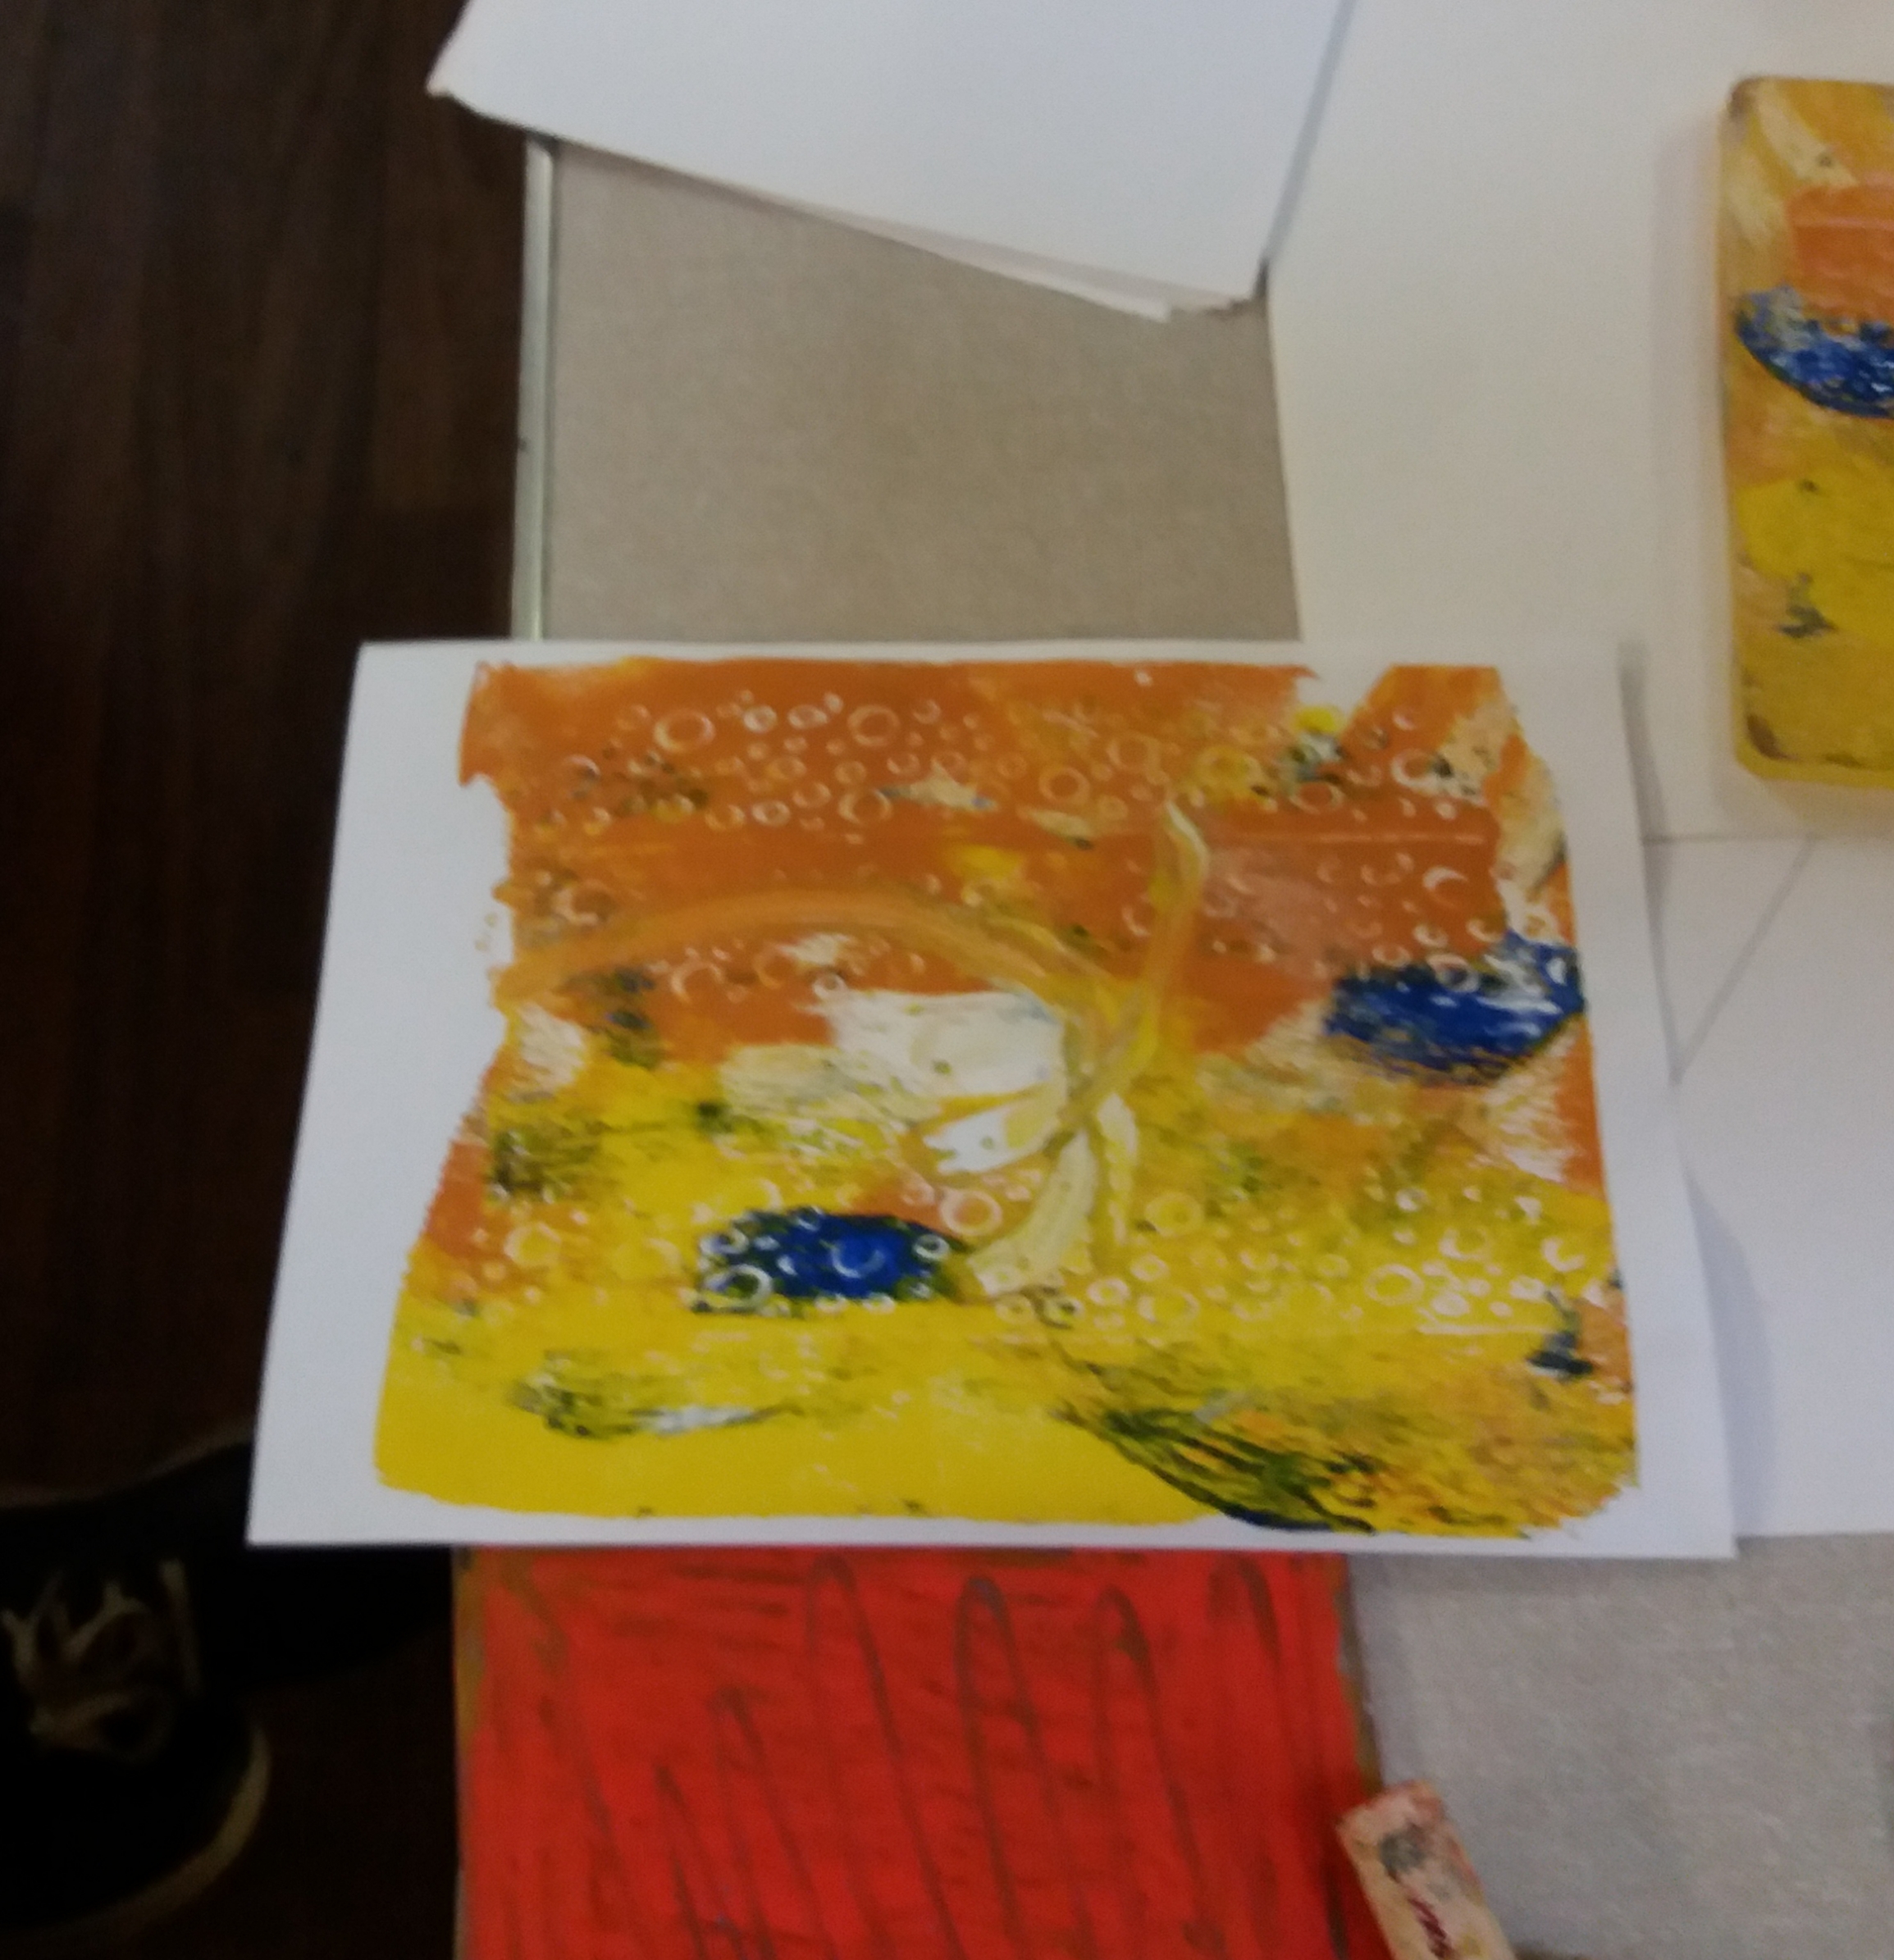
The third part of this very engaging session began with Caroline putting the glass panel on to a grid-marked sheet, which had the “impression” sheet taped, to facilitate a multi-colour print process.
Caroline then painted a yellow pattern of circles on the glass, printed, then red circles.
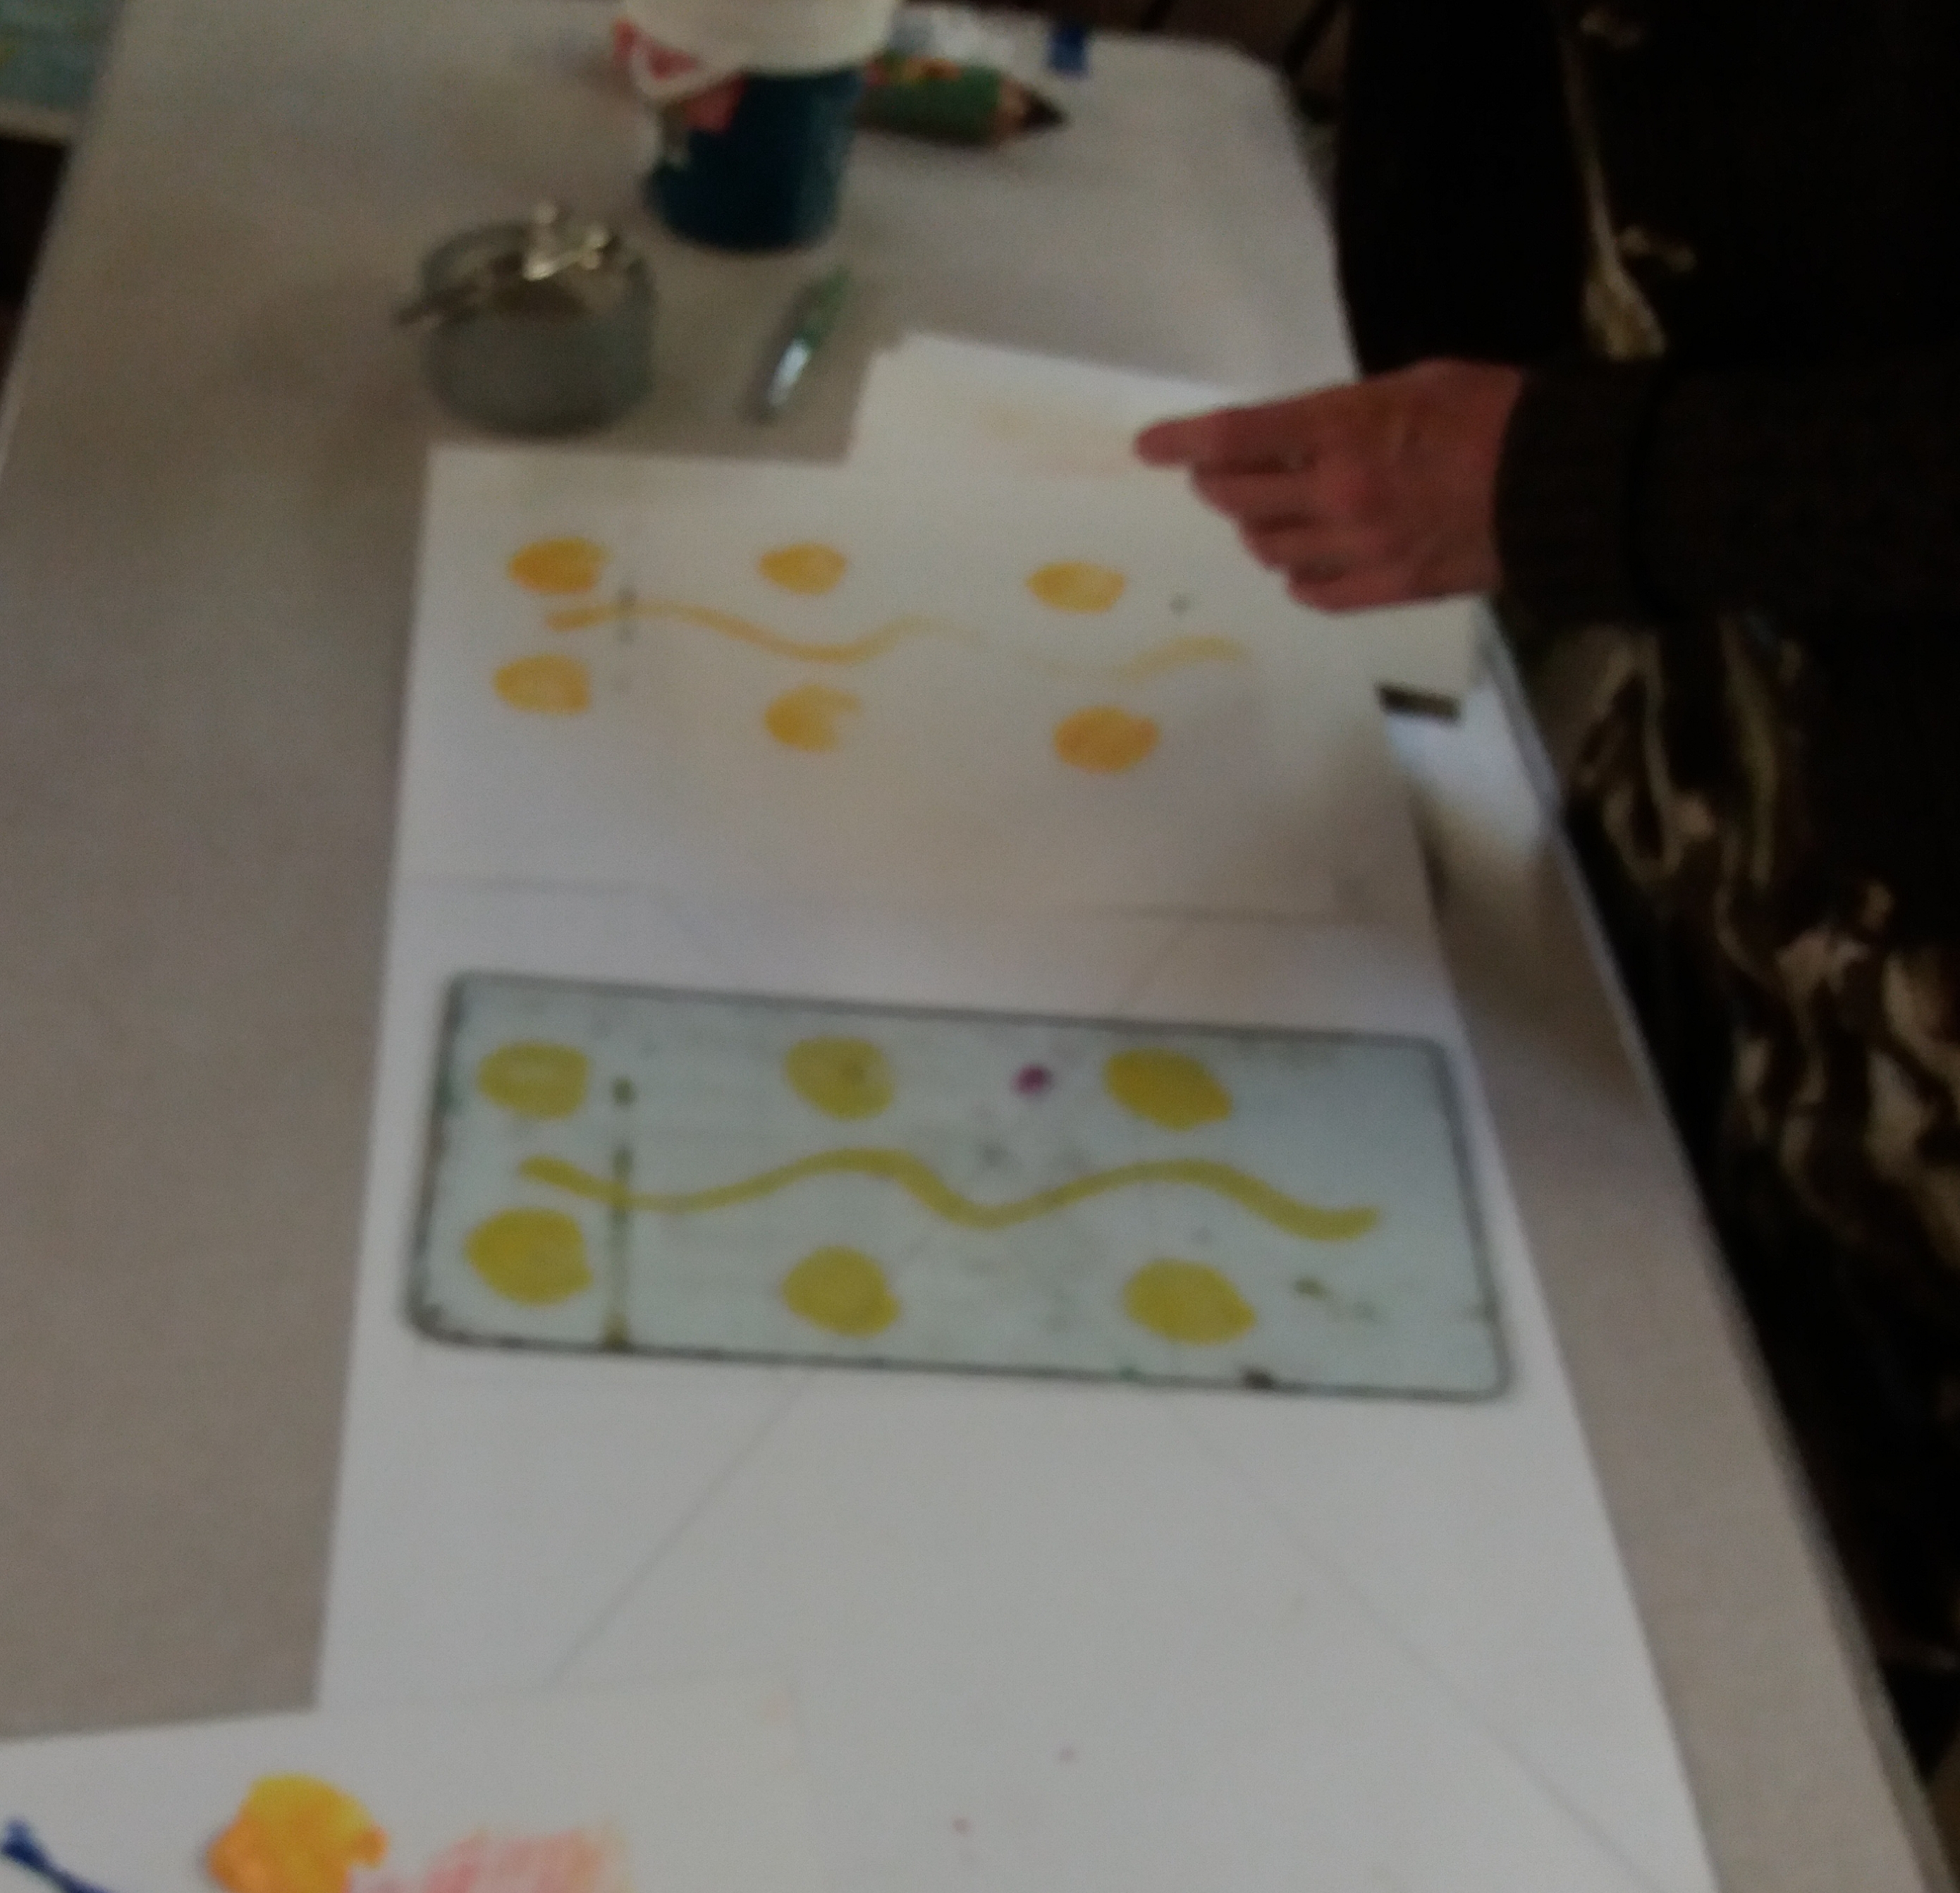
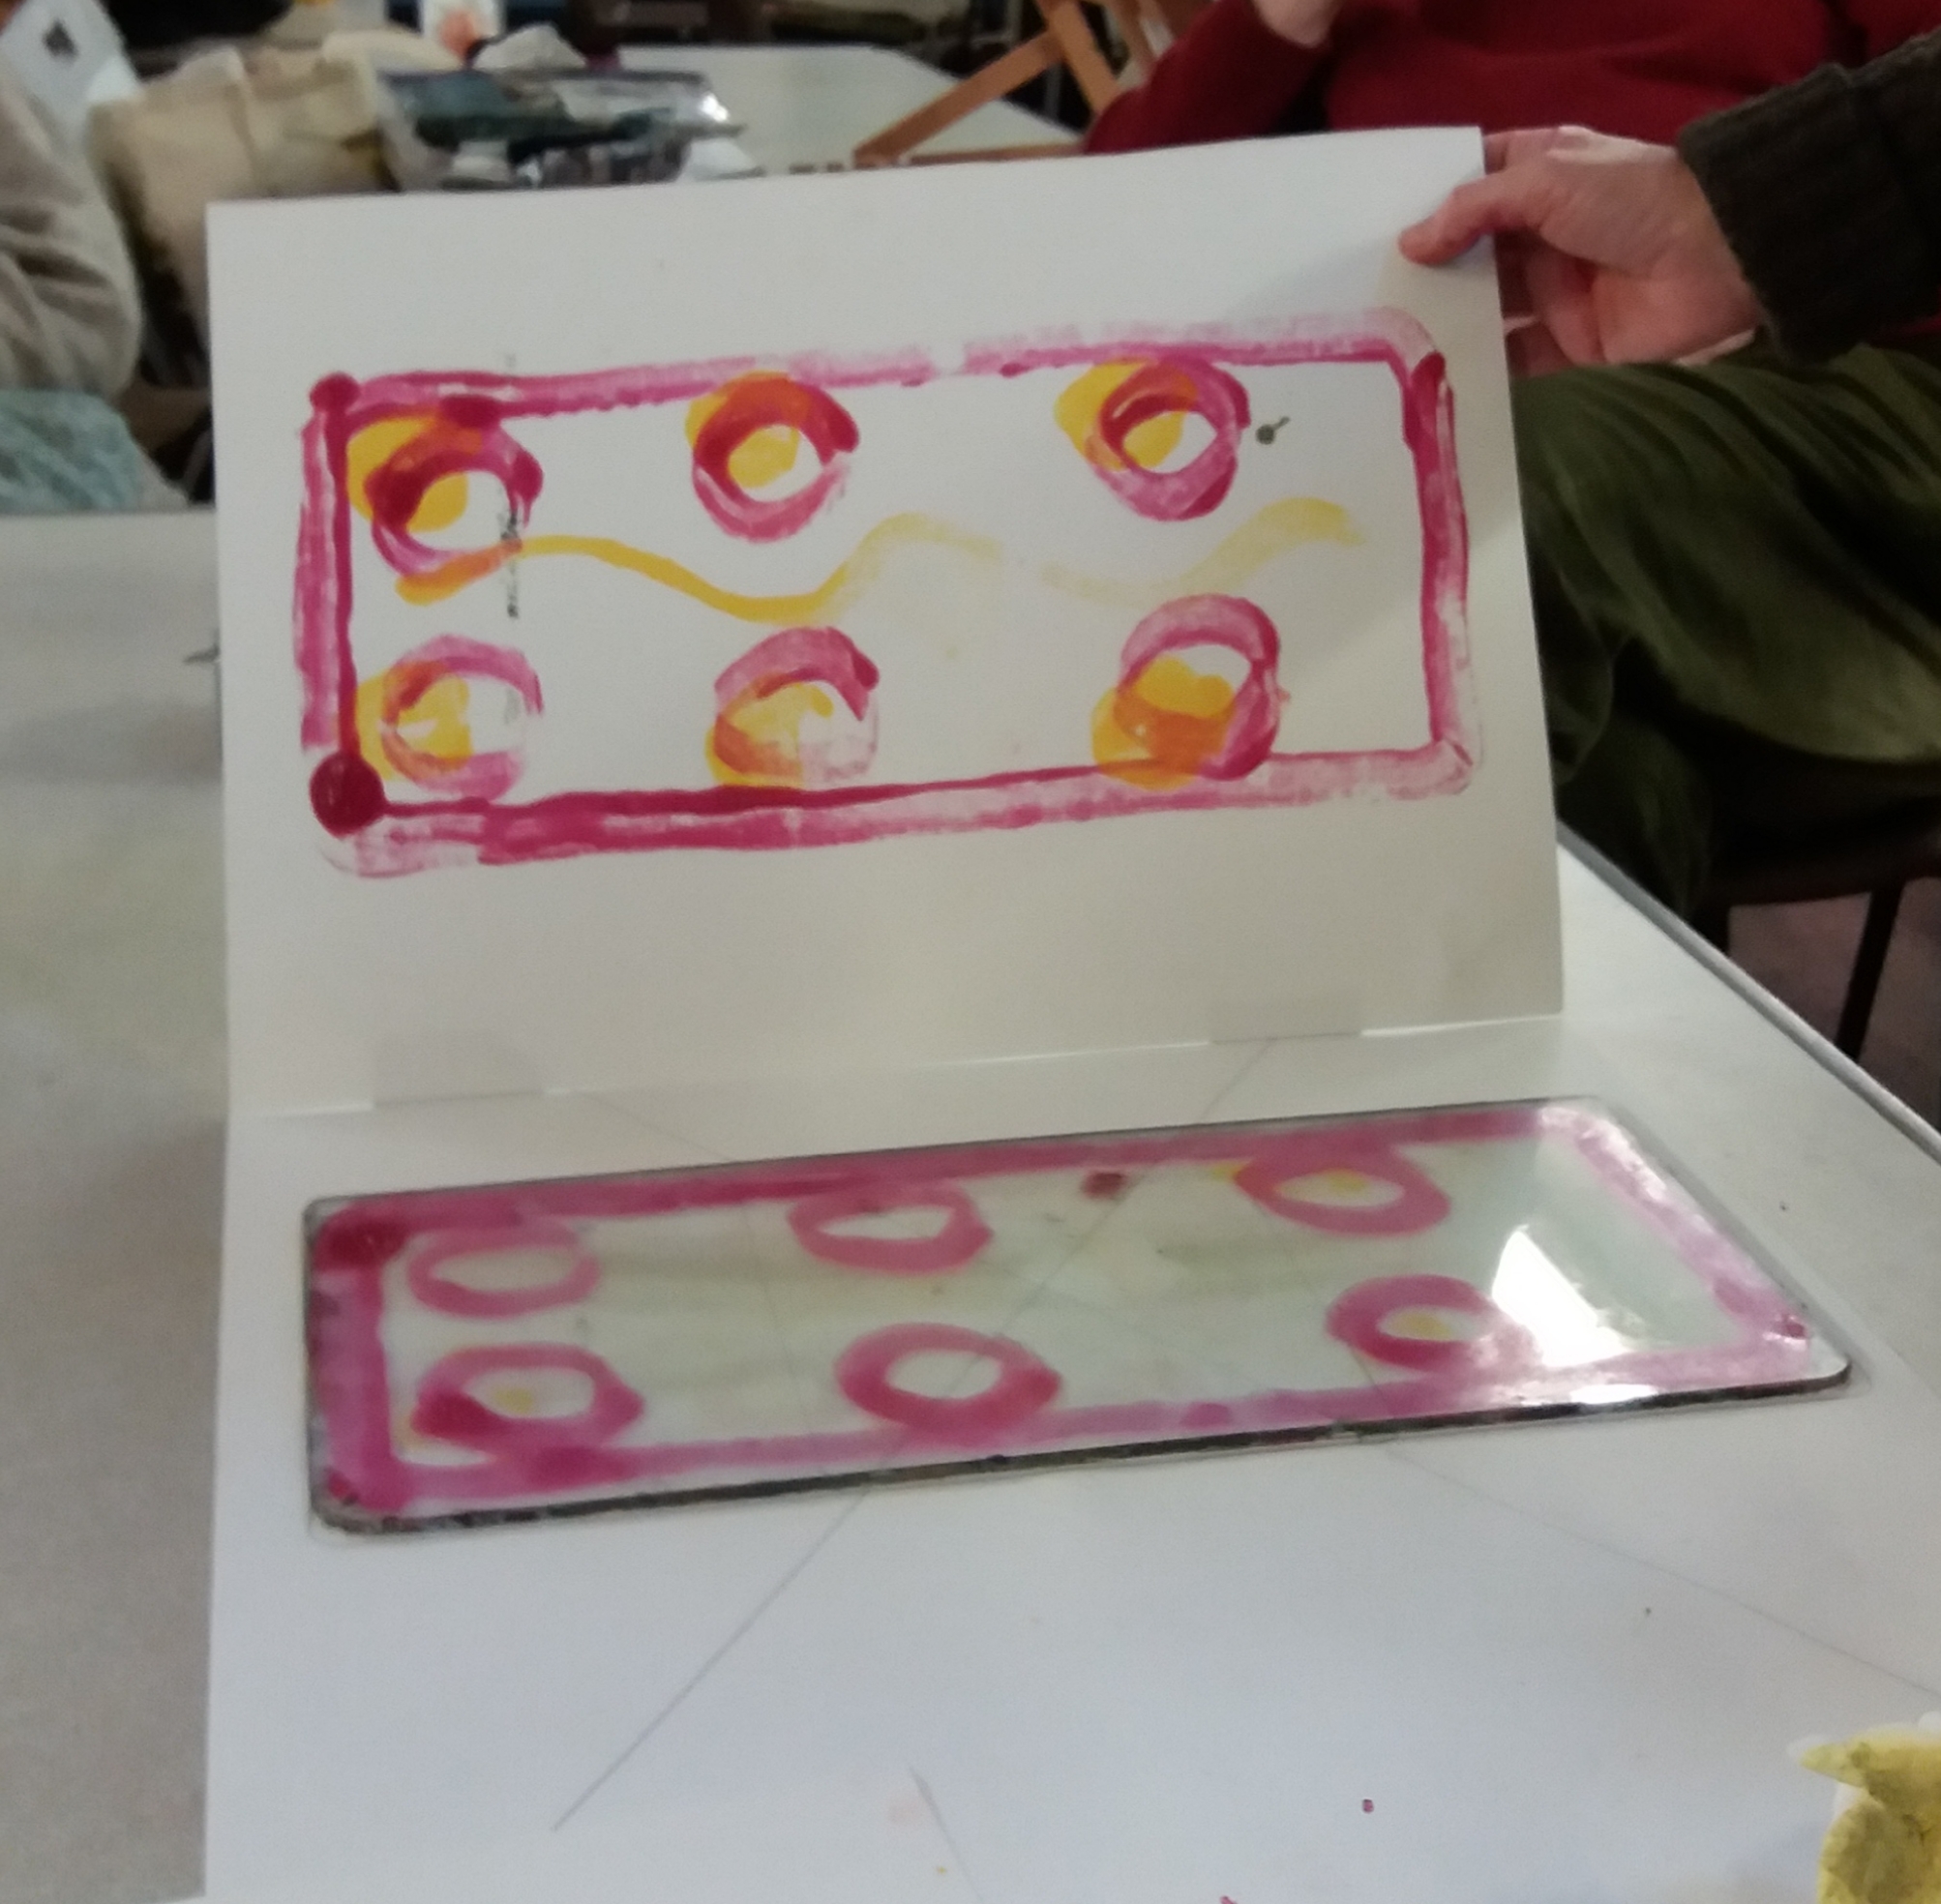
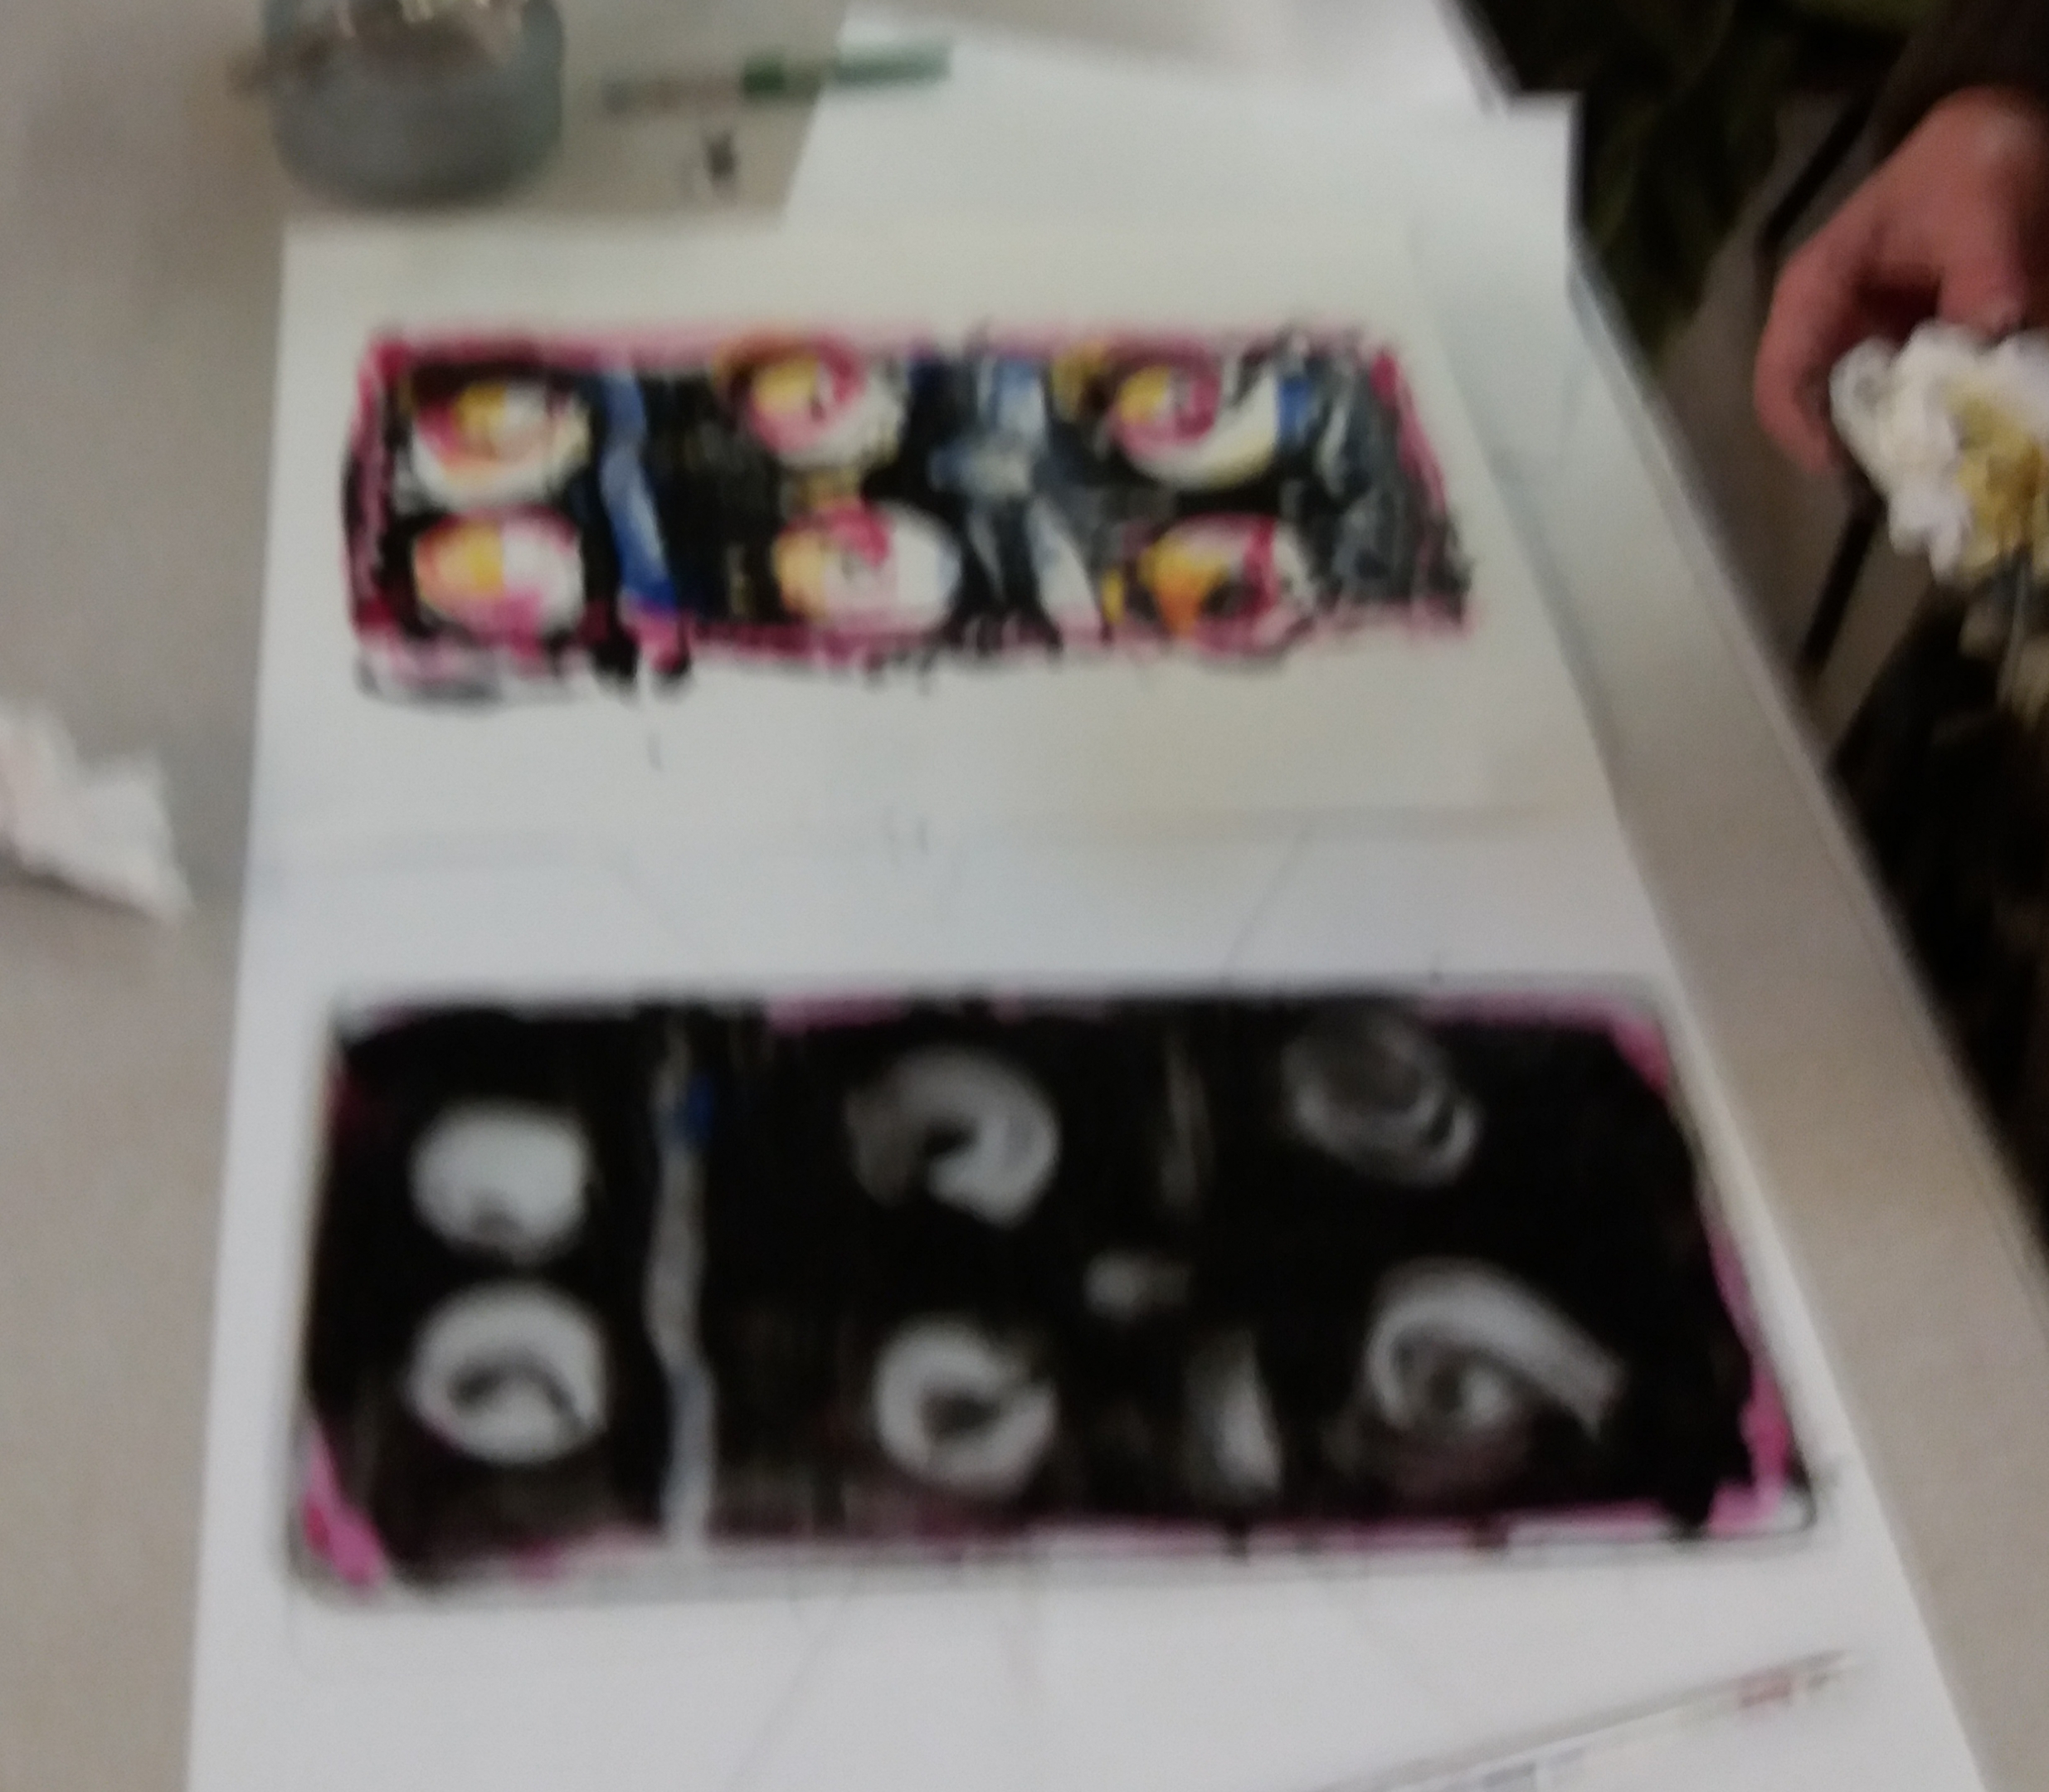
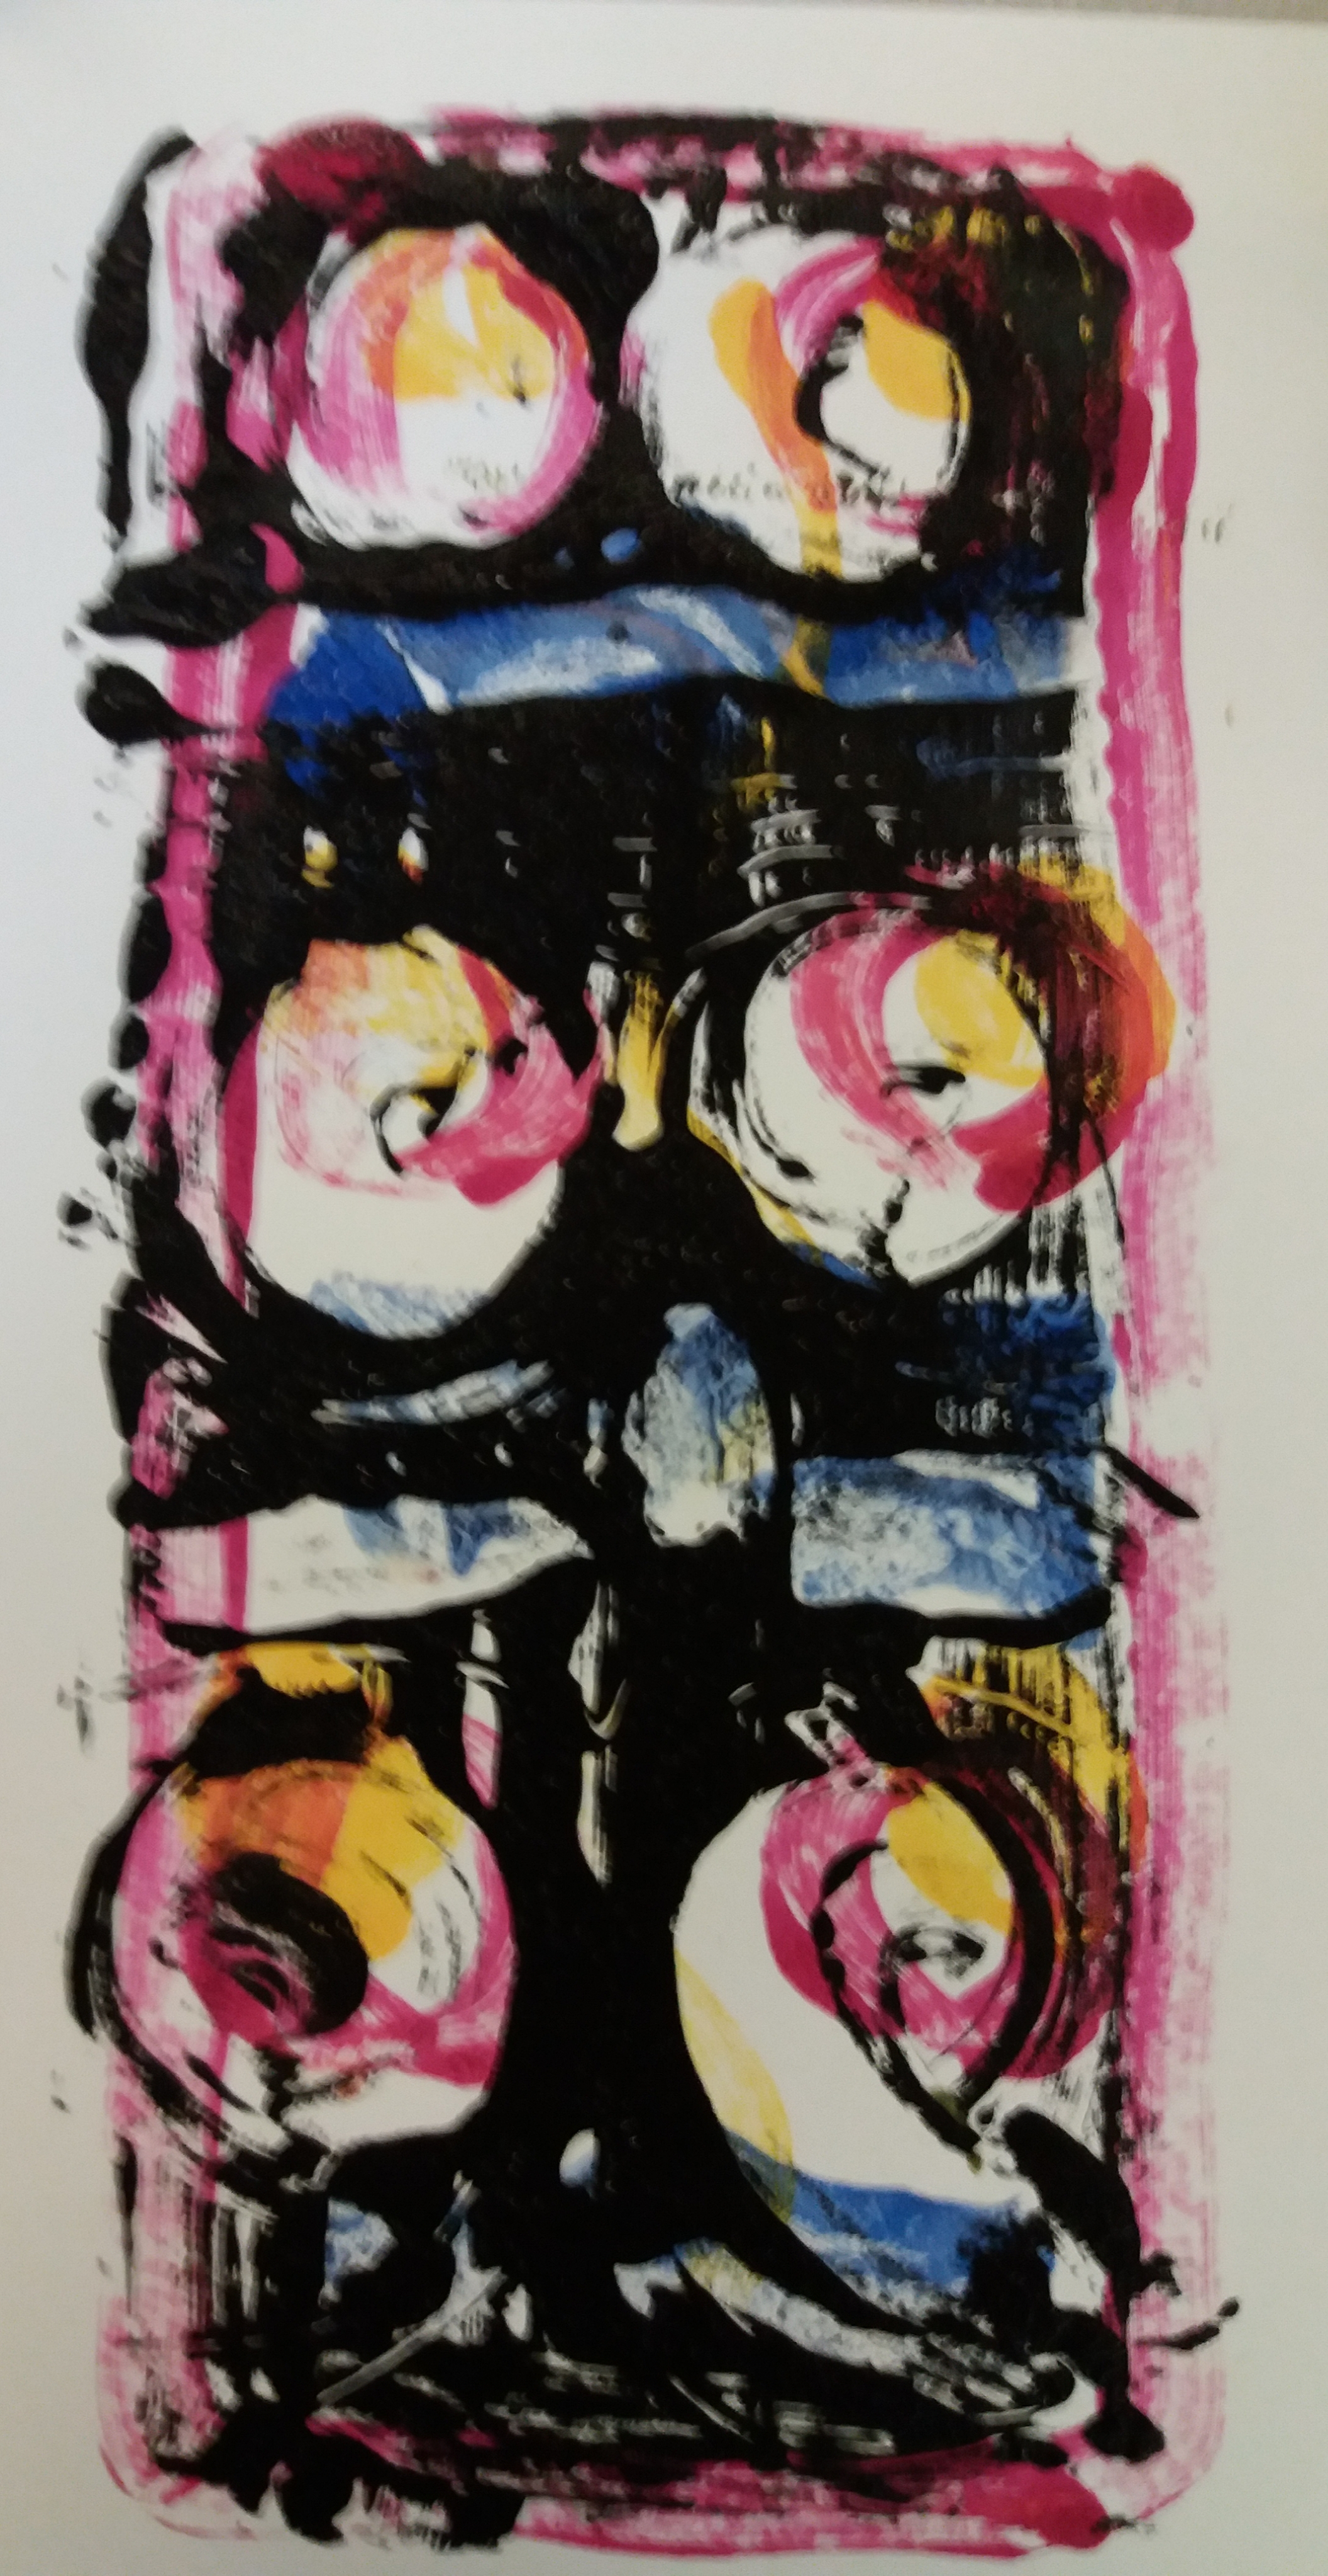
Finally painting black around the patterns before removing the circles before printing the black , which produced the very attractive image below.
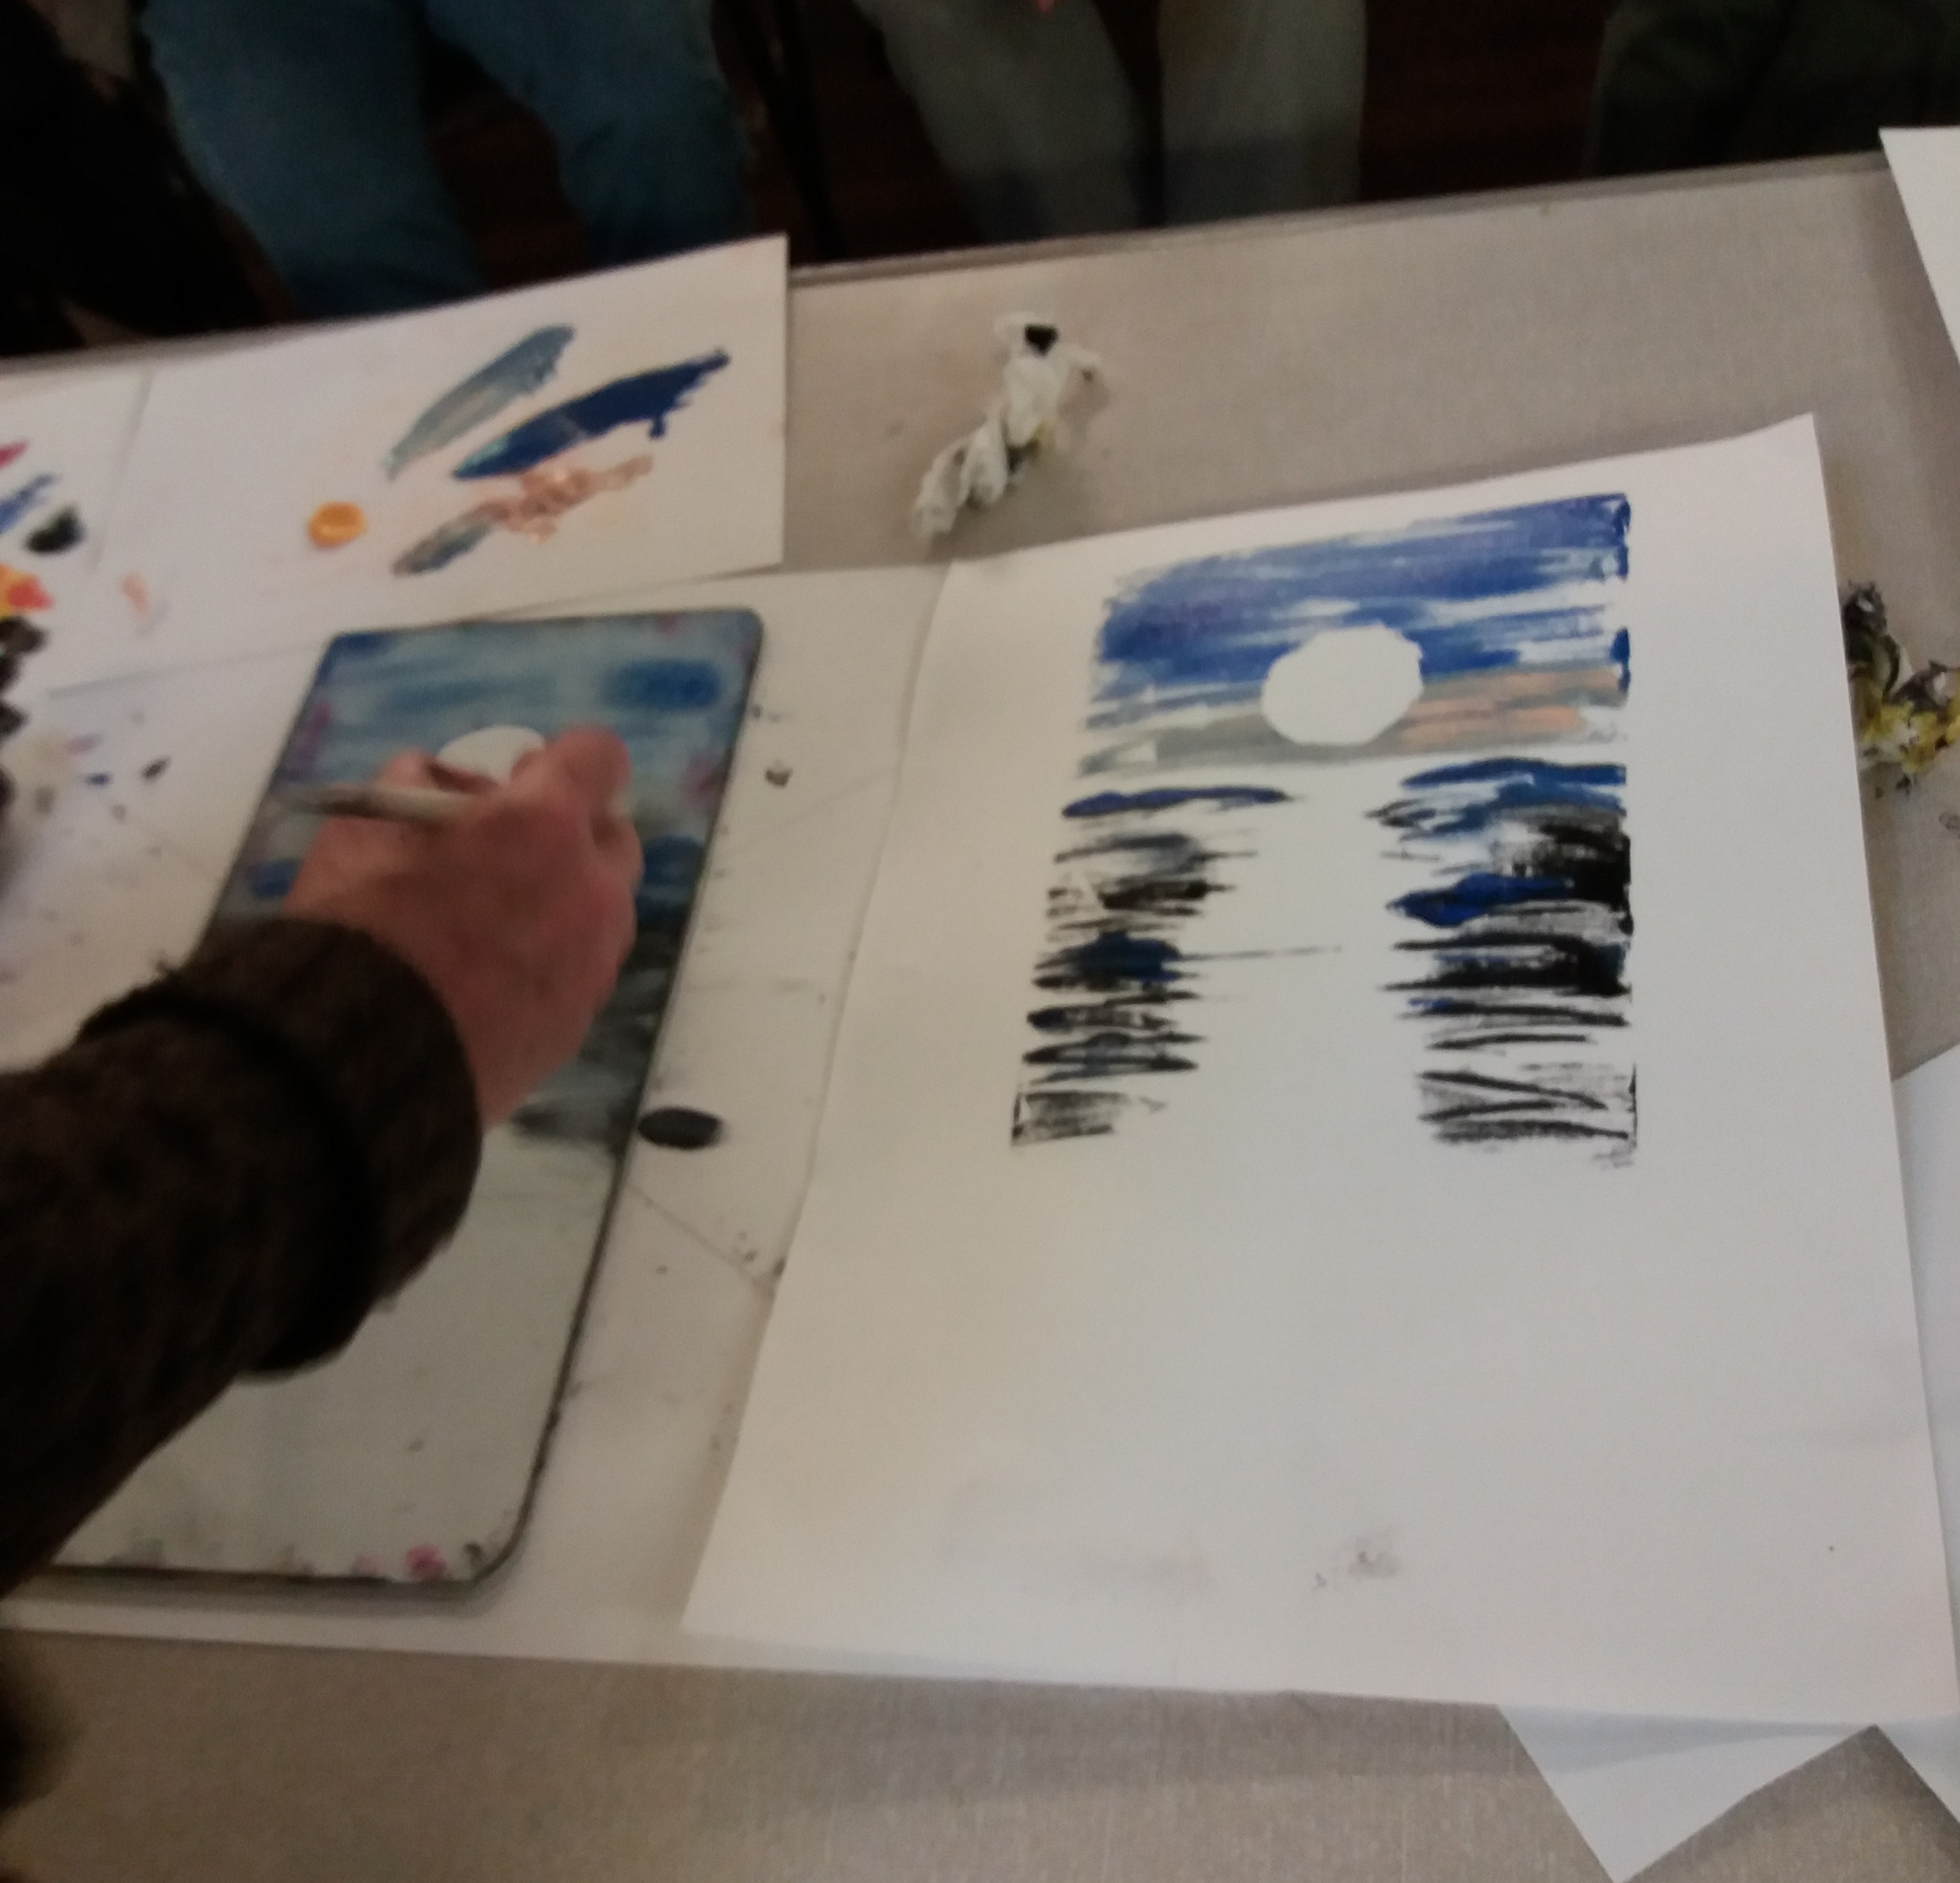
The final demo involved painting a sky and water scene, cutting a circle of paper (moon!) and inserting it in the image. Paint was wiped away from the path of moonlight and the paper pressed onto the plate, producing the most effective image below.
Equipment list:
Rubber roller
Glass plate (or card covered in Cling Film) or a gel pad
Acrylic paint or ink
Paper, Scissors etc.
Et voila…..with thanks to Caroline and Judy, you are a printer!