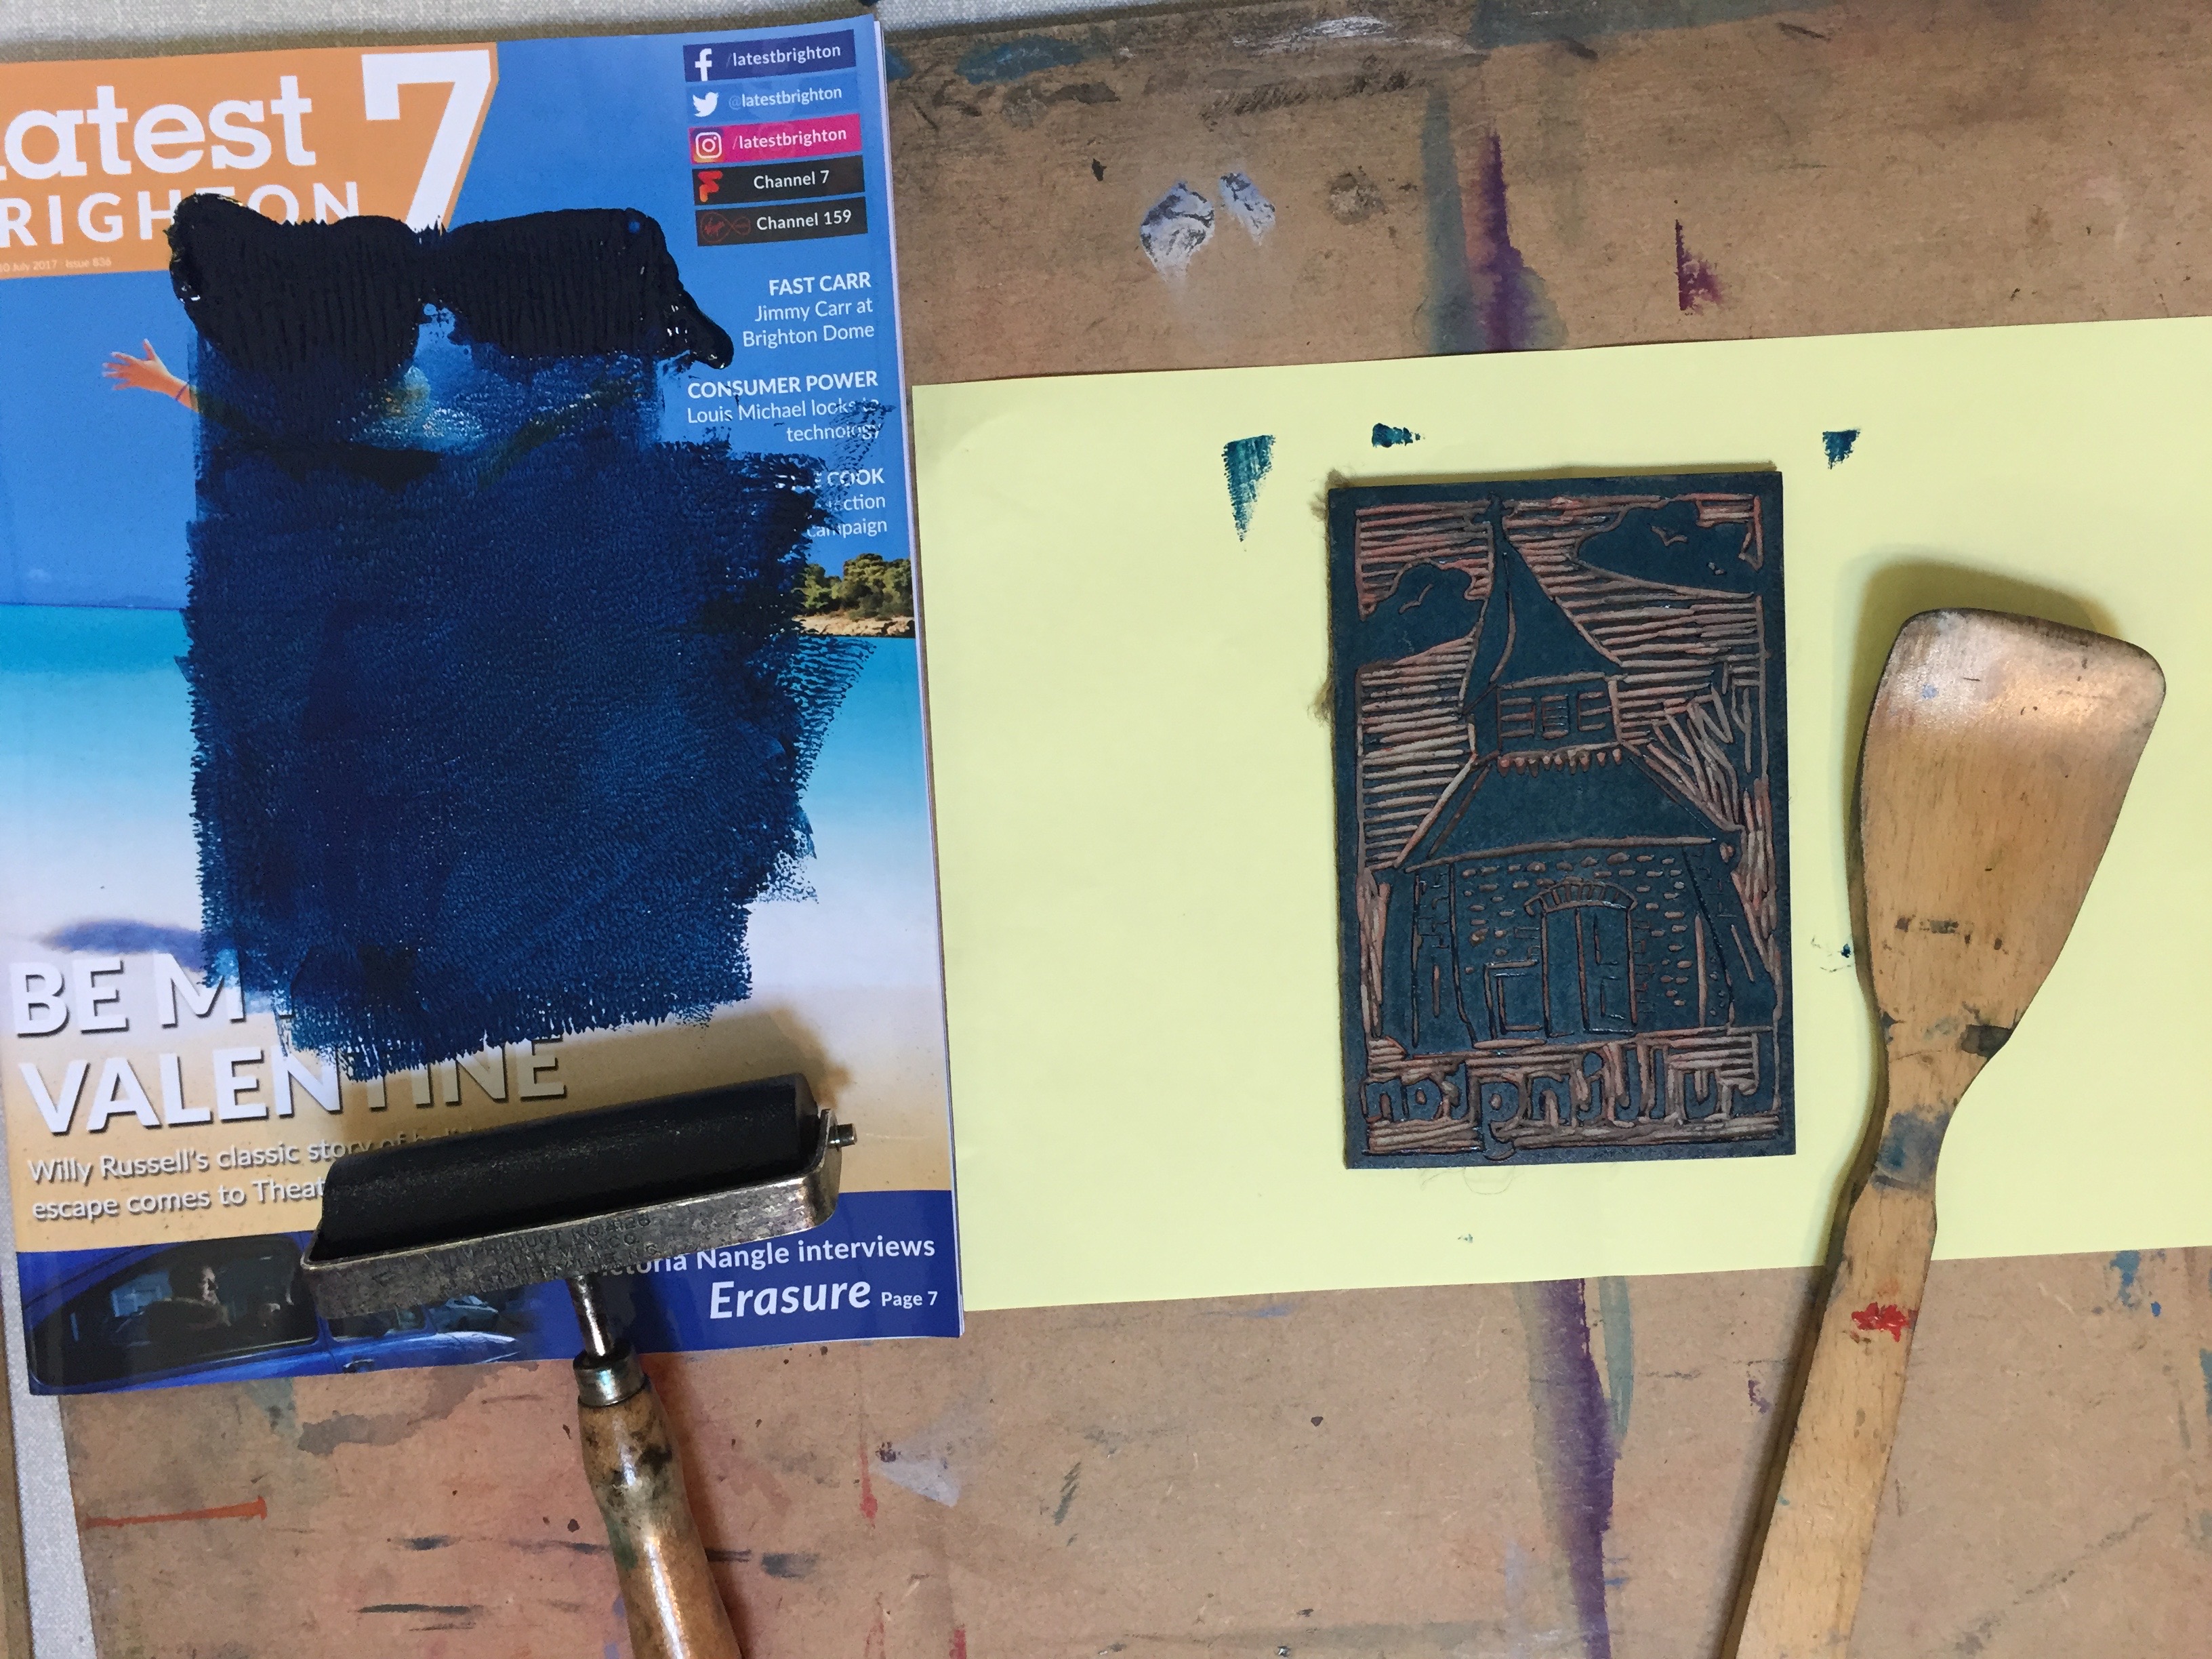
Caroline Marsland, our tutor gave a demonstration of lino cutting at our July wednesday class. I have taken the liberty of copying the description of lino cutting from ‘Gradually Greener in Print making’ from the web site. Carolines comments and instructions are added at the end.
“What is a Linocut?: Linocuts are very similar to woodcuts. It is a printing method using a sheet of linoleum, in which a subtractive cutting method is used to take away the parts of linoleum where you want to leave the white of the page, and keep the parts you want to be inked! In the result you have a linocut that can reproduce the same image over and over again.
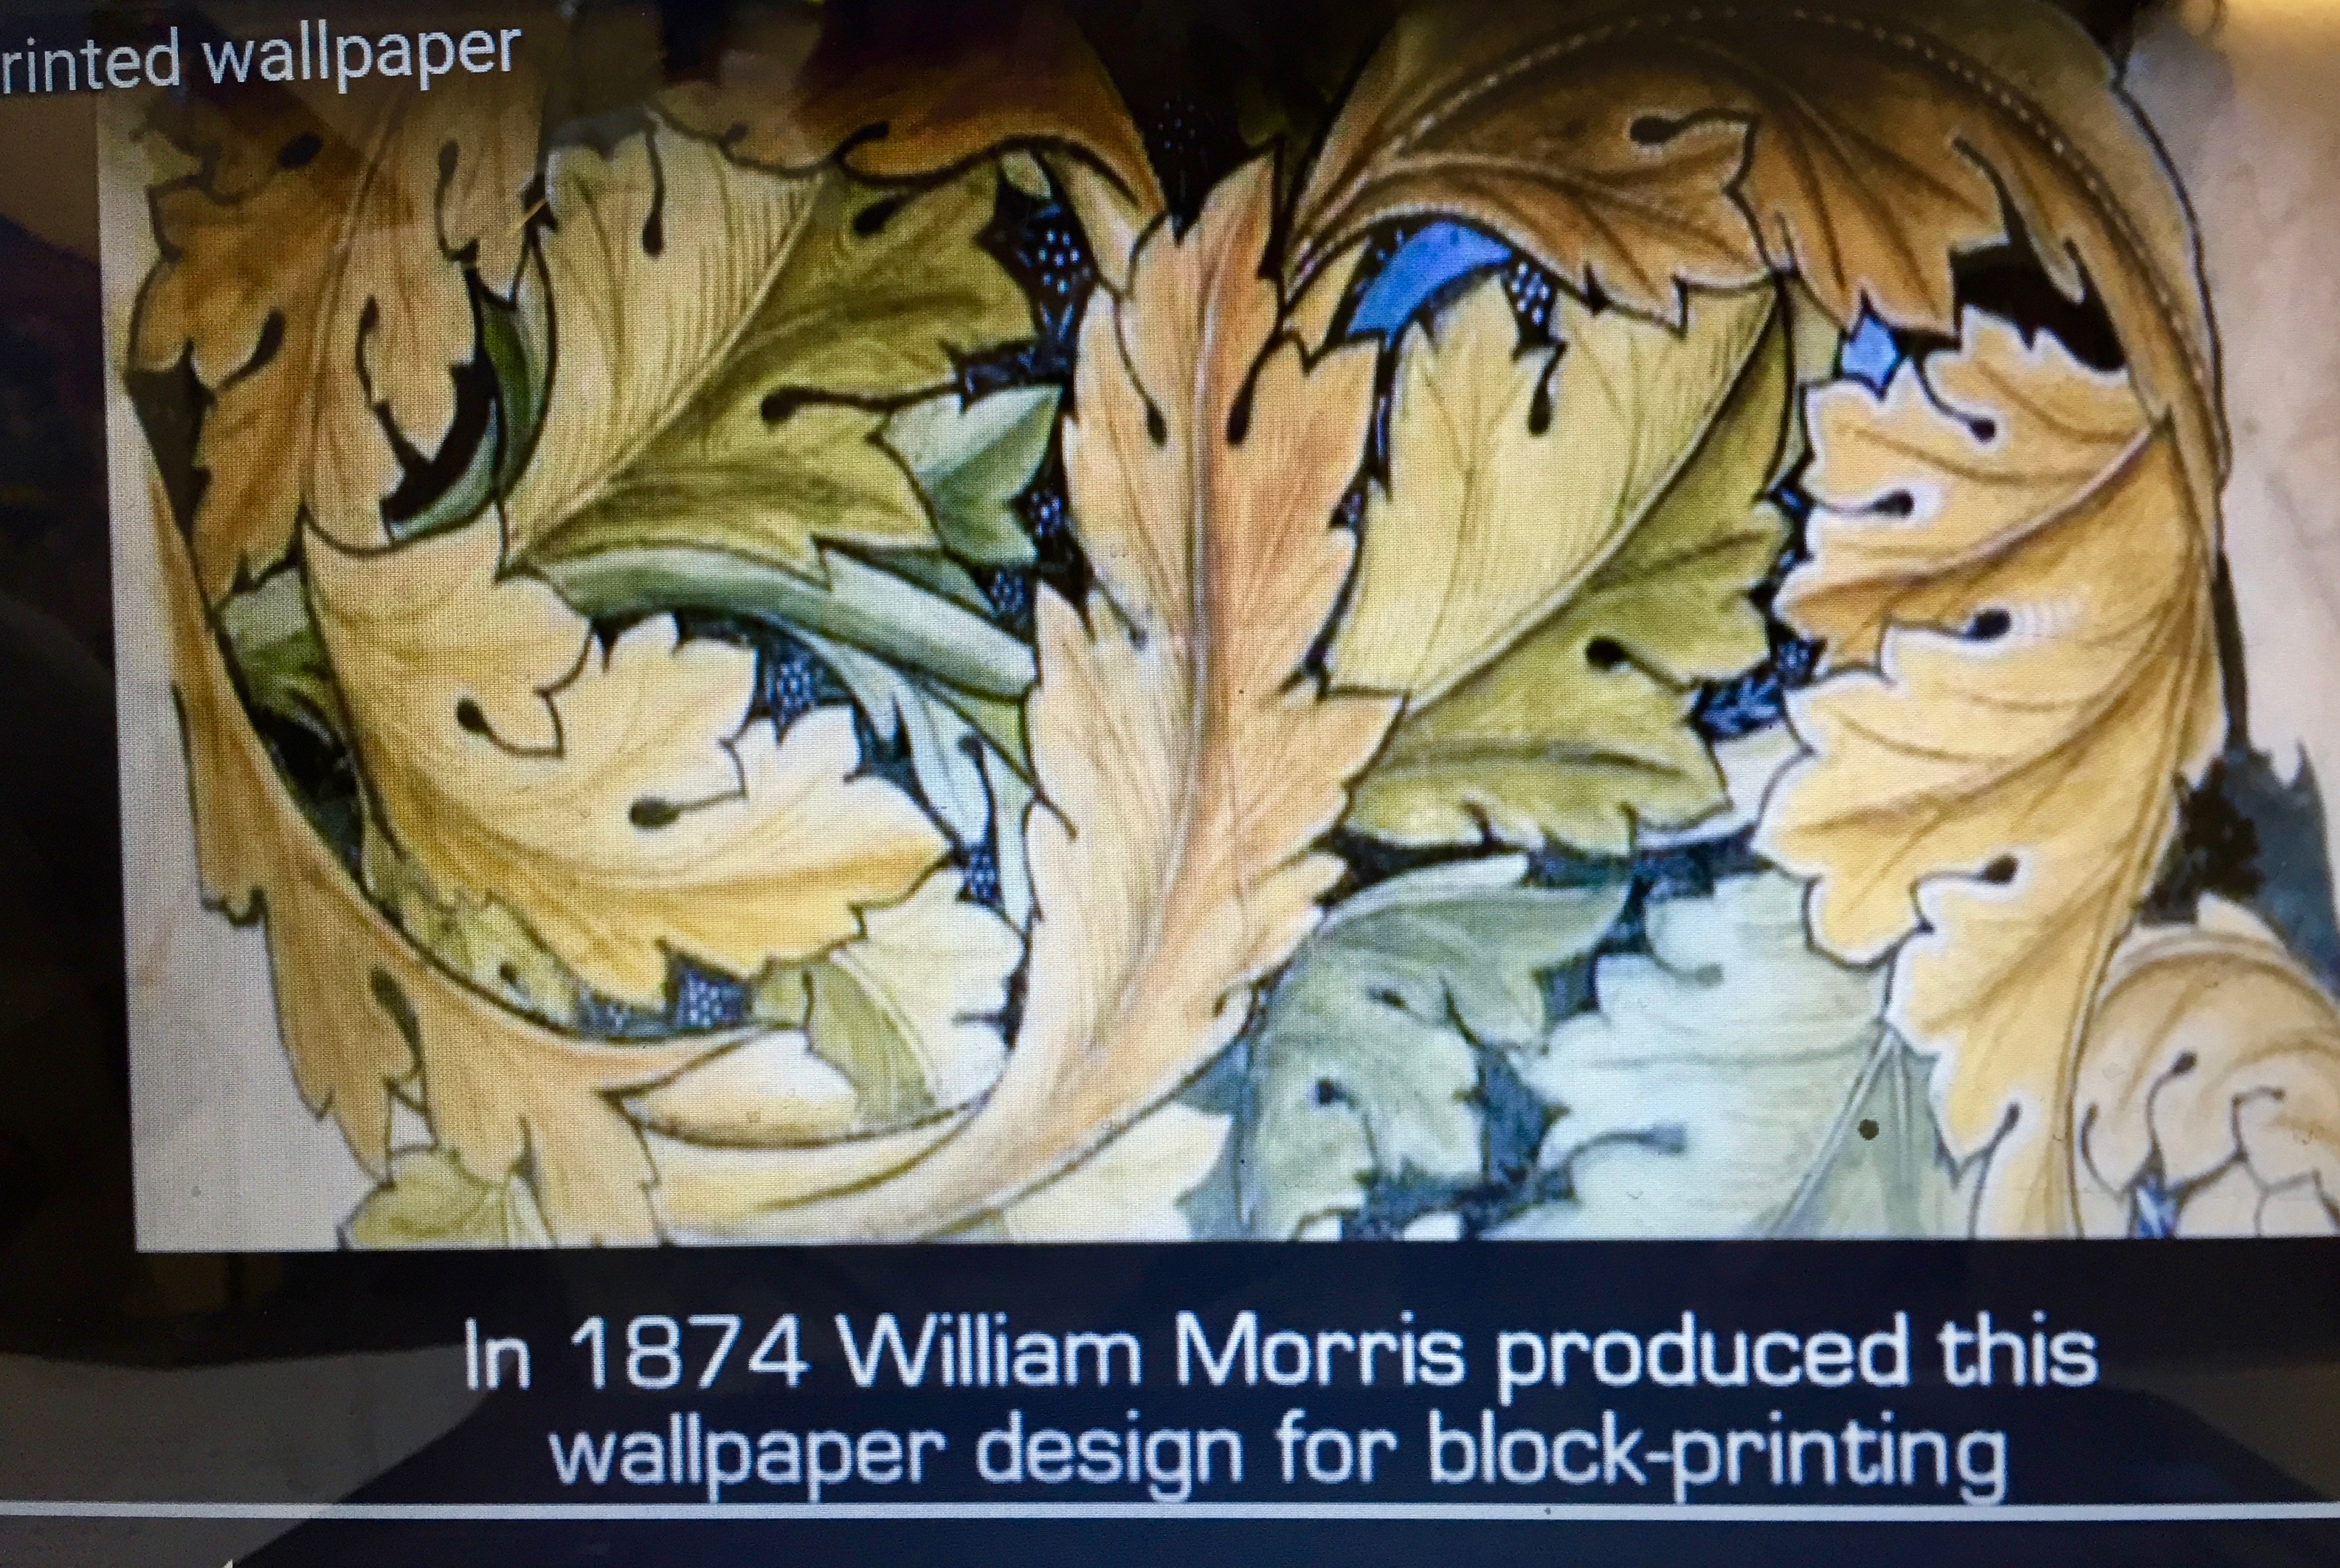
A Short History: While linoleum was first invented in the 1860s, it wasn’t used as a medium for printing until the early 1900s in Germany, where it was first used for making patterns on wallpaper! Artists ranging from Pablo Picasso to Henri Matisse have made linocuts, and today it is considered a respected art form. Linocuts are also very popular in teaching children in schools about the rewarding art of printmaking.
Why linocuts?: First off, linoleum does not have a grain like wood does, meaning there is no need to cut in one direction. Also, it is much, MUCH easier to cut than wood, especially when heated. Although linoleum is not quite as durable as wood, you can still make hundreds if not thousands of copies of the same image with a single linocut before it is too degraded to use. Linocuts generally remind me of illustrated children books, which is a style I very much like. One can even make several linocuts to be used together to make a print including color, and in some cases (depending on the ink and paper you use) a linocut print can be colored after wards with your medium of choice.
So lets get started!
Step 1: Materials

You will need . . .
1. One sheet of linoleum!
You can get these at your local art stores such as Jerry’s Artarama, or even at generic craft stores such as Hobby Lobby. The bigger you go, the more expensive the sheet, but generally they are not too expensive. If this is your first linocut, I suggest getting something around the size of 4″ x 5″. This way you do not have a giant piece to work on, but you also won’t have to work with itty bitty details. For your first linocut, I suggest doing a simple pattern with no positive (left, uncut away) pieces smaller than half a centimeter. I know folks who buy linoleum for flooring when they find good deals, and use this for carving. I have never tried this, but only imagine it is much harder to cut than art store grade linoleum. Stay away from anything pink or white that claims to be good for lino-prints, generally it is a rubber that is much too soft, and you will hack it to pieces within seconds.
2. Linocutting tool with an assortment of blades!
You could buy several different handles with blades and v-cutters permenantly attached for about $7 each. I don’t suggest this, as it is very expensive and simply unnecessary. Most art stores and some craft stores will sell a beginers kit that comes with one handle and 5 or 6 different blades for anywhere between $7 and $20. This is what I have, and it works perfectly! I bought mine from Jerry’s Artarama for $14. There is a similar product here ( http://www.jerrysartarama.com/discount-art-supplies/Printmaking-Supplies/Speedball-Block-Printing-Supplies/Speedball-Lino-Cutters-Handles-and-Linozips.htm ) for those of you who would like to buy your tools online or who want to get an idea of what they are looking for.
3. A piece of glass! (At least 8″ by 12″)
You can get your piece of glass anywhere really. Many glass cutting stores will sell you scraps, as artists often use glass for pallets as well. I would get one that is at least the size of your common printer paper. I simply bought an old picture frame from a thrift store for $3, kept the glass and recycled the frame. You will be using this to roll your ink out onto before applying it to your linocut.
4. A brayer!
A brayer is very similar to a paint roller, but instead of the strange cushy material the roll itself is some kind of rubber. I suggest getting a hard or soft rubber brayer, and these will run from between $6 and $20, depending on the size and quality. I suggest getting a brayer that is at least 3 1/2″ wide. Once again, these are found at art stores and in some craft stores. Here’s an example. (http://www.jerrysartarama.com/discount-art-supplies/Printmaking-Supplies/Speedball-Block-Printing-Supplies/Speedball-Barens-and-Brayers.htm)
5. Ink!
You can also get your ink at an art store or craft store, but make sure it says on the bottle it can be used for print making! Any color you like will do. I found a nice little jar of navy blue speed ball ink for $4. A little bird told me once you can use slightly watered down acrylic, but I have never tried this.
6. Paper!
This is the paper you will be using to put your final prints on. If your ink is semi-transparent, you’ll want a lighter color of paper. If the ink is solid and white, try some darker colors! I suggest artist’s quality light weight paper, though stay away from anything that is very textured, such as heavy duty watercolor paper.
7. A dark magic marker!
8. A pencil!
9. An idea for your print!
For your first print, I suggest a pattern or drawing that does not have a ton of detail and without any shading. Try to keep your thinnest positive points (where linoleum is not carved away) about a half centimeter thick for your first print.
10. BANDAIDS
I cannot stress this enough. If it is your first time making a linoleum cut, I highly suggest you have a box of bandaids on hand. You aren’t in danger of cutting a finger off while making a linoprint, but no matter how careful I am, I always manage to slice a finger or two. Some antiseptic ointment is a good idea as well!”