The best charcoal to use is Windsor and Newton as it has good deep coverage and is just lovely to use.
Always break the stick into a smaller piece and then you can use it side on or using a corner.
You should use a rough paper with a tooth to give the charcoal something to catch on. Pastel paper is ideal for this.
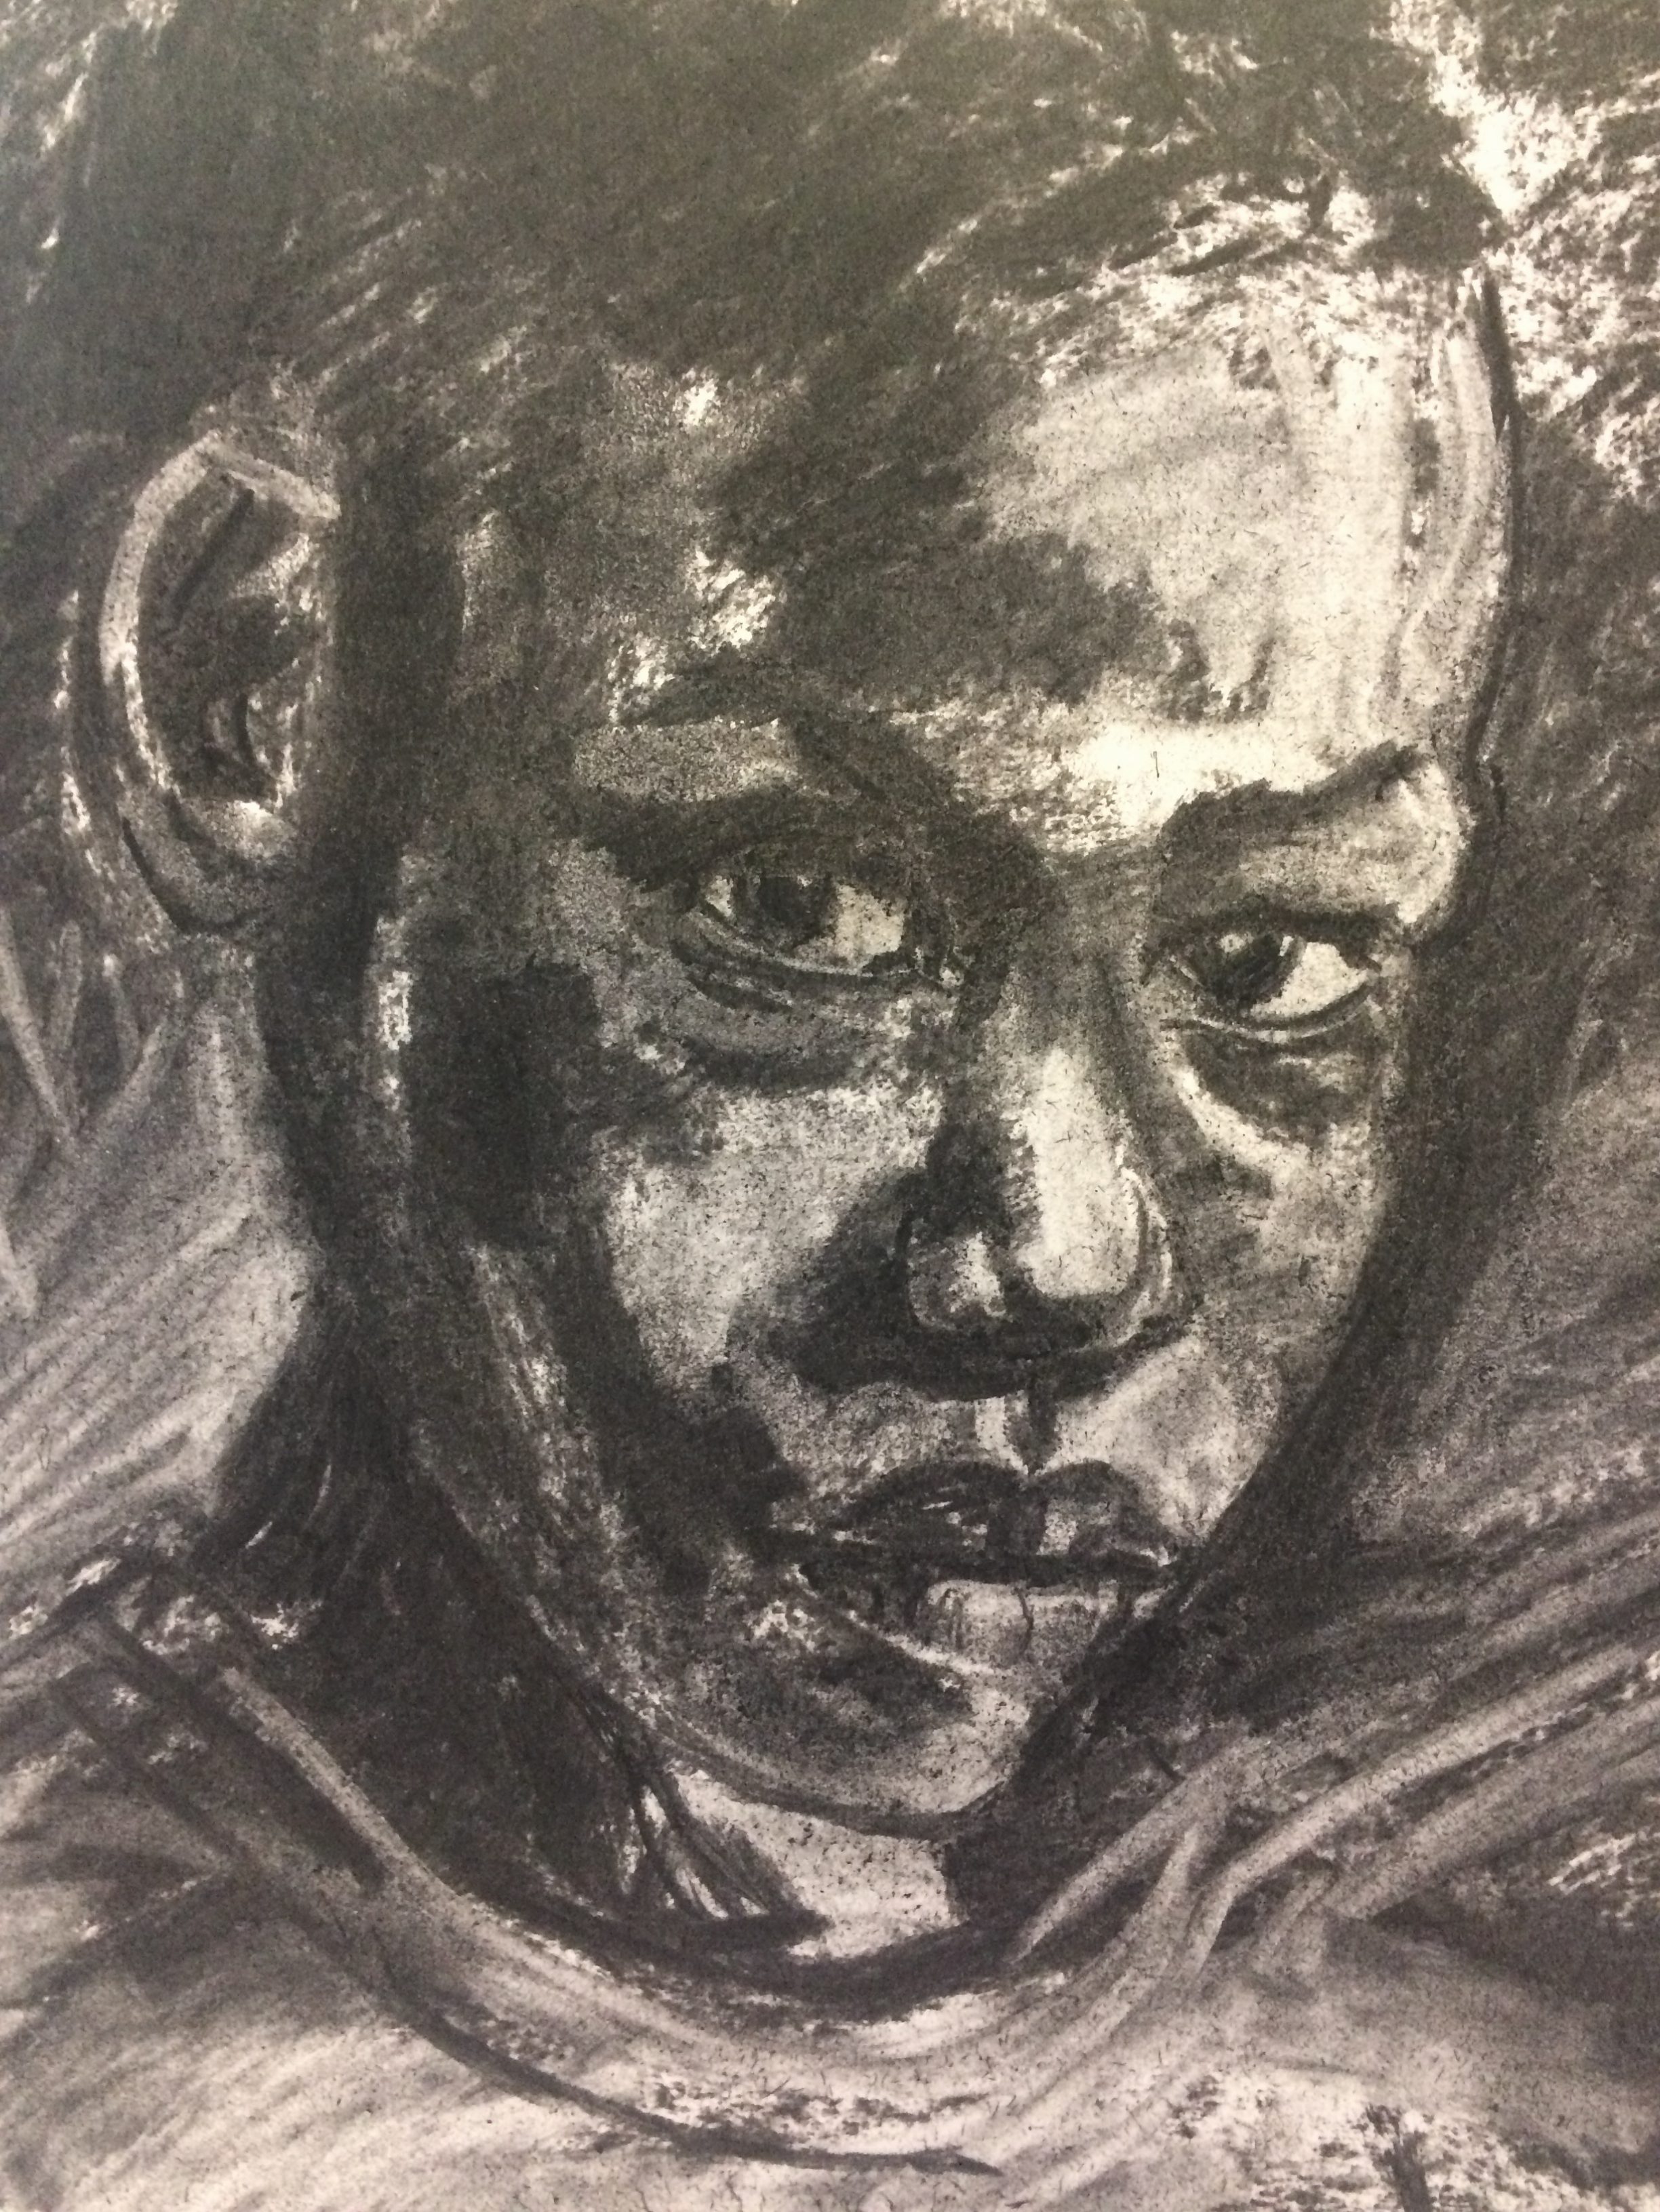
When tackling a charcoal portrait, you should first decide which method you want to use. Caroline demonstrated both using shadows to define your shapes, and later drafting out your image using the charcoal a bit like a pencil.
She started by covering the entire paper with charcoal lightly, then she put in all the large shadow areas like the eye sockets and under the nose and the outline of the head.
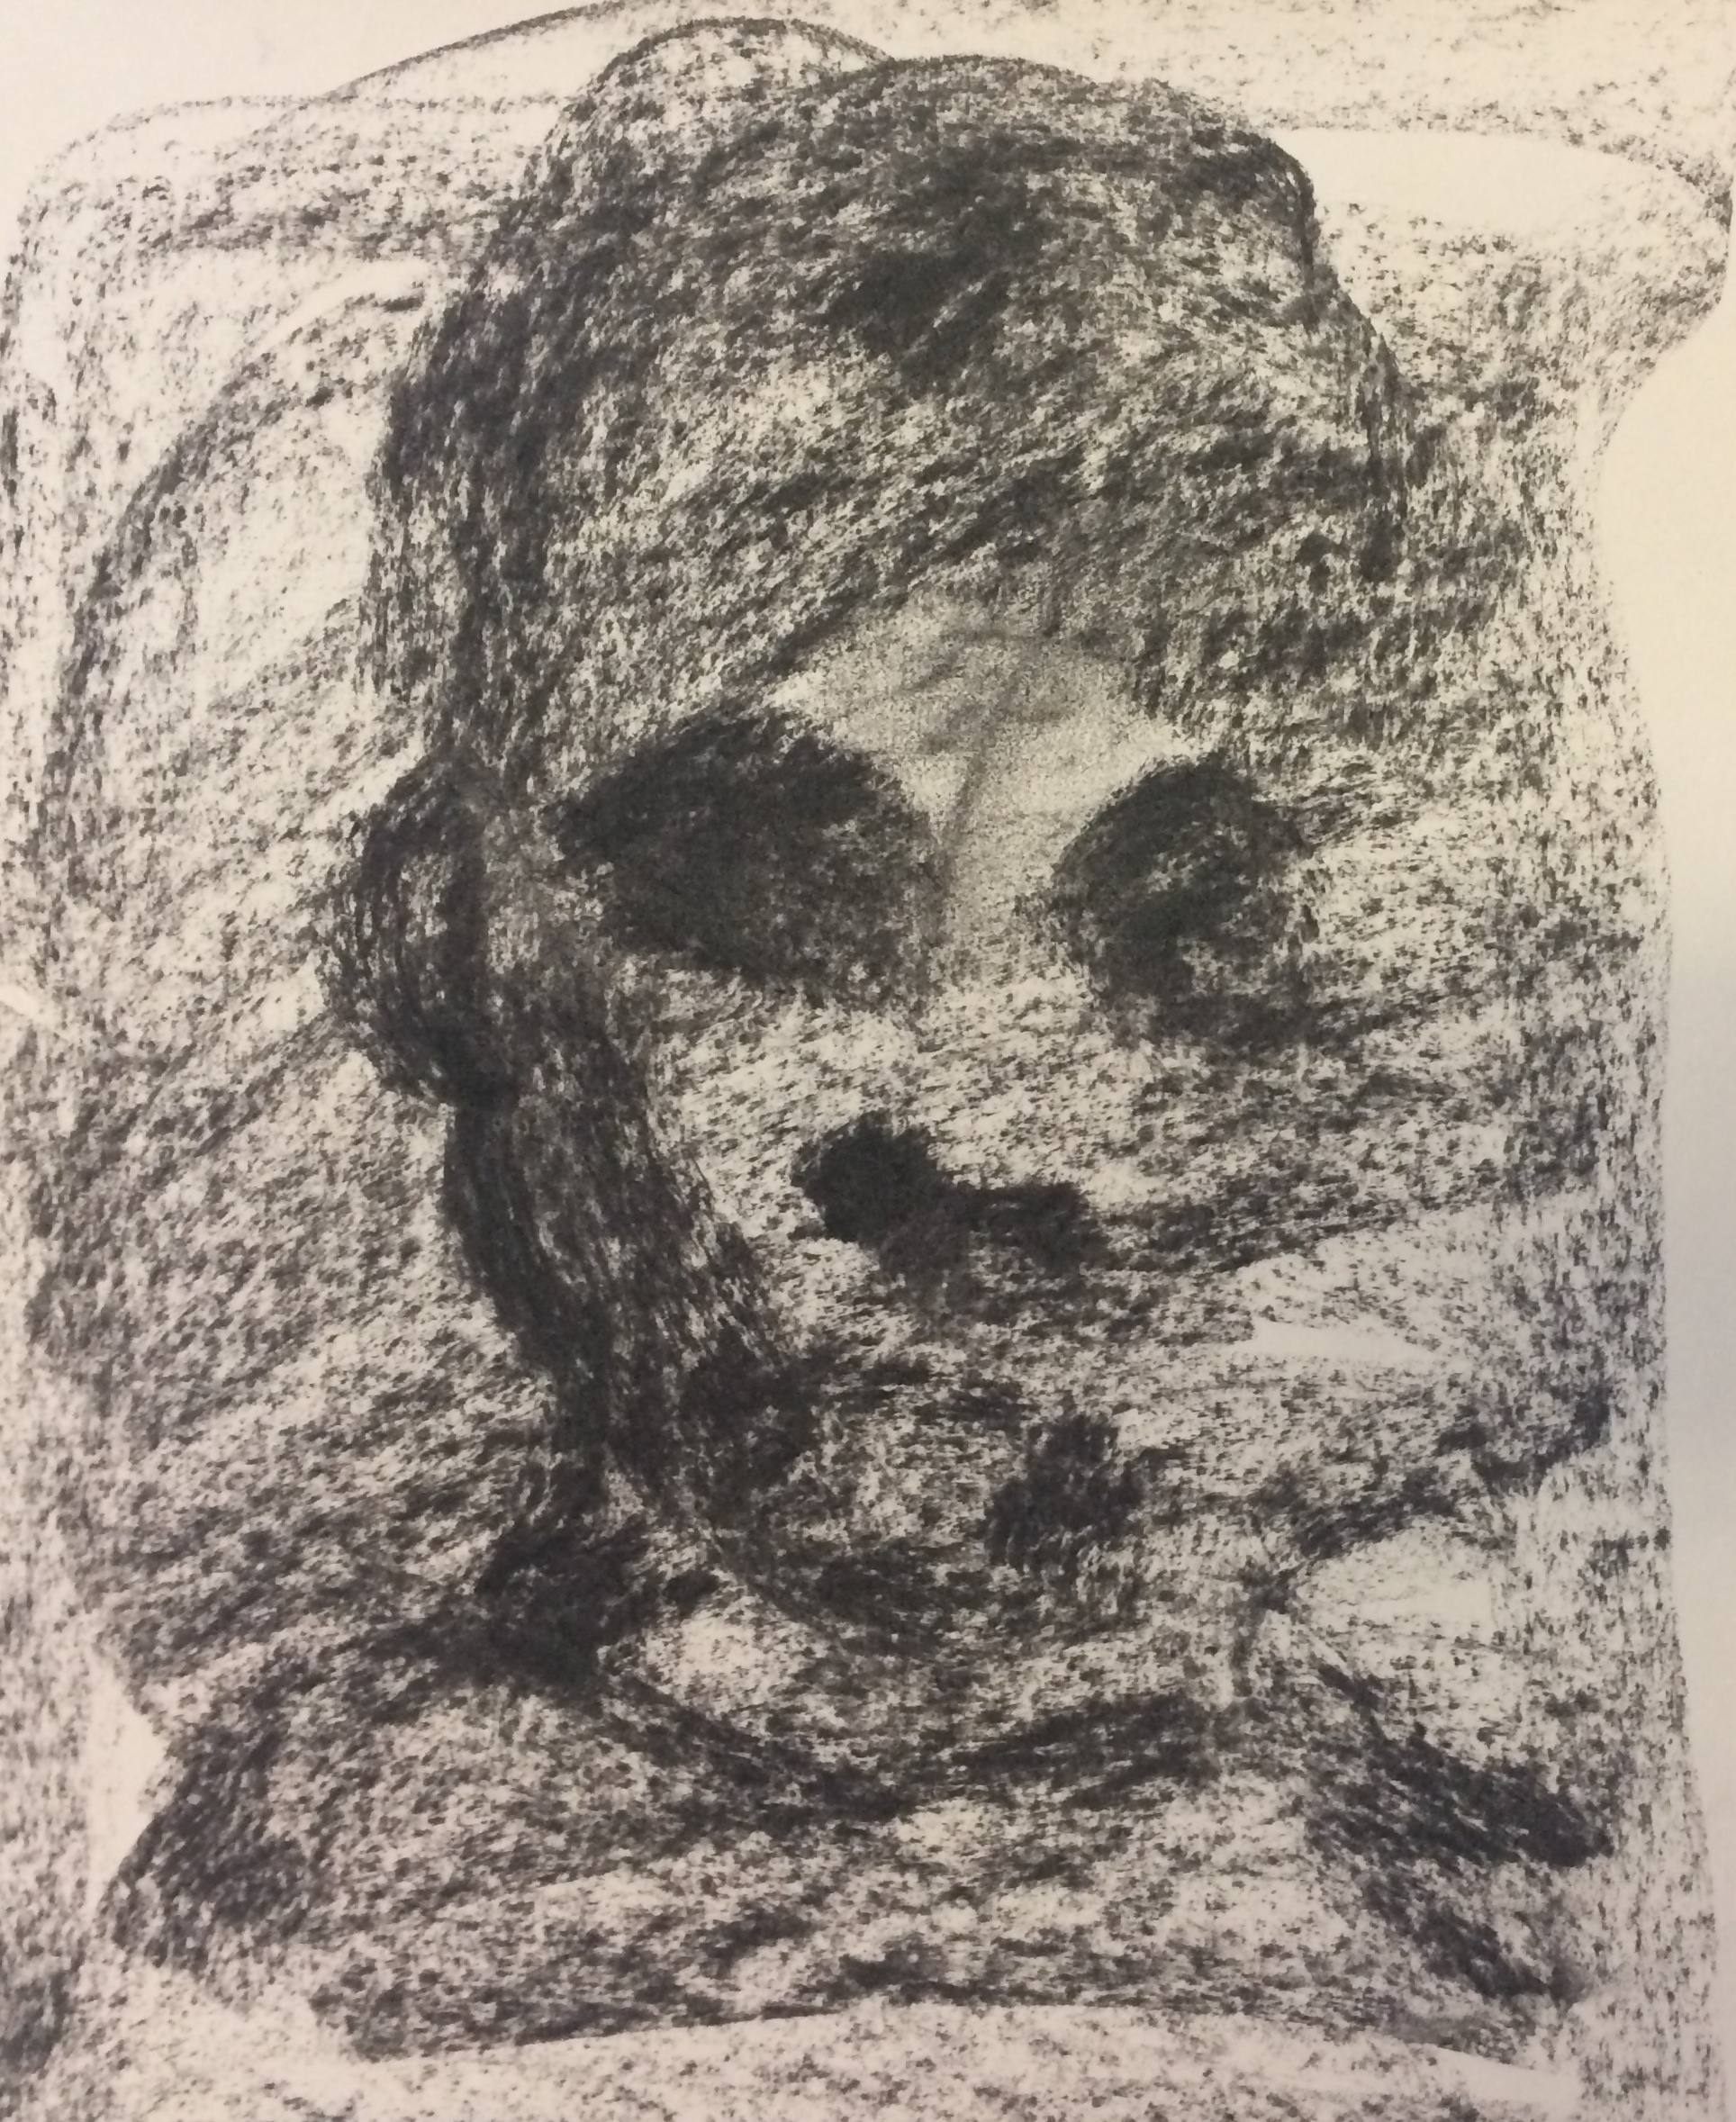
Next she used a rubber to erase all the lighter areas of the face and eyes and put in all the highlights. She frequently rubbed it on a piece of sand paper to clean the rubber. She used careful observation to ensure that the facial features were correctly sized and positioned, taking note of measurements of spaces between nose and mouth, eyes and nose etc. It’s just a matter of making continual adjustments until you are happy with the end result . Remember you can rub out and replace the charcoal as often as needed. You may prefer to use a charcoal pencil for the finer details, Caroline herself just used the corner of the stick of charcoal. You can also use your fingers to blend it.
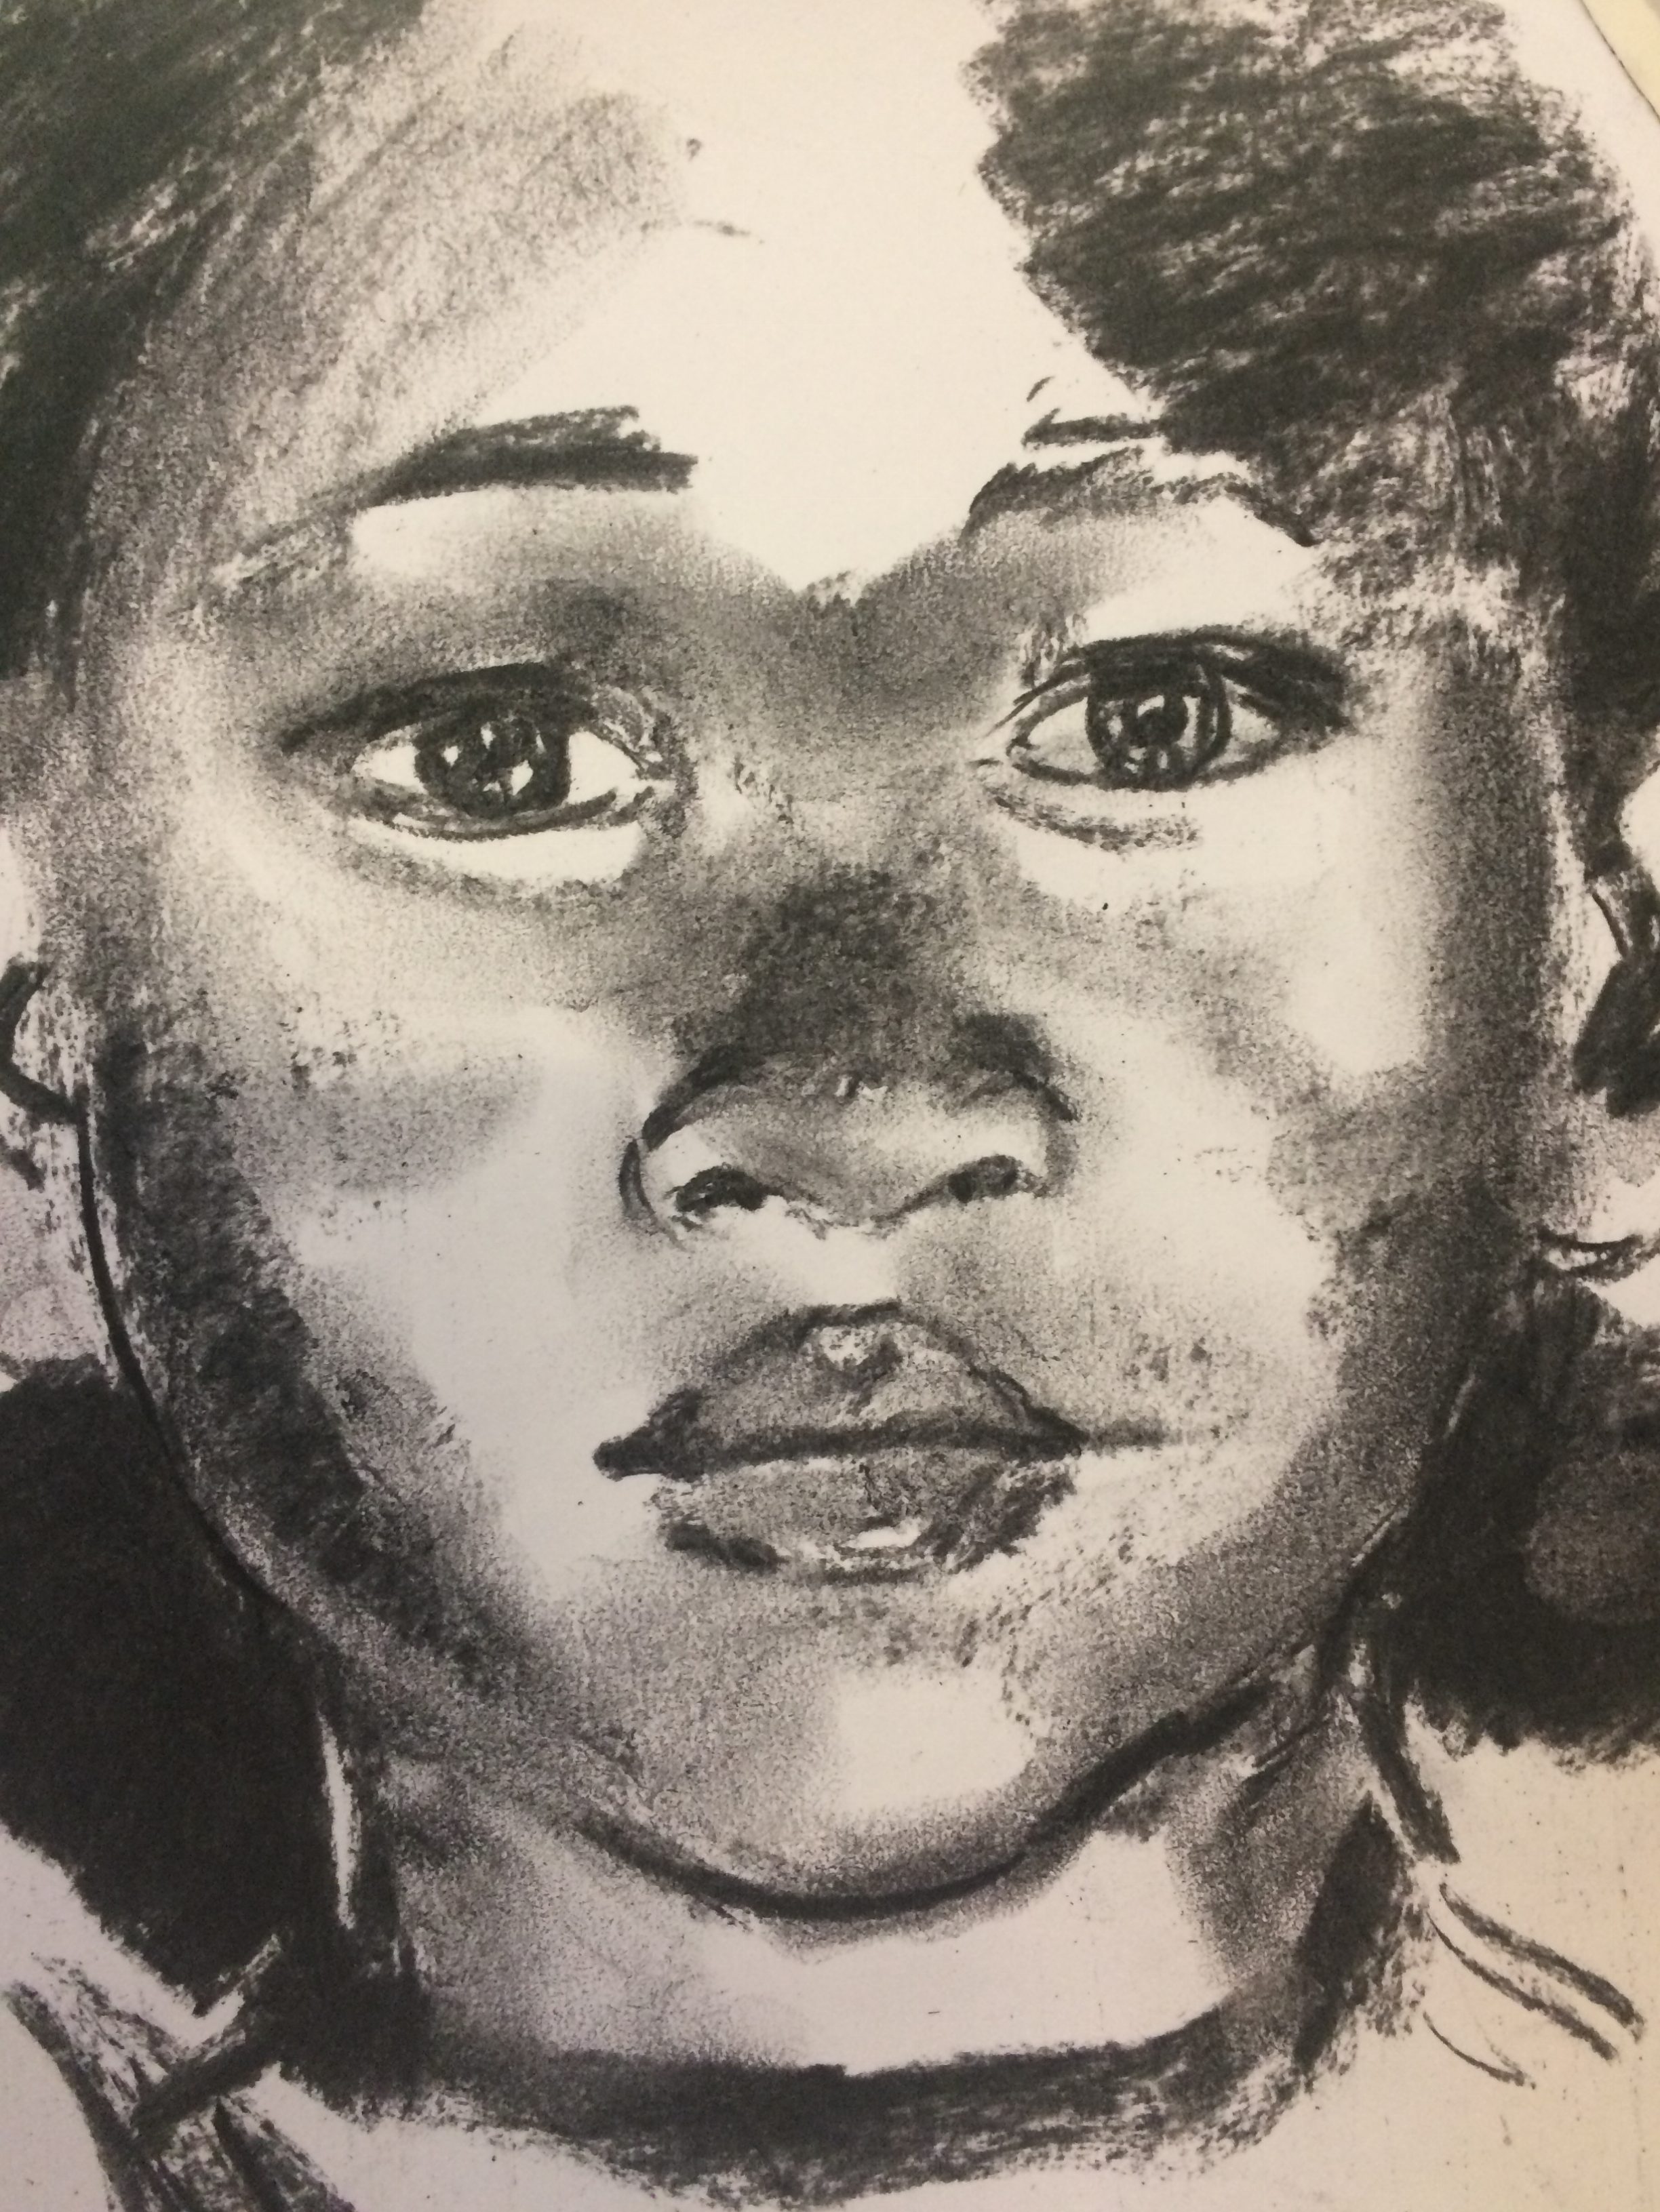
The little girl was done using the drawing technique with the corner of the charcoal and then blending with the fingers.